🧹 How to Use a PNG Character Card on JanitorAI
A quick guide for importing a a character card into JanitorAI.
Step 1: Download the PNG (the picture)
Download the character's PNG file to your device. This file has the character data embedded in it.
Step 2: Create a Character
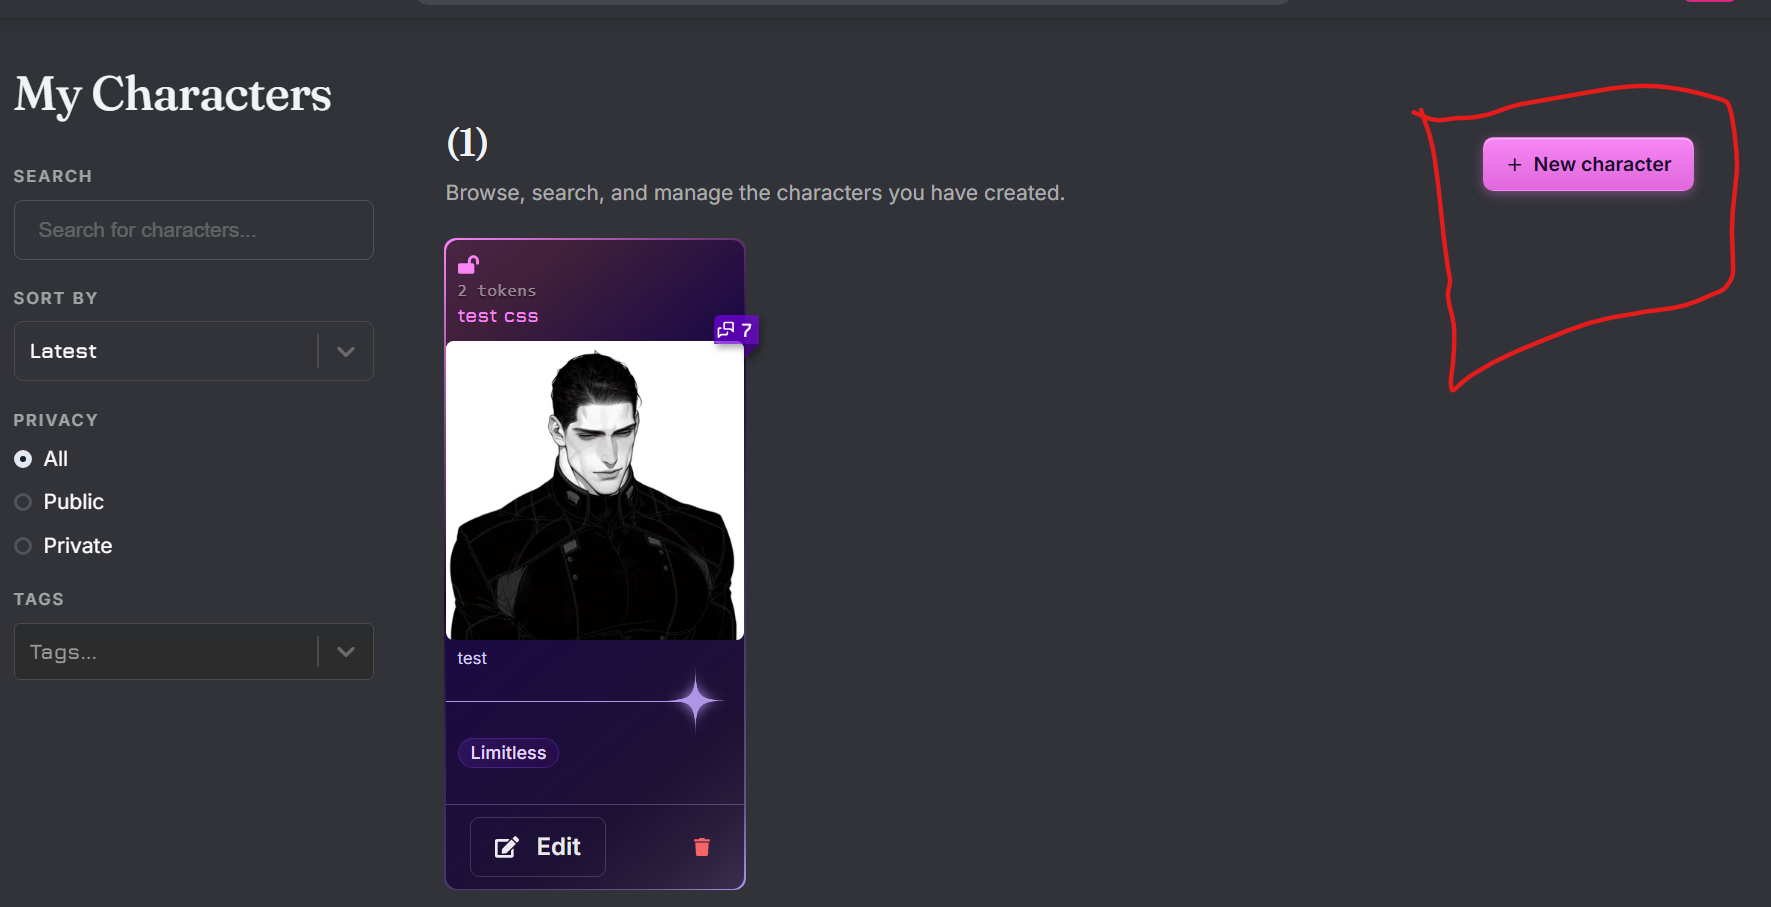
Go to JanitorAI and click My Characters in the top navigation bar (click your profile picture in the top right). Then click + New Character on the right.
Step 3: Upload the Image
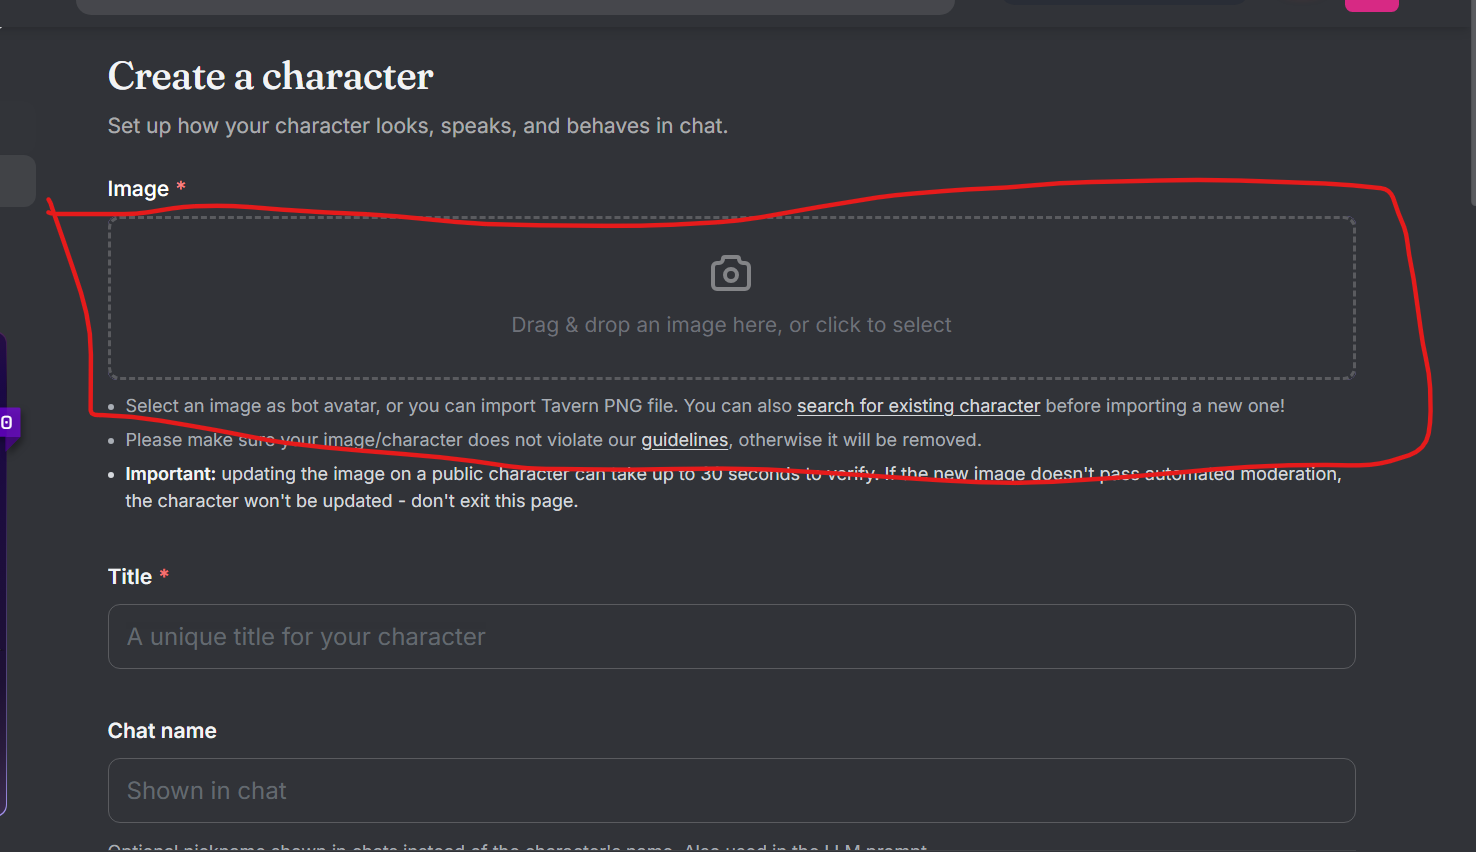
On the character creation page, click the "Click to upload image" box and select the PNG you downloaded.
Step 4: Import the Data
A might popup will appear:
Character information detected
Would you like to import this image's information? This action will replace all fields of this character.
Click YES.
Step 5: Check the Fields
Everything should auto-populate. If something's missing:
- Copy and paste the Personality and First Message manually from the documents
- Make sure to set the Character Chat Name
Step 6: Create the Character
Scroll to the bottom and click Create Character.
Step 7: Settings
Go to my Characters and click on the Characrrer.
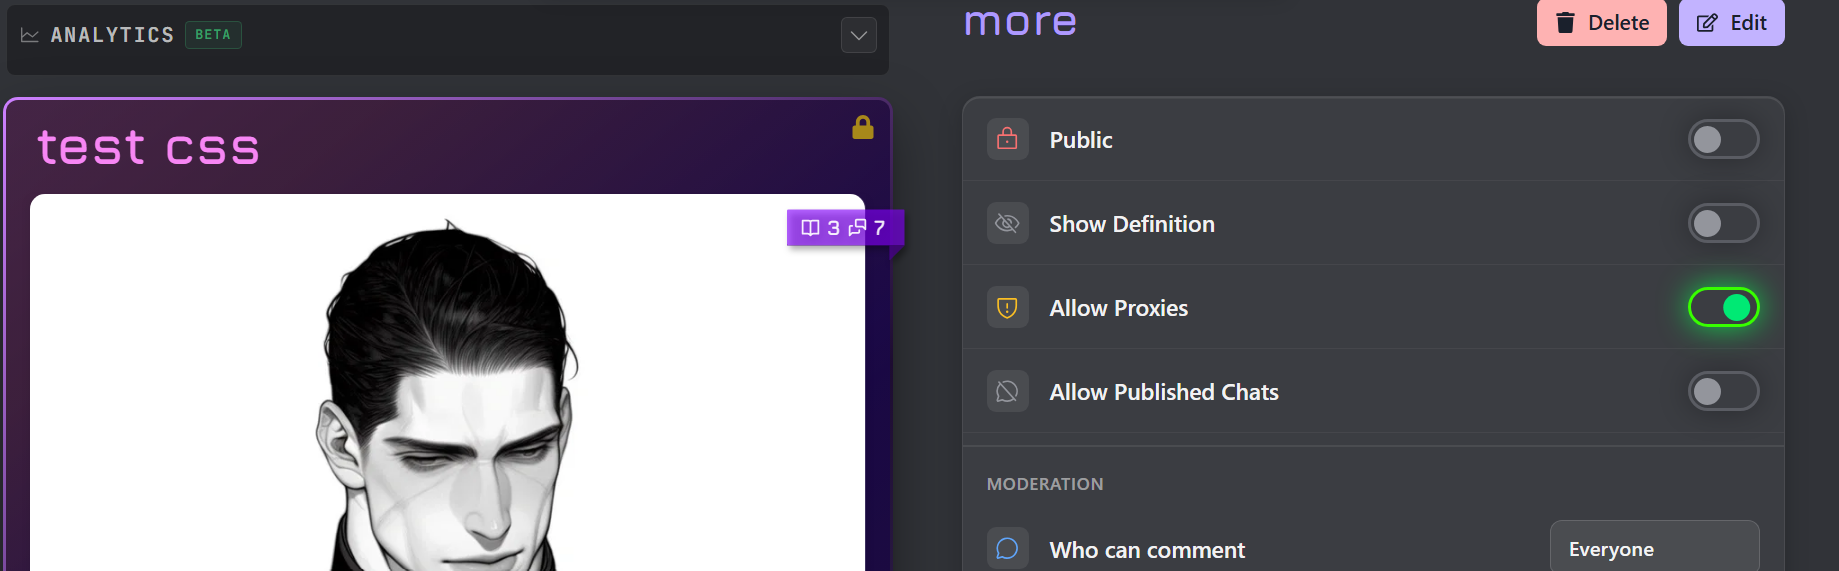
Make sure these are the settings.
| Setting | Value |
|---|---|
| Public | OFF (do not publish) |
| Show Definition | OFF |
| Allow Proxies | ON ✅ |
| Allow Published Chats | OFF |
✅ Done!
You'll find your character under the My Characters tab if you ever lose track of it.
⚠️ Note: Sometimes both all first messages don't copy over correctly. If that happens, just copy-paste them manually from the source doc.