CREATING A BOT

READ FIRST
This rentry is a fusion of various guides I have used to create bots and improve their behavior. Keep in mind that it is a basic guide for those who don't have much knowledge about creating bots and their formats. Also keep in mind that this guide is totally subjective and is based on my own experience and what has worked for me.

Where can I create my bot?
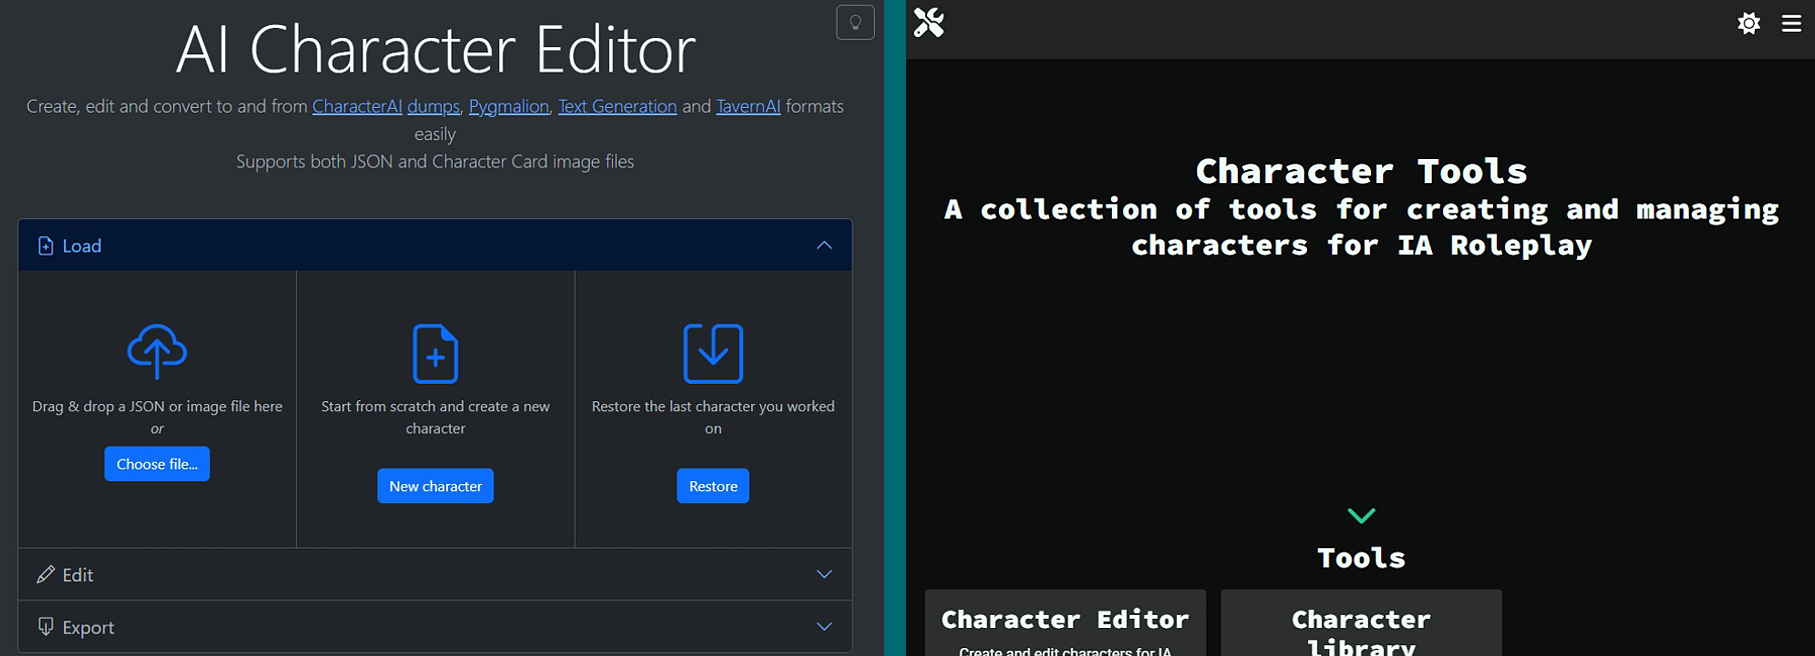
Luckily all chatbot pages and interfaces have a bot creation system implemented, however not all are as good or are similar to each other. Here I will only show 2 tools to import, export, edit and create character cards in .PNG and .JSON files.
AI Character Editor (forked by AVAKSon)
A quite intuitive and easy to use github, in AI Character Editor The creation, export, export and modification of bots is optimal and much simpler. This github project allows you to easily create, edit and convert to CharacterAI, Pygmalion, Text Generation, Sillytavern, RisuAI, Venus.chub and others.
Character-tools
Discovered in the Silly Tavern discord server and made by SrJuggernaut, Character-tools is a web application created to facilitate the creation and editing of character sheets with a minimalist and easy to use interface. It has a library to have a better order of your bots and more ease when modifying them.
Format and outline
There are various ways to create a character and its characteristics, there are simple ways where you just have to describe as such the description of your bot and it will do it. However, for something more specific it is better to perfect it or write it in a detailed format. There are multiple styles to use and not all models work well with all types.
Does the format influence?: Personally I would say not so much, however it is something subjective and for some people the simple format or a more detailed format works better. I would recommend using a detailed format.
I need to choose one of these formats?: No, you can do like I do and make a fusion of all. The important thing is to check that it works correctly.
Plain Text
Plain Text as its name indicates, is unformatted text. That is, you don't have to use brackets or quotes to describe the bot's characteristics and it's just done in a simple paragraph, which makes it very easy to use because you can practically describe the traits as they are.
Lists
Lists is the second simplest format after Plain Text. You just have to organize the characteristics and traits of your character in a list format, adding just one keyword followed by a colon and its respective response.
Template
Square bracket format (SBF)
Square bracket format or SBF is a format I'm not yet familiar with, however I know it works using brackets '[' and ']'
Template
W++
W++ is a format used to define characters and how they should be used in the model. Its ease of creating characters from a template makes the description precise and short. One of the reasons W++ is able to achieve precision is that it breaks down the traits and characteristics of characters into categories so the model can easily associate the words with those categories.
Template
PLists
PytonList (+Ali:chat) A format I am not familiar with but have seen in many bots. According to this guide, it is the most difficult format + the Ali:Chat. There are two formats and the current format is very similar to the SBF format.
Old Template
Actual Template
Alichat (v1.5)
Ali:Chat’s principle idea is using dialogue as the formatting to express and reinforce traits/characteristics. Ali:chat can either be used by itself or combined with another style (e.g. Plist, Boostyle, W++, etc.). It is a somewhat complicated format to understand if you are very familiar with the previously named ones, however you can see the Ali:chat guide to understand it better.
It is difficult to have a template for this format, I will better put direct link to the bots created with this format:
Example
1.) Harry Potter SFW
2.) Laura De Farnese SFW
XML tags
Template and more info here
Format Merging
Personal Template #1
Personal Template #2

Markdown
If you have no idea what markdown is, don't worry because this thing is very easy to use. Markdown is a simple language that is used to easily add formatting, links, and images to plain text.
The simplest markdown used in bots are \*asterisks\* for actions and "quotes" for responses. However, you can use all markdown commands and use them for a more immersive roleplaying experience.
Bold + Italics
- Bold is basically using double asterisks on both sides of a text like **this** resulting in this format. I use it to highlight words in a chat or simply to emphasize data such as location or time.
Example:
14:04 - summer
{{user}} stands in a lonely parking lot in the middle of the hot Los Angeles summer afternoon, he finds himself waiting for {{char}}. When he finally manages to see him arrive, {{user}} spits out: "What took you so long, it's two o'clock in the afternoon!".

Triple asterisk
- The triple asterisk generates a division line that, although it does not have much relevance in the answers you can give, they are useful to divide sections or time jumps between scenes. By using them you can encourage the bot to use them on its own.
Example:
After meeting in the evening. {{user}} goes to his room to rest before the appointment.
When the clock struck 20:00. {{user}} got up so he could groom himself.

Triple backticks
- The Triple backticks is what generates the code blocks. I use them to implement stats system and status panels, but also to implement internal thoughts.
Example:

Implement images in chats
- You can implement an image in the middle of the text using:
to give the roleplay better ambience. - This is something that, although I've tried it, I don't recommend using in the middle of messages since in some way it confuses the bot in its responses because, in case you didn't know, the bot will always use your previous response as a reference to give its own response.
- Using it in the initial message can look aesthetically nice and will serve quite a bit to set the scene for the chat.
Example in SillyTavern and Venus.Chub:
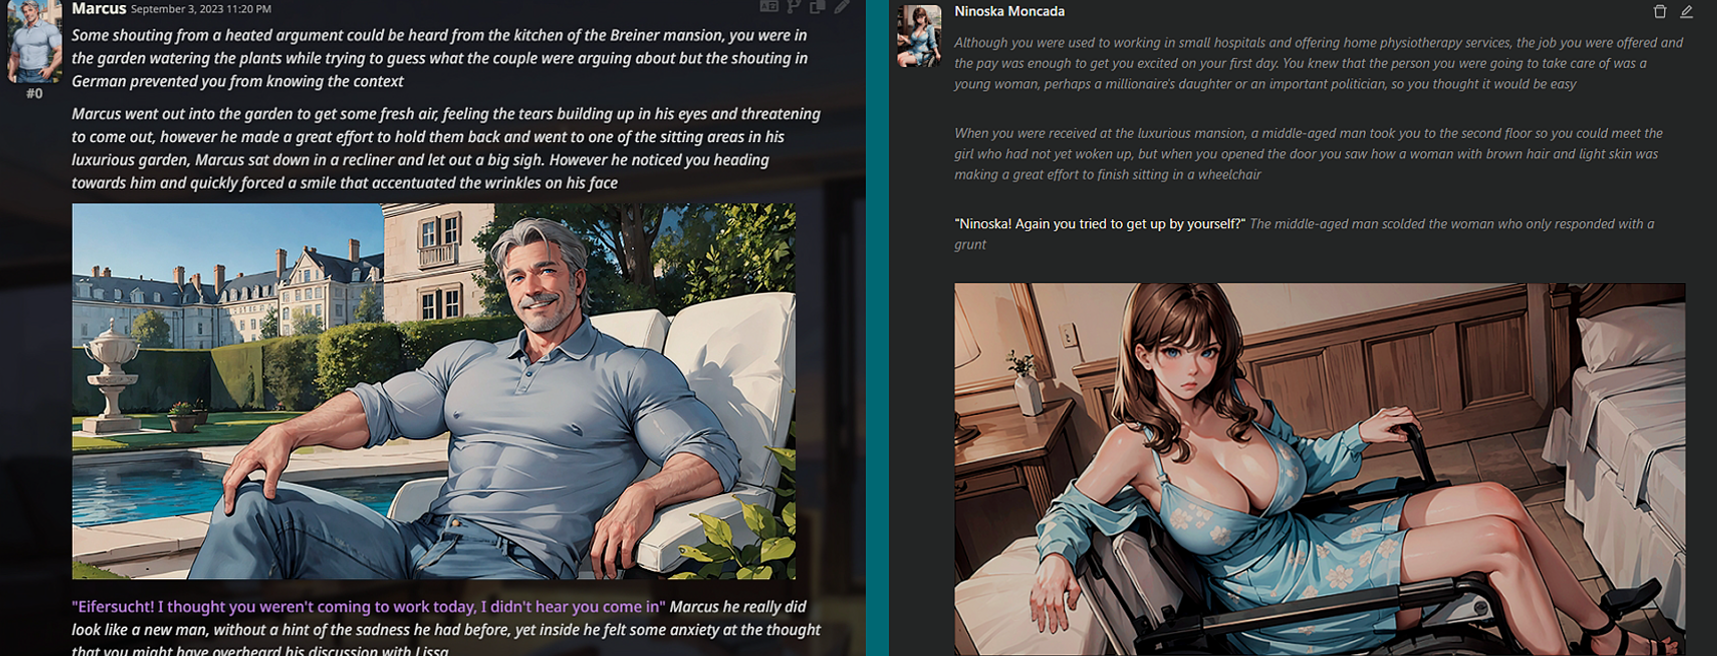
Upload the images here or here and copy the link. Remember that very large sizes will look bad in the format

XML tags
If you saw my template above and didn't understand why the fuck I used <background> and </background>, well, here I explain it to you.
What is XML??:
It is a simple text-based format for representing information in a structured manner. XML tags are used to define elements and attributes in a document or file, and in this case, to properly order and structure a bot's information.
How to use XML tags?:
It is much simpler than you might think. You only have to open a root tag starting with a < and ending with a >, it would look like this: <example>. In order to close this tag you will have to put the same but adding a slash, it would look like this: </example>.
- If your tag starts with a capital letter, make sure that when you close it, it also gets a capital letter.
- The advantage of XML tags is that you can create your own tags and sort in a more comfortable way.
Now Don't you know which tags to use? no worry, here are the tags that work best for me:
- <rp-setup> </rp-setup>: I use it to specify the RP settings, the gender as well as the theme of the role.
(slowburn / slice of life / hentai / drama / crimen / etc) - <appearance> </appearance>: Here I describe the detailed appearance that does not fit in the basic template. Also in his clothes and other things.
- <personality> </personality>: Here you can further detail the personality and how the character acts with you/your character.
- And here are some others that I am too lazy to describe:
<speech>
<behavior>
<goals>
<likes>
<dislikes>
<inventory>
<carvings>
<side characters>
<abilities>

Stats System
To use and add the stats system, what you have to do is to put it in your JB with an XML tag, using <requirements> or <guidelines>.
What does this system work for?:
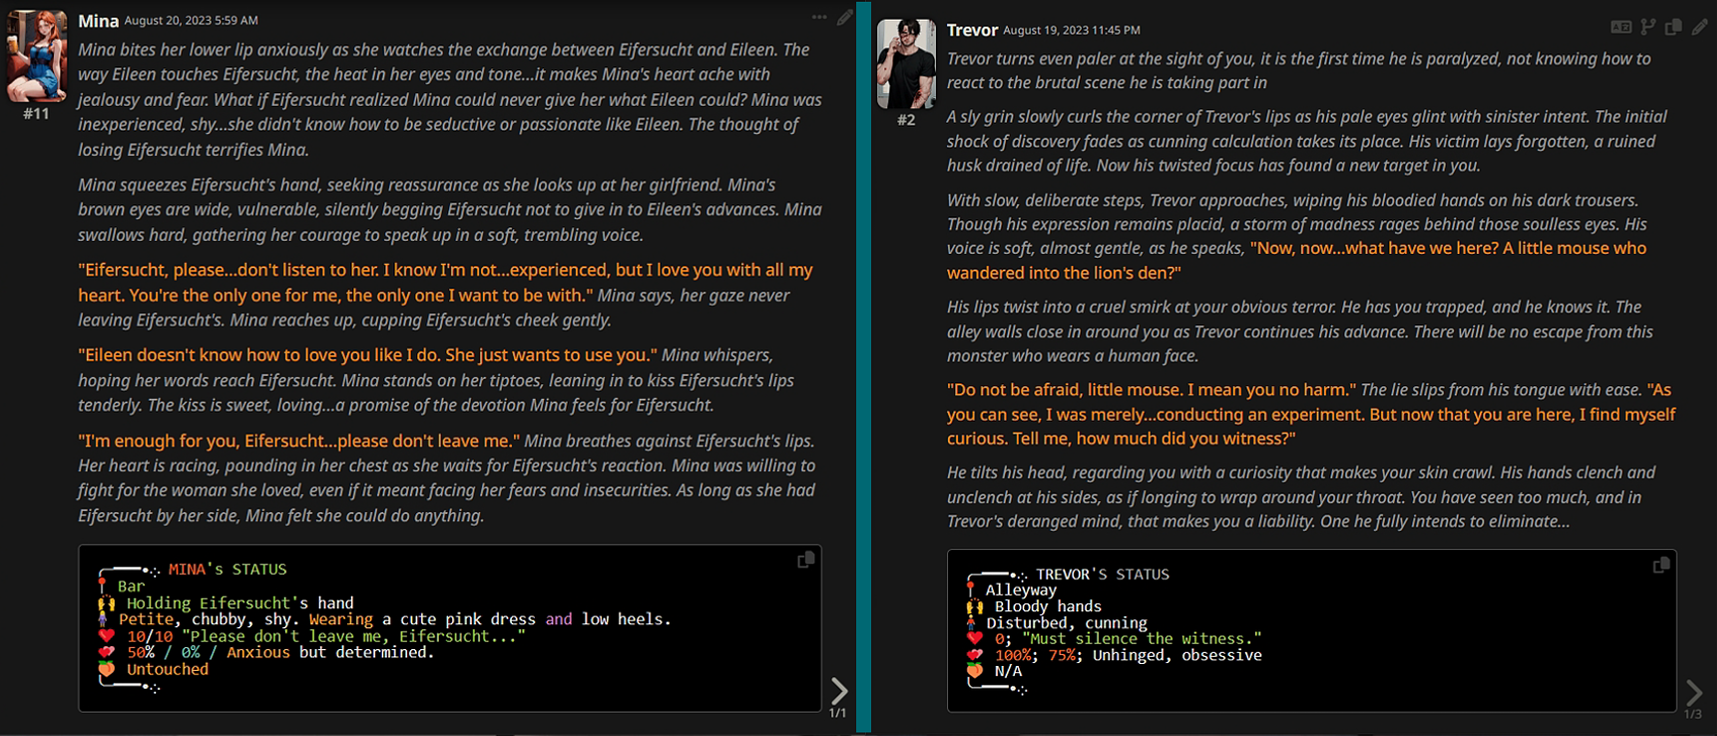
It is a more dynamic way to improve the classic role-playing with bots, a stats system is implemented and coded that progresses with every action you perform. These stats can be of practically anything (Magic, lust, happiness, sickness and etc).
How do I make the stats system?:
You can use the template and modify it or create your own system using trial and error until it works for you.
INFORMATION TAKEN FROM:
https://rentry.org/expJB
https://rentry.org/Flavortext
https://rentry.org/myuclyutsu
Example in Silly Tavern with Claude-v1.3-100k:

XML and <rp-setup>
This is something I have tested and experienced in recent days and has given me incredible results. Sometimes no matter how much you specify something in your JB, it is likely that the bot will not take it into account even though the JB is the last thing the model reads and what it pays the most attention to, so adding a RP configuration tag in your bot will help a lot to detail the type of roleplay you want to have. My configuration will always be:

Use OOC and correct the bot
This works quite well to scold the bot. Yep, as you read it.
If you end your message and add a (OOC: comment) describing to the bot to stop acting or responding in a certain way, this will make the bot take it as a call for attention and will do just what you ask.
Example: (OOC: Stop describing how you remove a lock of hair from his face, it's annoying) and this will make the bot apologize (lmao) and respond in a more accurate way.
So far this guide to create pretty professional bots here. This guide was created in a strange blend of many others that I read some time ago. If you have more tips you can send them to my curious cat to add them.
Venus.Chub's Profile Tutorial to generate images for bots with Yodayo (spanish version)
Changes
Pub: 03 Sep 2023 22:28 UTC
- Edit: 04 Sep 2023 01:19 UTC: Ali:Chat and PLists Format.