Sketching for Img2img or "How to blob"
NSFW images inside.
This page loads slow as bricks because it uses uncompressed pngs. Reason? I'm lazy. Let it load.
All of the pics use dpm++2m karras, this is very relevant if you want to reproduce techniques with the values mentioned.
Summary
This is an advanced img2img tutorial for applied techniques. Most of the basic img2img and inpainting info can be found here. I highly recommend getting familiar with the basic concepts first. The primary reason of this seperate guide is to not bloat the main inpaint guide further.
What this is about
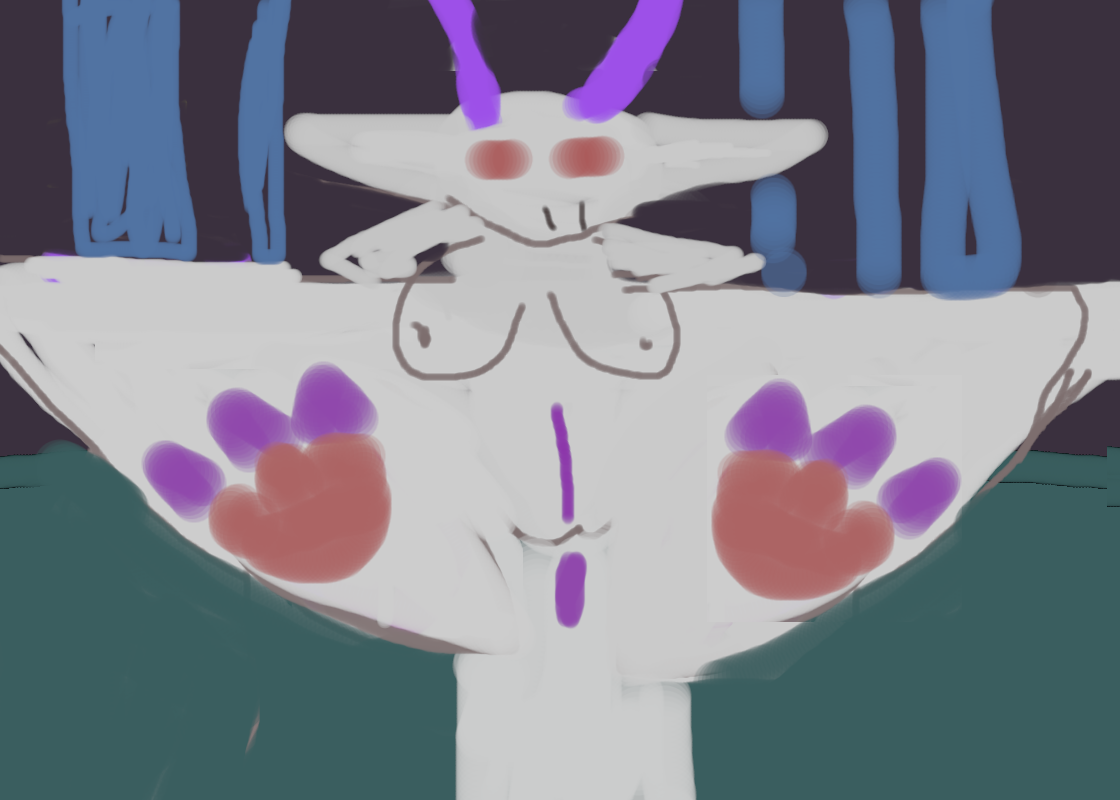
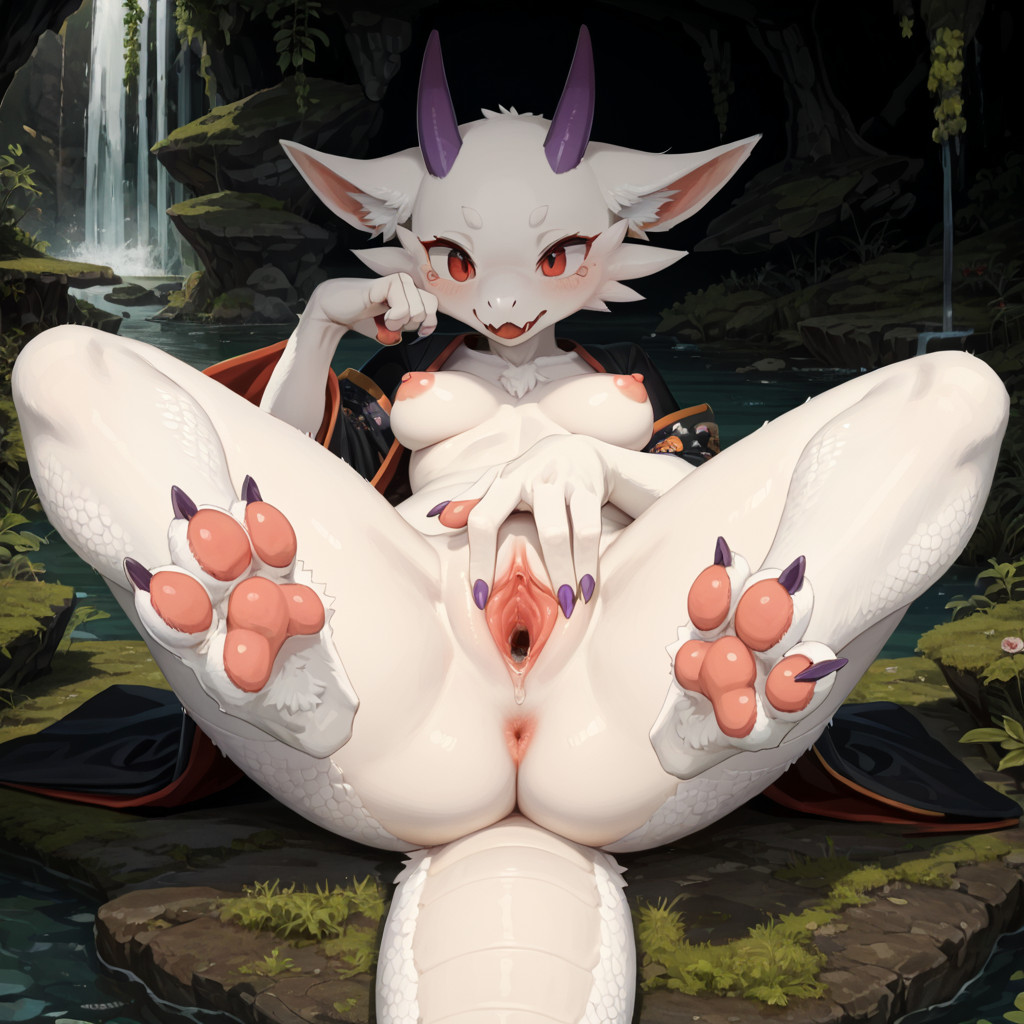
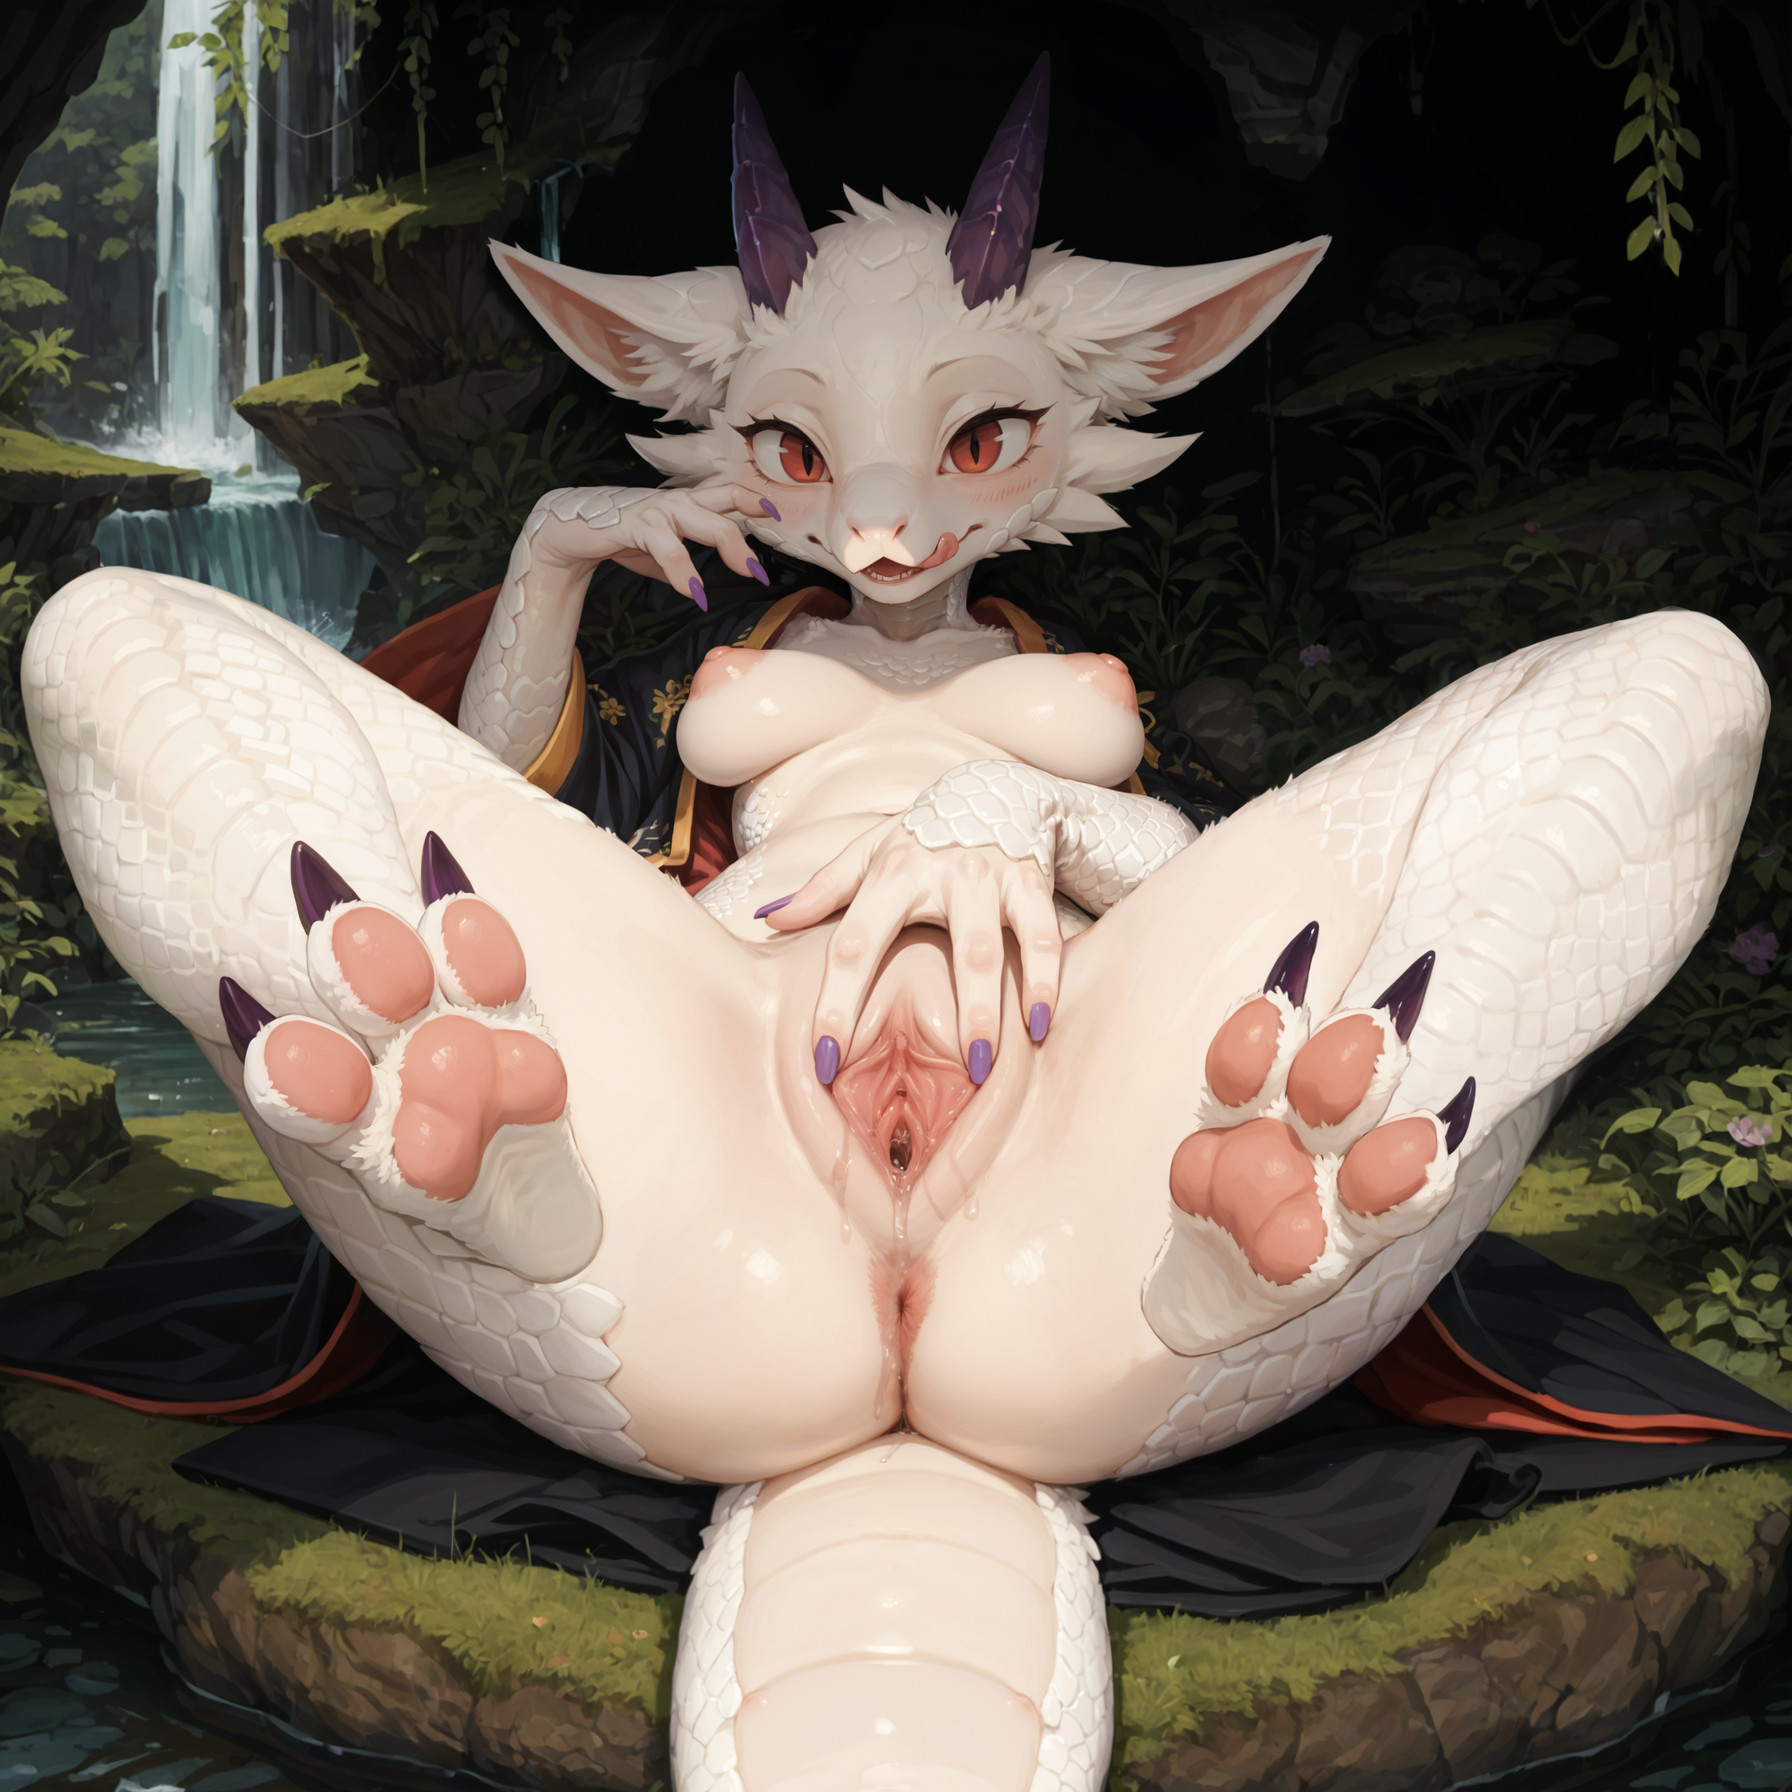
Ai can be steered exceptionally well through drawing extremely crude sketches. And I do really mean crude. Take this as an example:
| Sketch | First img2img | Eventual finished piece |
|---|---|---|
 |
 |
 |
(I actually accidentally changed the aspect ratio on the img2img part on this one and noticed it too late, oops!)
The main idea is that instead of letting the AI generate a random cloud of noise to solve, you instead hand it something that is already very constrained in what it can become. This example also shows that, ultimately, the AI tends to fixate on specific key points for reference, especially those that contrast. When blobbing it is therefore important to get shapes in place. Things like eye color blobs help the AI orient itself. For my kobold the ears tend to be inconsistent, but by shaping them to not go straight up they are far more likely to manifest in that horizontal orientation. The tits were not properly blobbed, not to mention fairly misplaced by me, so the AI nudges them into their right place.
Another takeaway is also that lineart is generally suited more towards controlnets from what I can tell, or rather img2img and inpainting work far nicer with blobs.
What you need.
- A working install of an AI software capable of inpainting and Img2img, I use reForge. For Comfy users, you can likely apply most concepts if you already know how to inpaint and img2img.
- An image editor. It won't be used for any complex stuff, so take whatever you are familiar with. If it has layers and a paint tool you are fine. Examples are Krita, GIMP, or of course Photoshop. You can even get away with paint, though you won't have a good time. I use GIMP because I'm familiar with it.
- Absolutely 0 artistic ability. You do not need a tablet.
- A minimum of effort, this cannot create you a barrage of images and is a slower more methodical process.
- Probably knowledge of how to inpaint and i2i overall. I'm not explaining basics from the main guide.
Some basic terms and takeaways
Denoise and Solving
When you generate an image in i2i at 0.5 denoise, it will treat the original image as being the first 50% of steps of the new image to be generated, then start doing it's own thing on top. This has a couple of implications. 1 is that you may have noticed that images do not converge (get solved) in a linear fashion from looking at the live preview. This has to do with how samplers and schedulers work. On dpm++2m karras the setup converges at around 30 steps, since the first half half of the image (where the majority of solving happens) is already done, the effect of the latter 15 steps is much smaller than one might assume and not proportional. This also means you cannot "brute force" it by adding more steps (this goes for raw gens too for that matter). Other samplers and schedulers will react differently to this stuff.
The second implication is that i2i on blobs needs a larger denoise in the 0.7 range at some point to properly bring out a style similar to what you would get from a raw prompt. On a 30 step gen at 0.7 denoise, it would treat the original image as up to step 9, then gets 21 steps to do it's own thing, which is usually enough to give a style akin to the equivalently prompted raw gen. However repeatedly giving it only a 0.5 denoise (15 steps), would keep it half baked because it does not get enough time to properly 'mold'.
This is why the greatest effects are between the 0.55-0.7 range, and even smaller numerical changes here can have very different effects.
Rethink what prompting does.
A common abstraction for prompting is that you are guiding the AI to a result. Through your prompt you tell the model what you want your end result to be. However just as correct, and in my opinion very useful to rethink for these techniques, is to instead think it to be the opposite way around. When I prompt (1girl, standing), I am essentially excluding 1boy, and all the other positions. This is useful when doing img2img stuff to prompt specific poses, especially the ones that can't be described through tags alone. In my mind, most of what I try here is limiting the options the AI will go for. Pony in particular has very strong capabilities for certain poses, but is capable of understanding more complex ones from visual context alone when tags become limiting.
For example let's say I wanted a character to t-pose. In my blob I draw the rough shape of a very rigid t-pose. Even if I don't tag for it, the fact that the rough black blob is in that shape means there is BARELY anything else it can be. So it likely will be a t-pose. Will it be an actual "t-pose", the meme, or a simulated t-pose, just a simple standing with outstretched arms? Mostly depends on training data. I have seen undertagged poses be represented very well like that. At the end the result is the same though.
Resize by
Toggling resize by and setting it to a scale of 1.0 means you don't have to fiddle with resolutions at all. It helps. On that note, try not to do all this i2i stuff on an upscaled image. Probably extremely slow for most cards. Do your rough edits on the small pic, detail edits on the upscale.
Iterations
Just like inpainting you often chuck your pic back in. Made an improvement? Send to i2i, go over it at again. I try to get my overall pose/composition as close to what I want it to be before inpainting smaller details, and then upscaling.
RNG
These techniques are fairly reliable but prone to breaking very quickly. The more guidance you add in iterations the better. Just like inpainting you often will send your image back to i2i, fiddle with it, then i2i/inpaint again. Much more often than regular inpainting, I have to roll multiple gens to see if one of them sticks. I wanna say the AI becomes particularily creative with blobbing because your 'guidance' isn't solely based on tags. Blessing and a curse, more fucky limbs, more creative and expressive poses. That's probably my fav part about it.
Random Examples
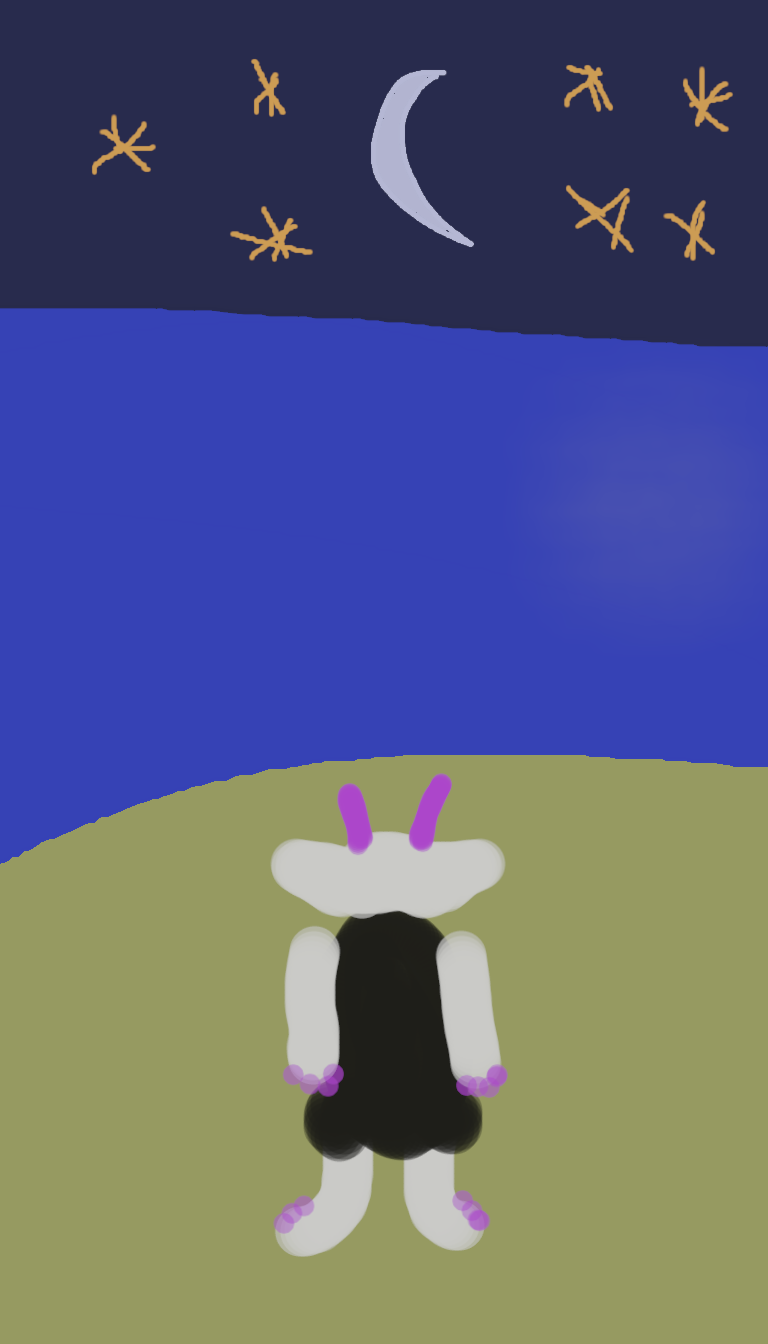
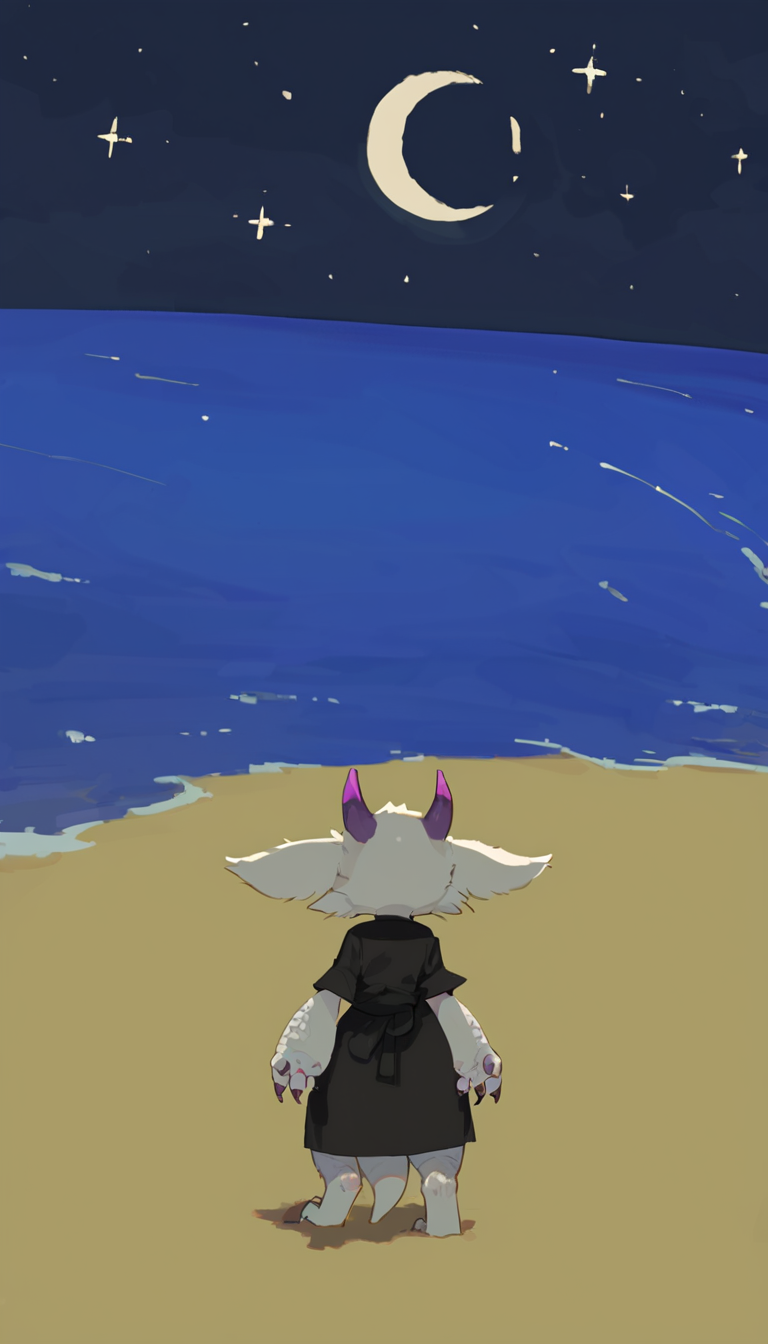
Mission1: Blobbing on a blank
Problem: Models center characters like crazy, regional prompting is cumbersome.
Solution: Become a true artist.
| Sketch | 0.65 Denoise | 0.75 Denoise |
|---|---|---|
 |
 |
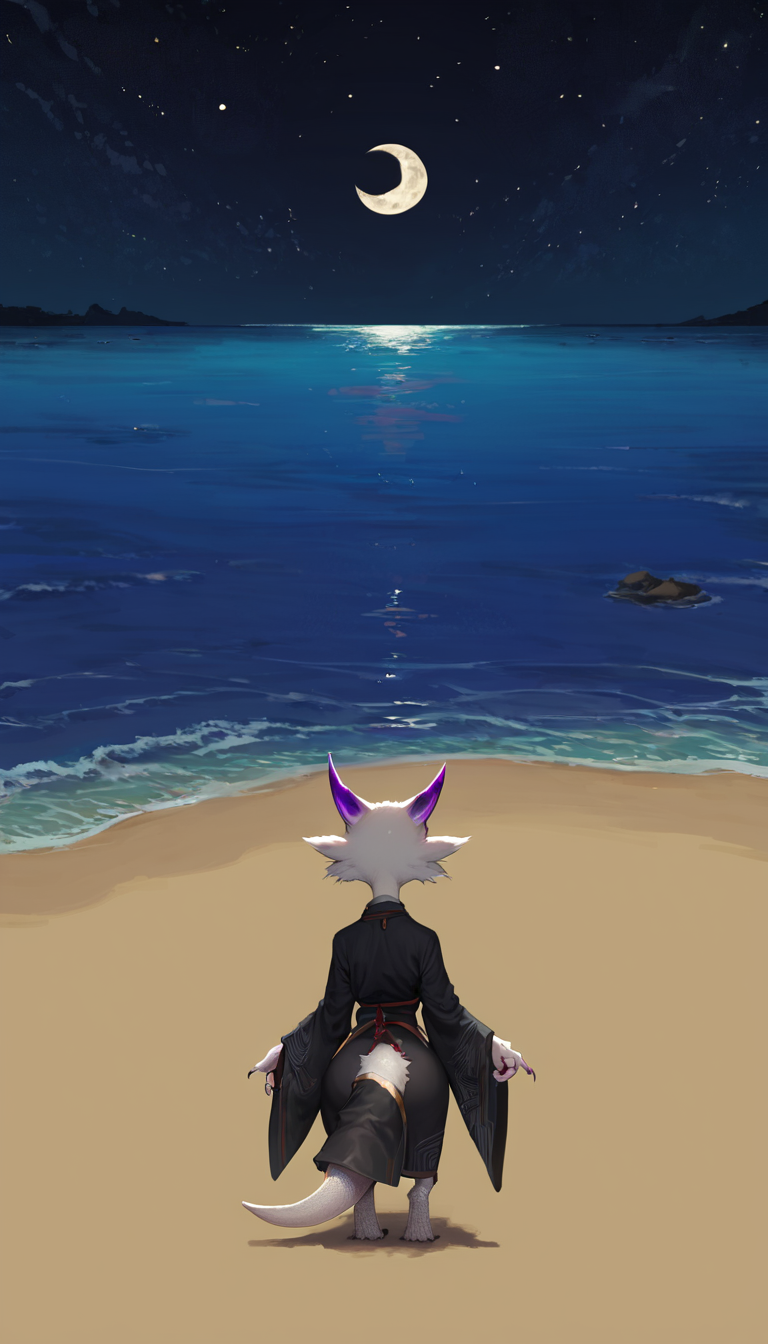 |
The middle one is actually sovlful as fuck. I honestly don't think I need to mention too much here, the images speak for themselves.
Denoise values around 0.65-0.75 and then in further iterations 0.5-0.55 are the values I usually look at.
Both of these examples are first iterations. I could for example take the middle pic, chuck it back in at 0.55, keep the smolbold, but attempt to get it to solve closer to the 'style' of the third pic. As usual, iterations are key. Upside of going with an initially high denoise is that the style forms immediately well, but the sketch gets ignored more. Consequently low denoise first passes do the opposite. Doing multiple medium strength passes is one strong but tedious option. In a lot of cases even high denoise first passes preserve the idea of what you were going for pretty well, so just experiment a little.
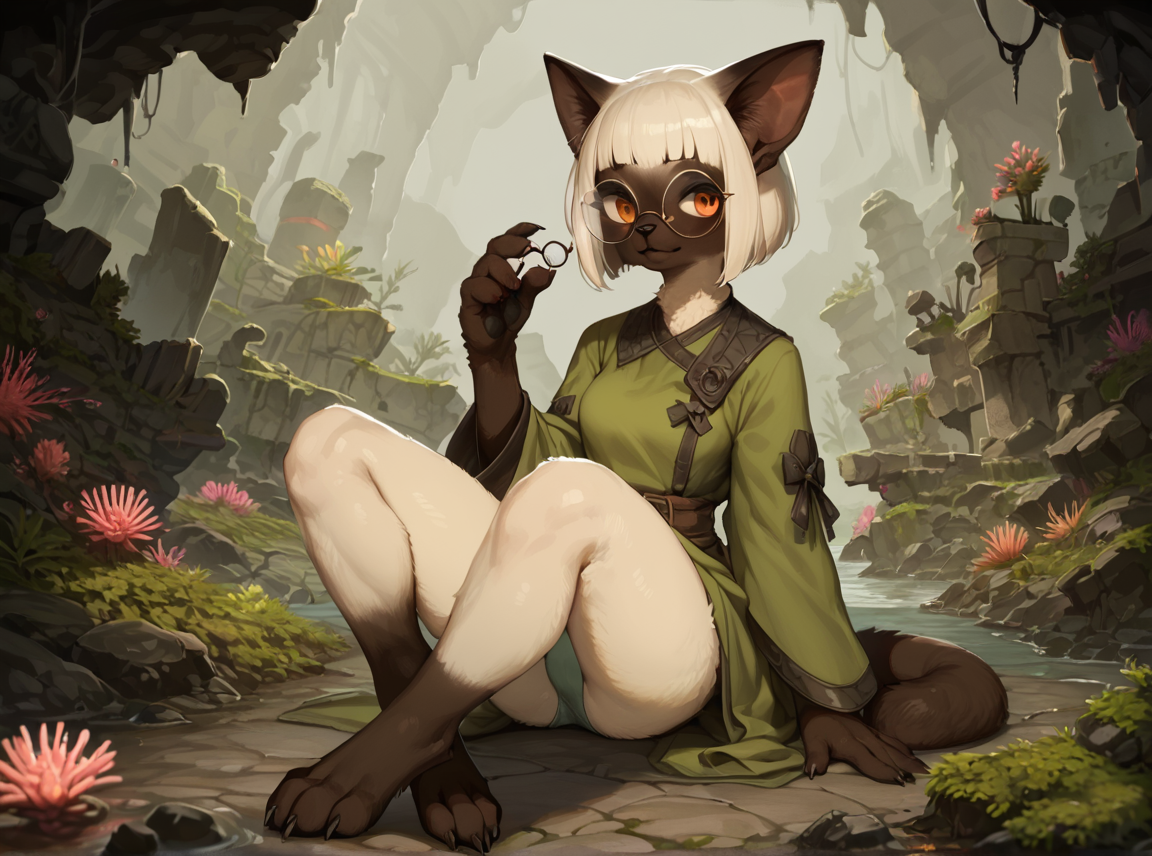
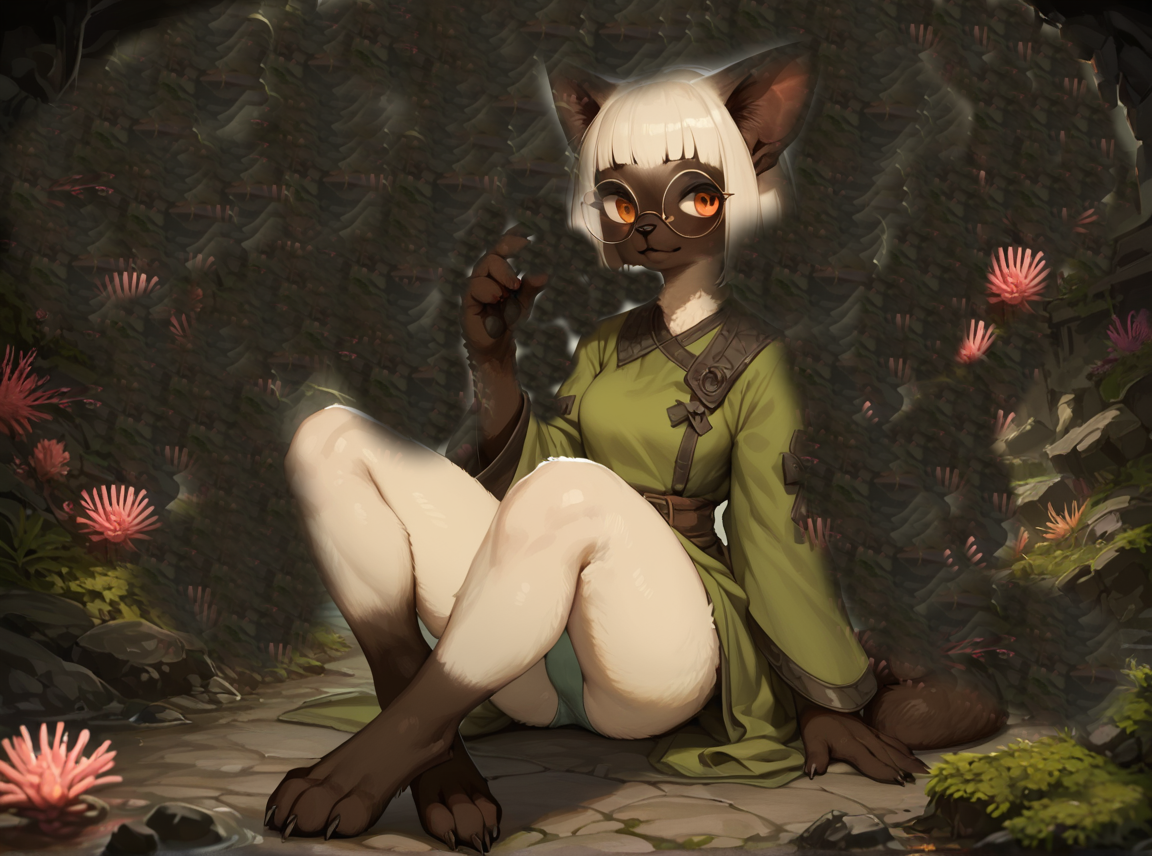
Mission2: Make caves actually caves
Problem: Caves always have an entrance for me and shit is always lit up. Caves are dank and spooky.
Solution: Remove the entrances, set artificial spooky lights, global darkening.
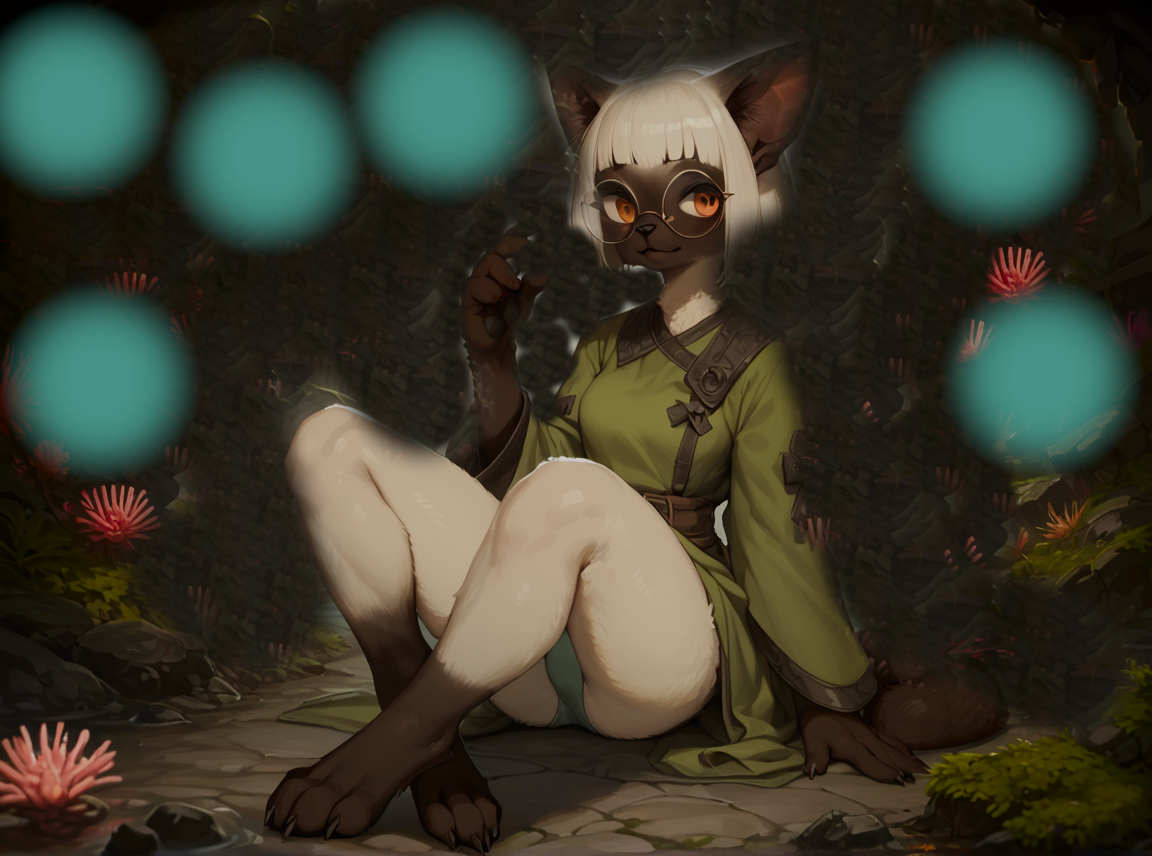
| Raw | Going apeshit with the clone tool | Blobs&Global darkening | 0.65 denoise i2i |
|---|---|---|---|
 |
 |
 |
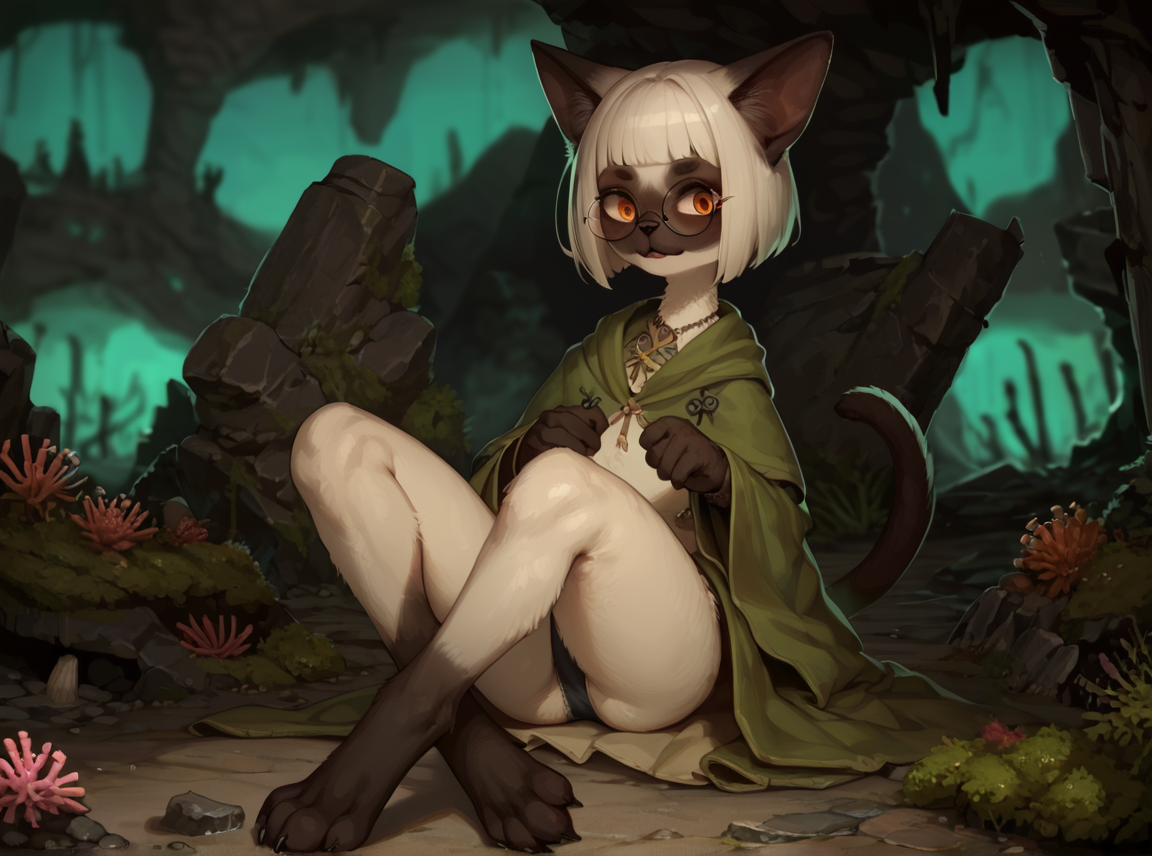 |
My beloved (depth of field) putting in work by keeping the weird blob caverns blurry as shit. Did dorkcat change significantly? Kinda? Can always inpaint after, or reroll on 0.5 denoise and 'nudge' by painting regions. This is probably one of the more common sketch i2i's I do these days, just nudging my overloaded backgrounds. Careful, Pony in particular will want to re-introduce the character lighting progressively on each i2i or inpaint. You may need to darken them again later. On the excessive clone tool usage, if I already have a texture I can borrow, I will take it over a blob since it's naturally noisier. This is also how you make night scenes, just change the global illumination in an image editor, maybe make it a little blue, i2i will think it is night.
Mission3: Insert a character into a picture (this is actually inpainting)
Problem: I want to have my avatarfagsona in the palm of hottie.
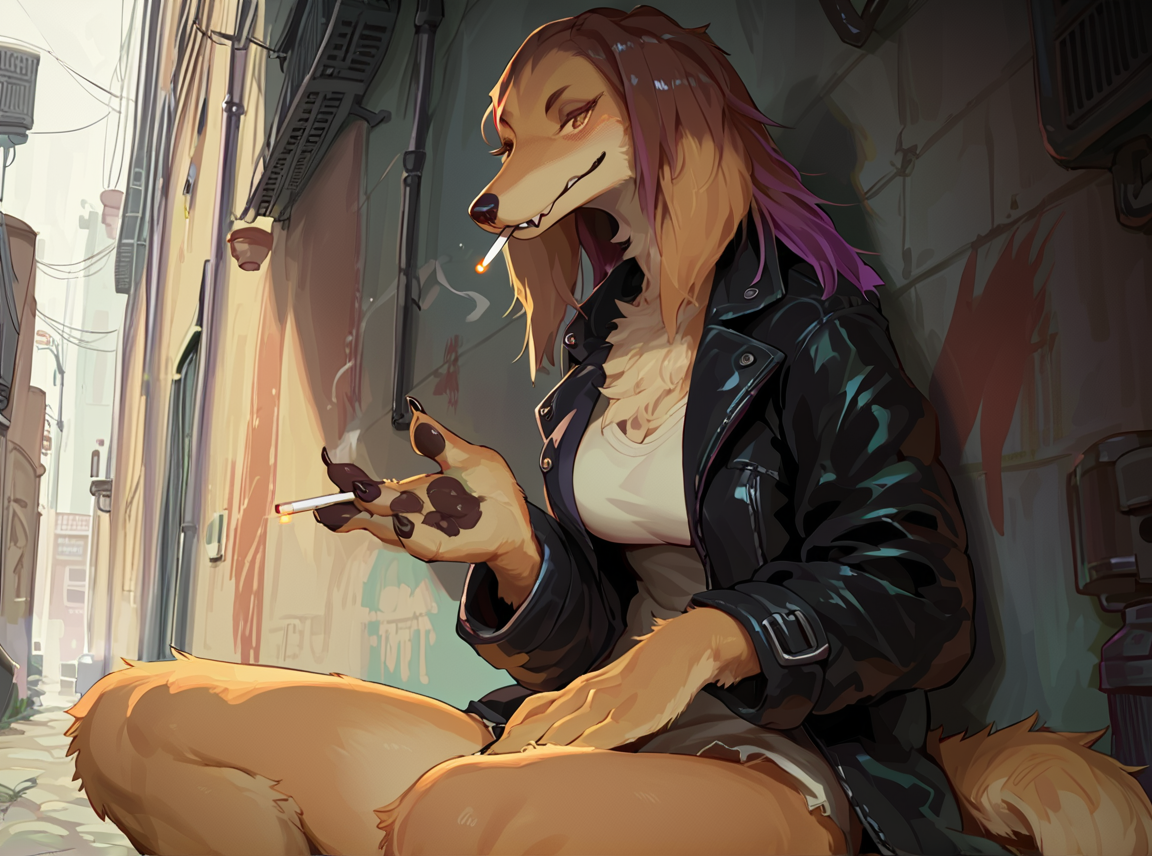
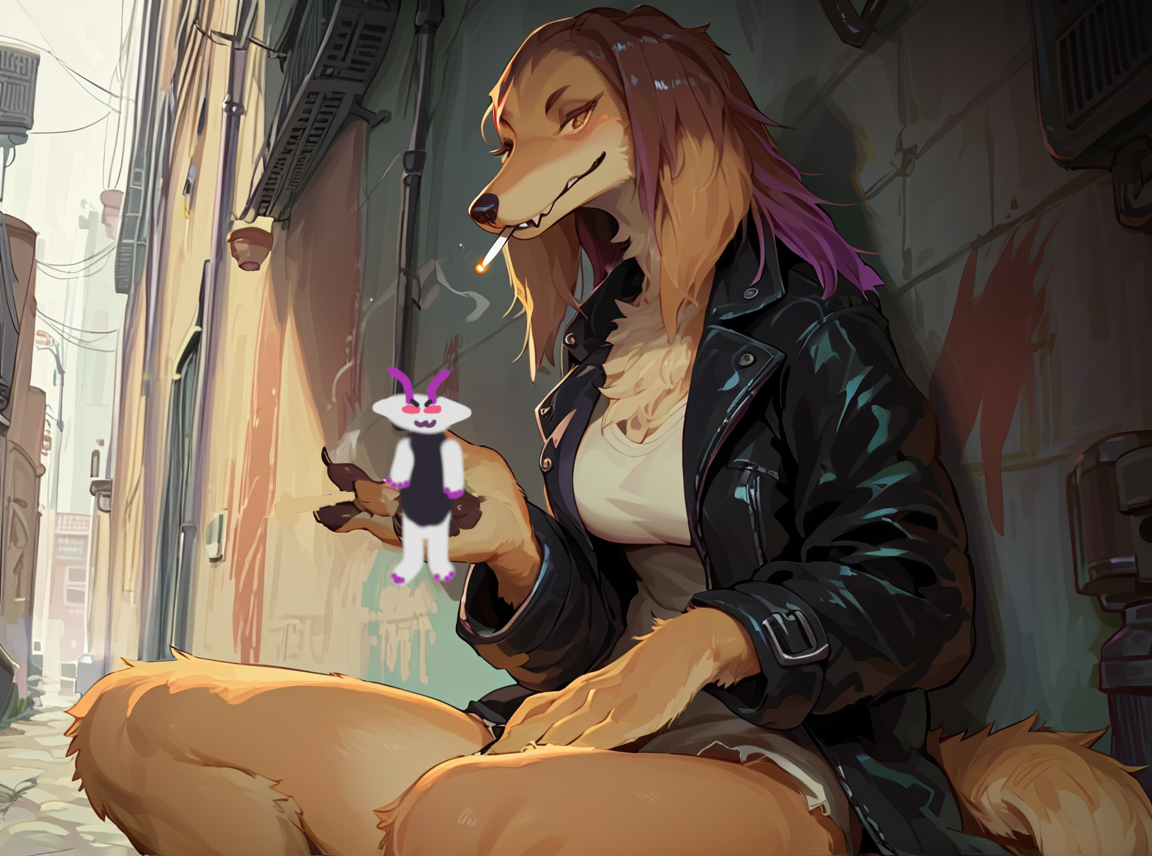
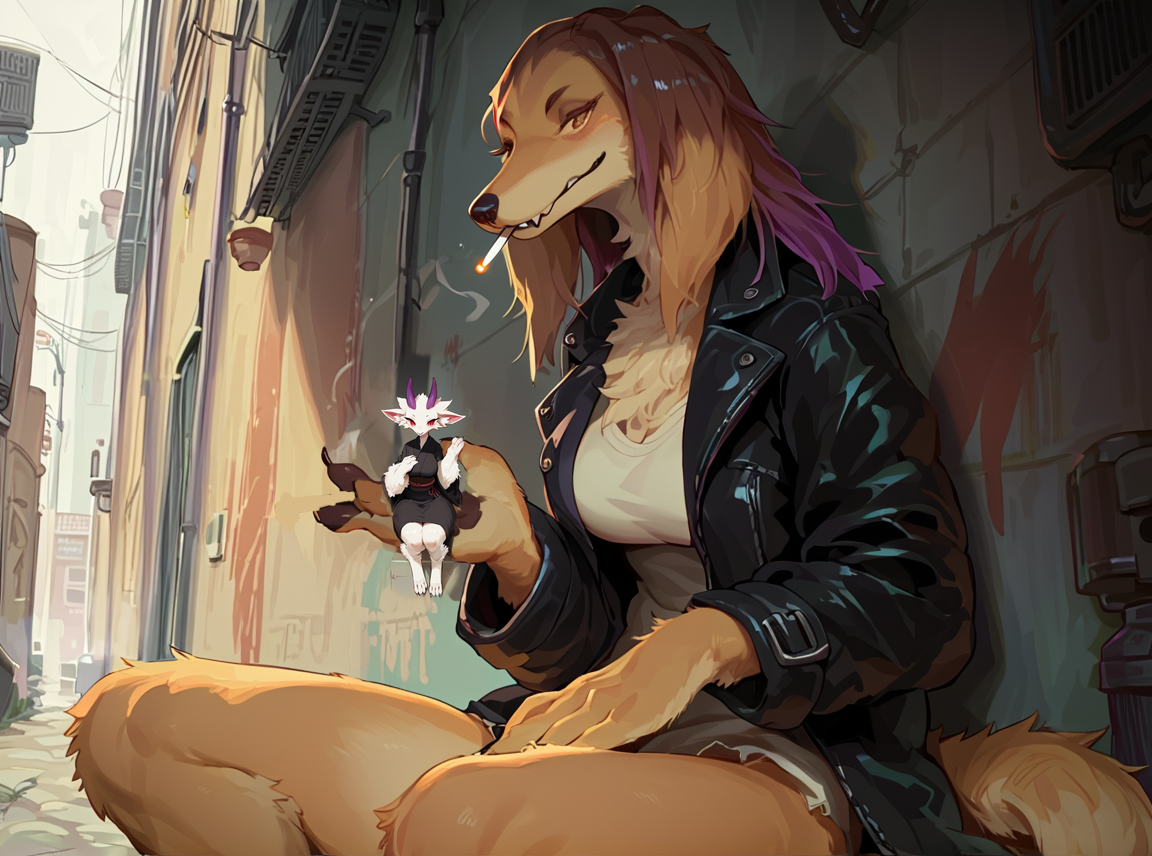
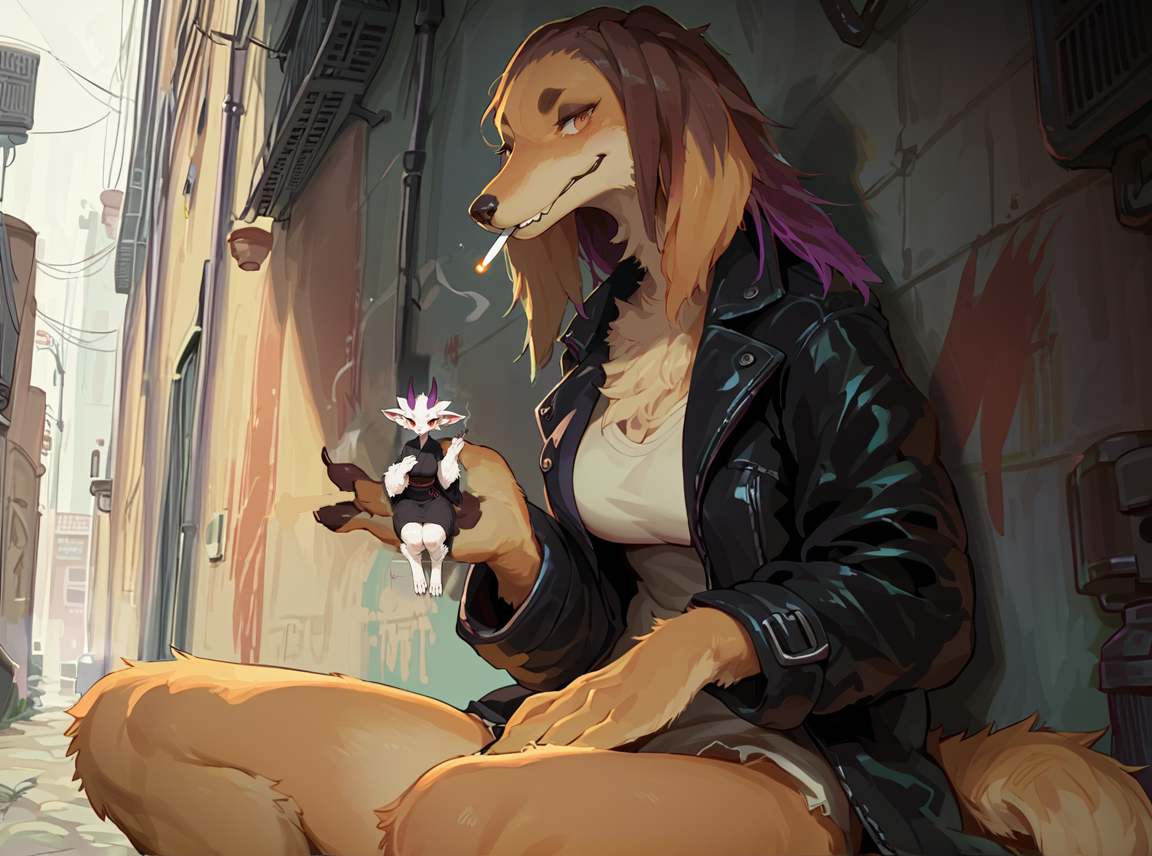
Solution: I blob the char into the region, then inpaint at high denoise (Remember inpainting is just masked i2i).
| Raw | Blob a vague shape of a kobold onto palm | Low padding, 0.65 denoise (change your prompt accordingly!) | Some cleanup because she looked scary. Kobold got a dart. |
|---|---|---|---|
 |
 |
 |
 |
(Probably the most scuffed example in the entire tutorial. This is mostly general idea behind it, I just didn't bother making it look good.)
I trust the reader to obviously pay a bit more attention to detail, this one looks pretty ass. You get the idea though. Hymonie got a strong inpaint halo around her which would get fixed through i2i upscaling. Due to the lower denoises here, she also doesn't exactly look "on model" as much as I would like, but higher denoises made her not sit correctly. In this case I would get her rough shape in place and then try to get her correct in the upscaled version because I have more total space to work with. So the partial problem here is that she's tiny, wasn't the smartest decision for a tutorial.
An alternative solution to this problem is to gen a char separately then drop them on the palm, then blend them in with low denoised inpainting. Perfectly fine, has it's own problems, mostly related to style mismatches and global illumination and the like.
Mission4: Haha funny lole
Problem: I desperately wanted to make a 'blobbing' joke. I am not funny
Solution: None
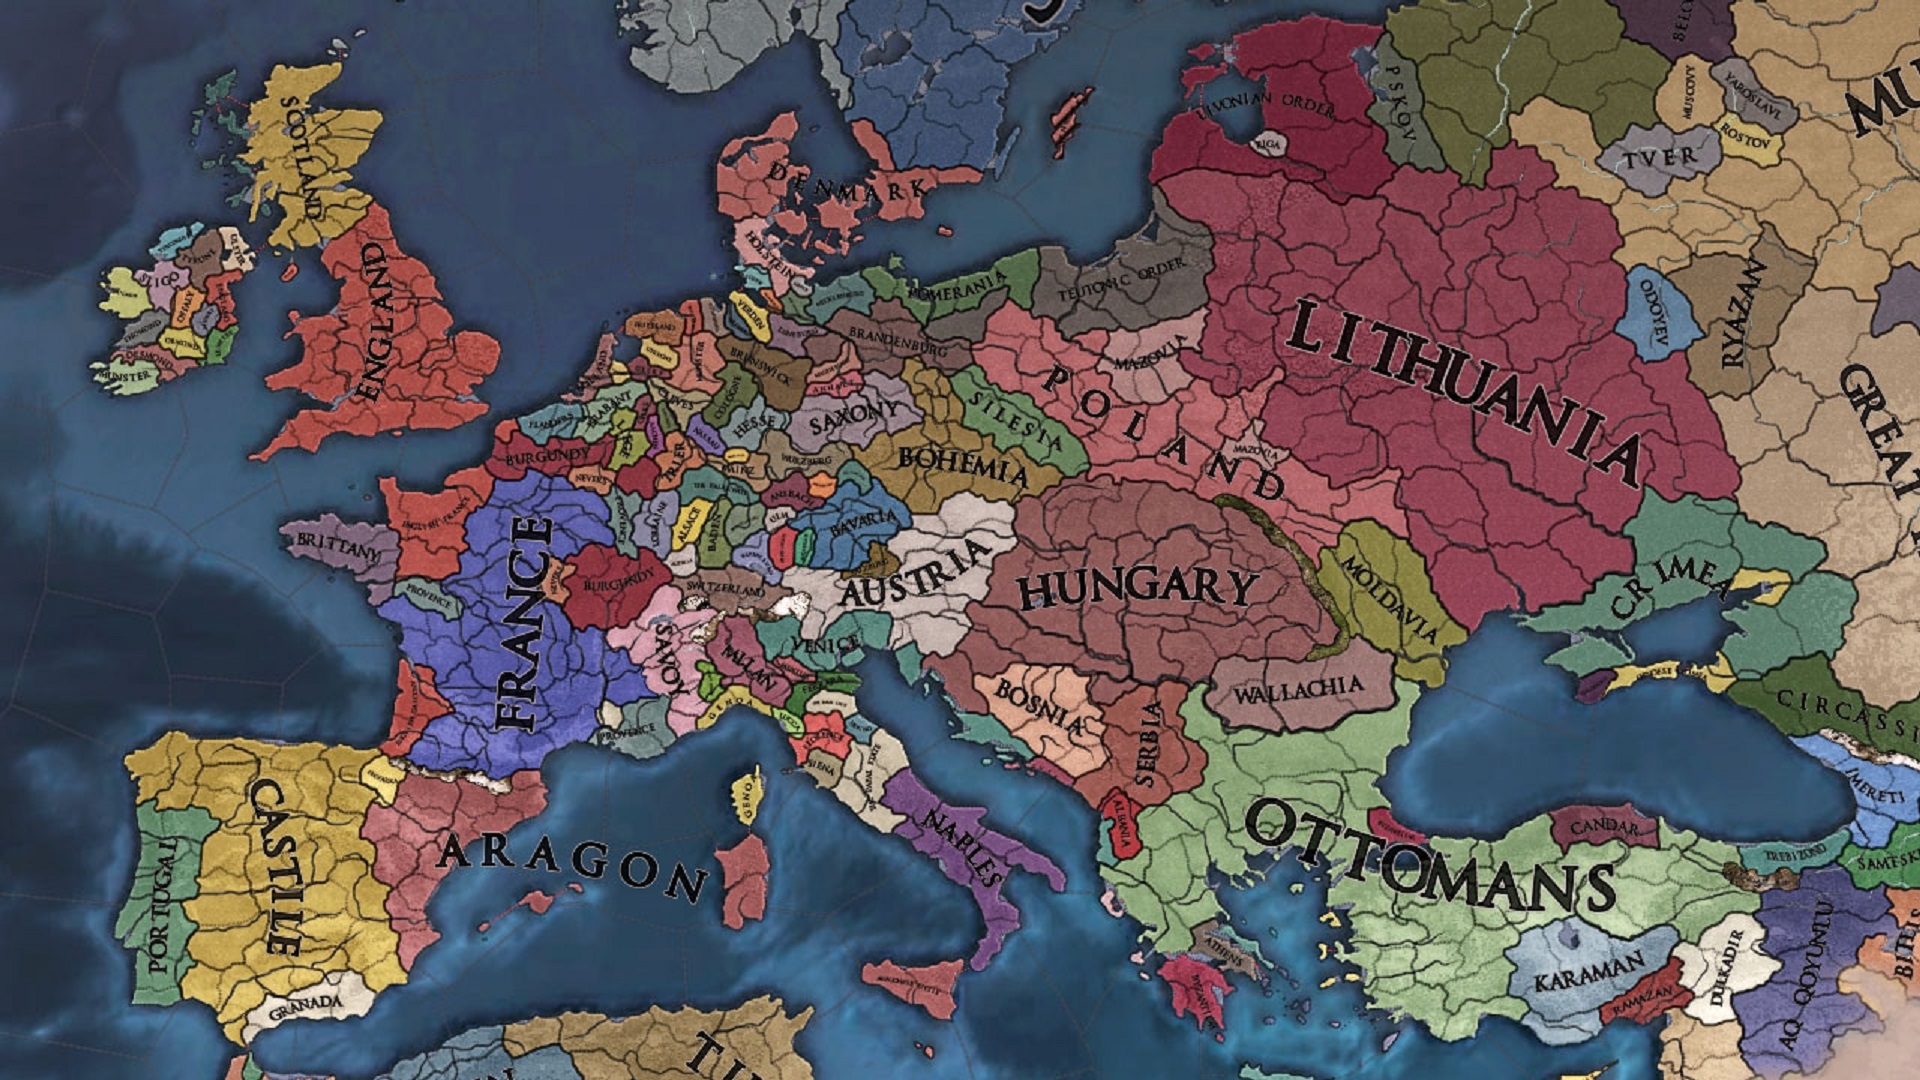
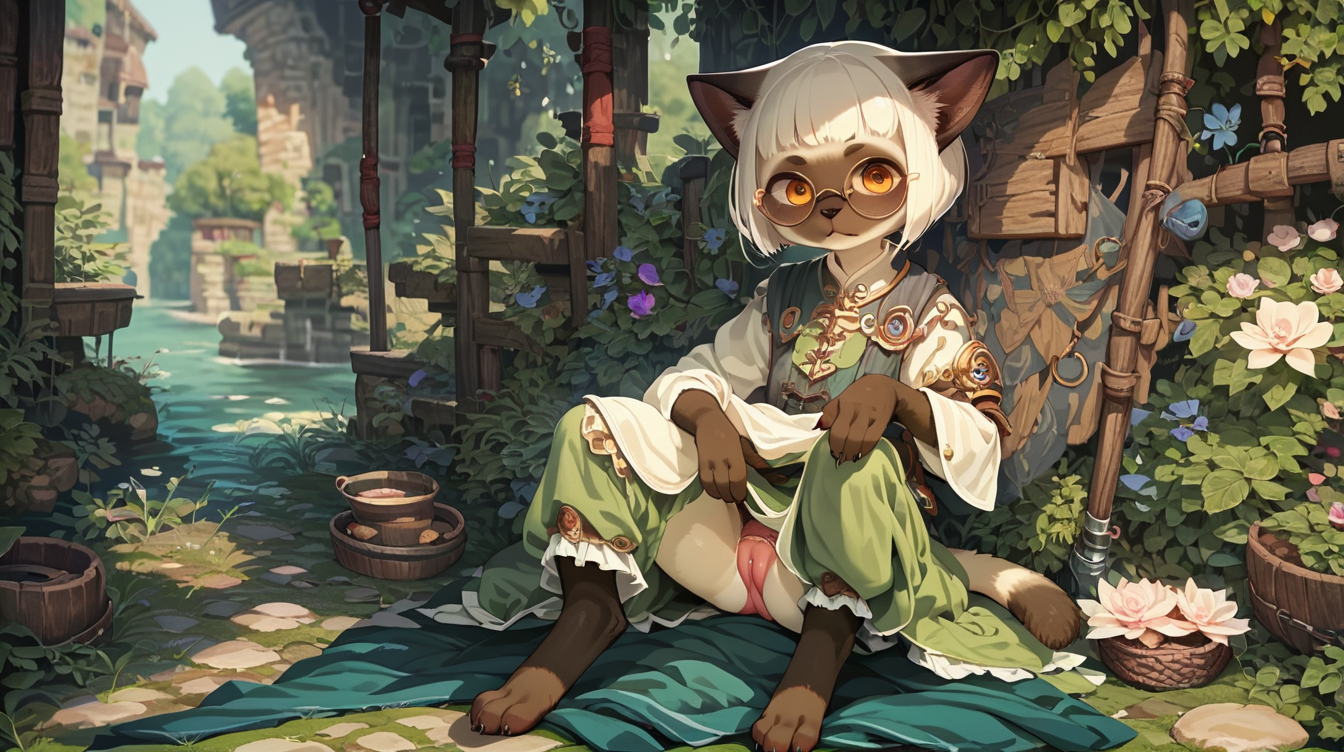
| Game screenshot | 0.75 denoise i2i |
|---|---|
 |
 |
Highlights:
Italy kinda turned into a foot (wishful thinking).
Albania is now a panty.
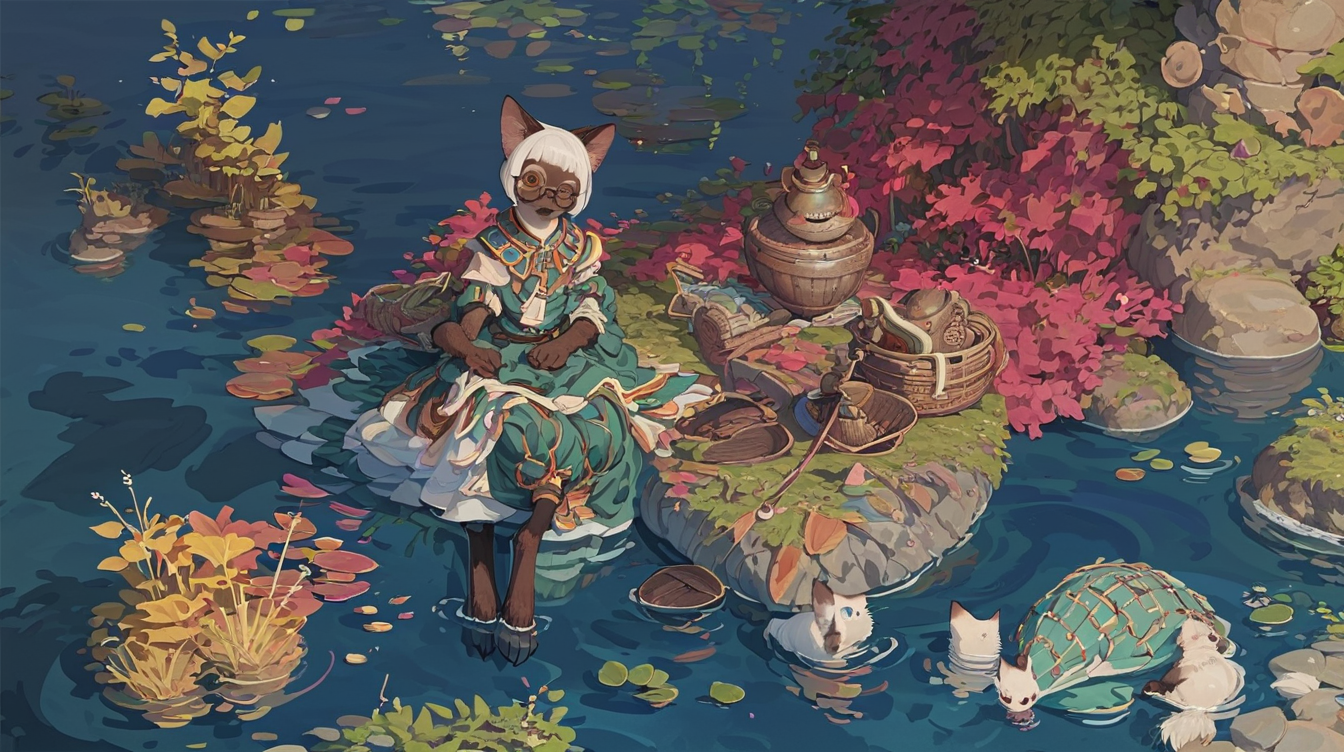
Jokes aside, you can use literally anything as i2i noise. Obviously on a 0.75 denoise i2i not much of the original gets preserved. This looks pretty similar to what you would get raw genning in posing structure.
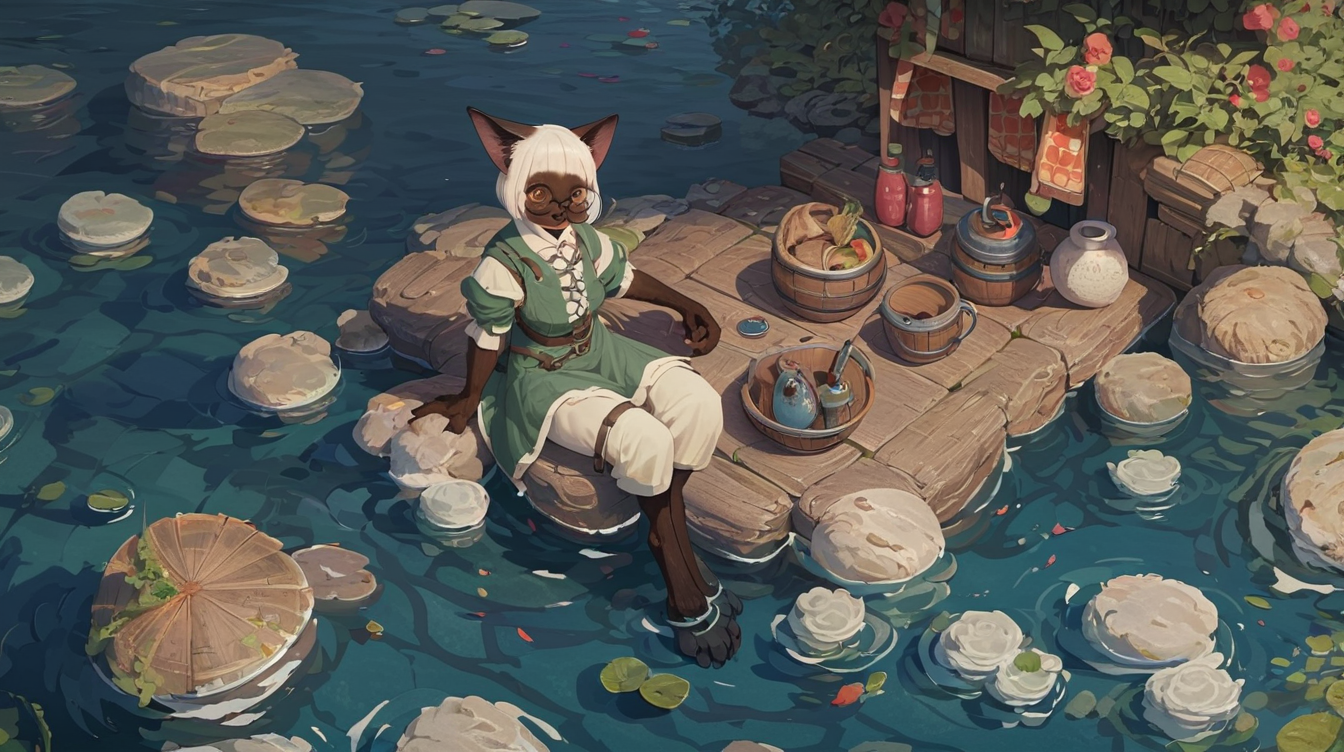
| 0.55 on screenshot above | 0.6 iteration on last | Minor char inpainting |
|---|---|---|
 |
 |
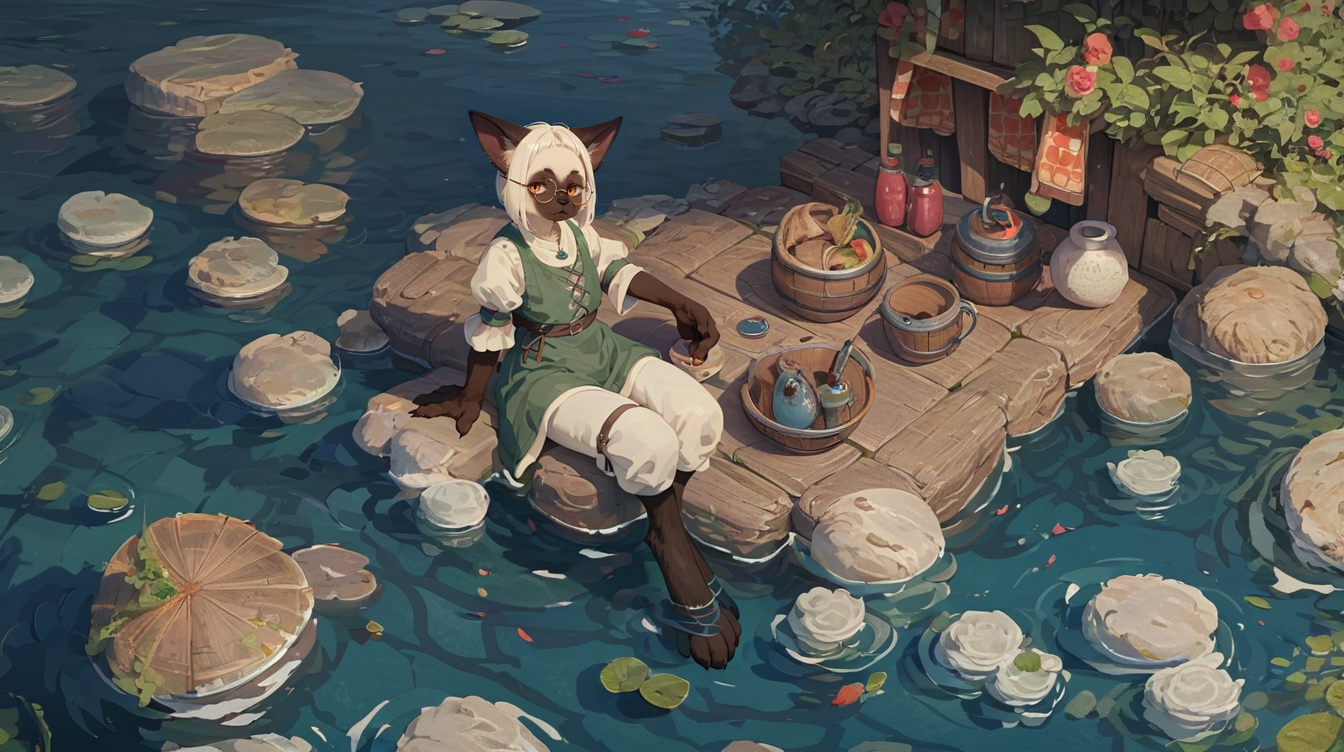 |
Another example of how you can preserve more of the original. Obviously she looks like dogshit if you just i2i at 0.55 since the image can't solve itself. Main point I'm trying to make is that you can nudge poses and take the (1girl, standing factor) out a little. The AI just gets constrained and desperately tries to make an EU4 map screen a dork cat. It can't how it usually wants to, so it does it as far as it is able to. Confidence for composition then increases on subsequent i2i, hence why you can raise the denoise a little. The flowers died because I added them to the negative btw, you can easily keep them.
Sketching on prenoise
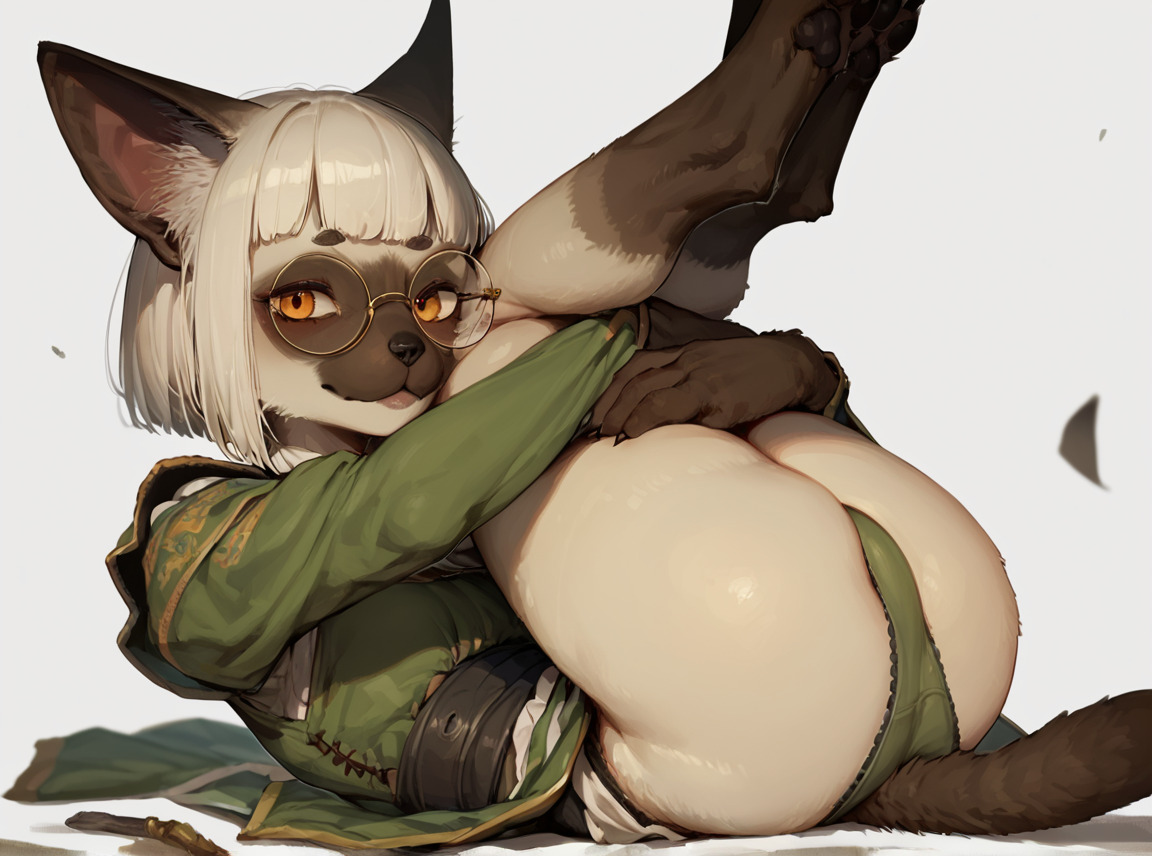
Reference raw txt2img gen on this prompt setup. Mostly take note of the overall style.
 |
|
(I took out realistic/depth of field from the prompt for the later examples. Just looked weird, will not influence takeaways.)
Prenoise
Prenoise sketches
Img2img works with a denoise value, which means it will preserve a percentage of what you already have in the image. When you blob, you tend to not create the type of noise that AI feels confident to mold into something else. As an example, if I have a white background and i2i, it will think "hmm this is most likely a blank white background". Even at high values in the 0.75 range it will feel very confident that a continuous whitespace is meant to be the background.
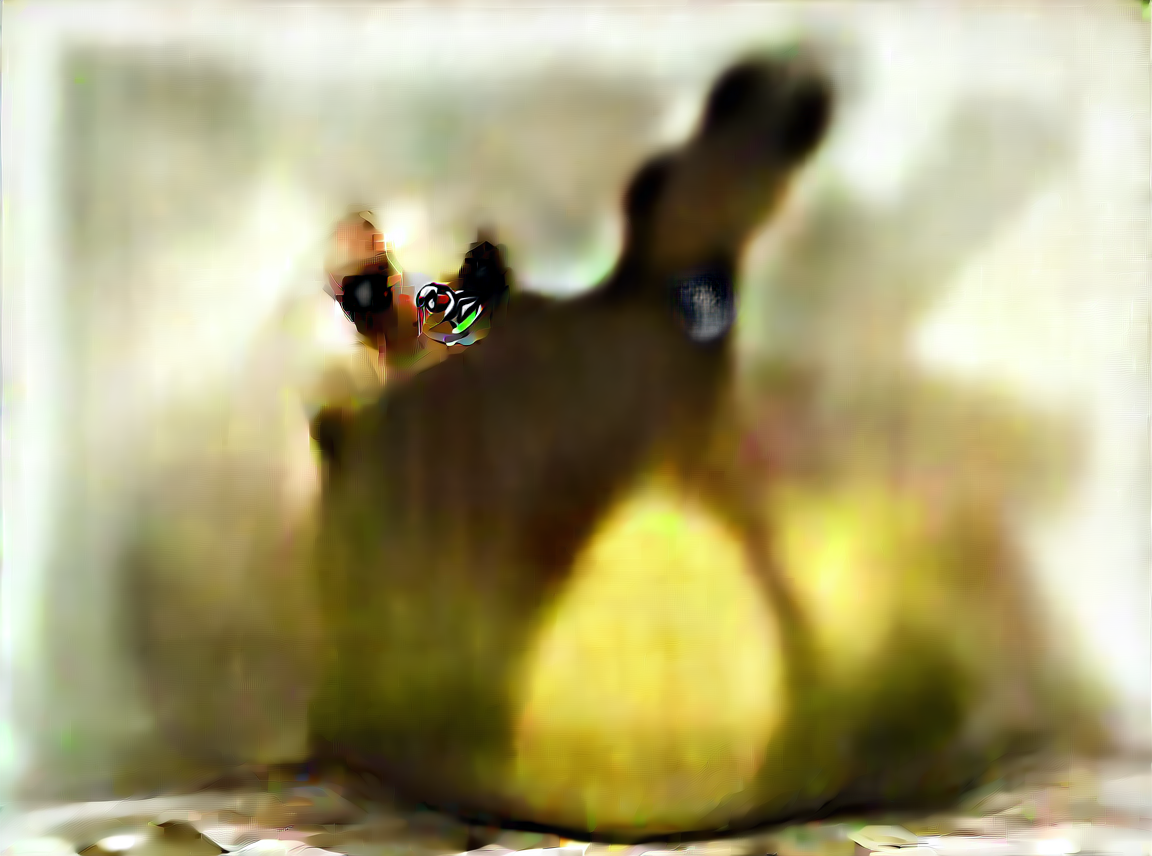
One way I have solved this issue for myself, is to generate something I call 'prenoise', which is just an understepped normal gen, usually with 3-5 steps. That way you end up with a shitton of juicy garbage that the AI wants to properly form into a background.
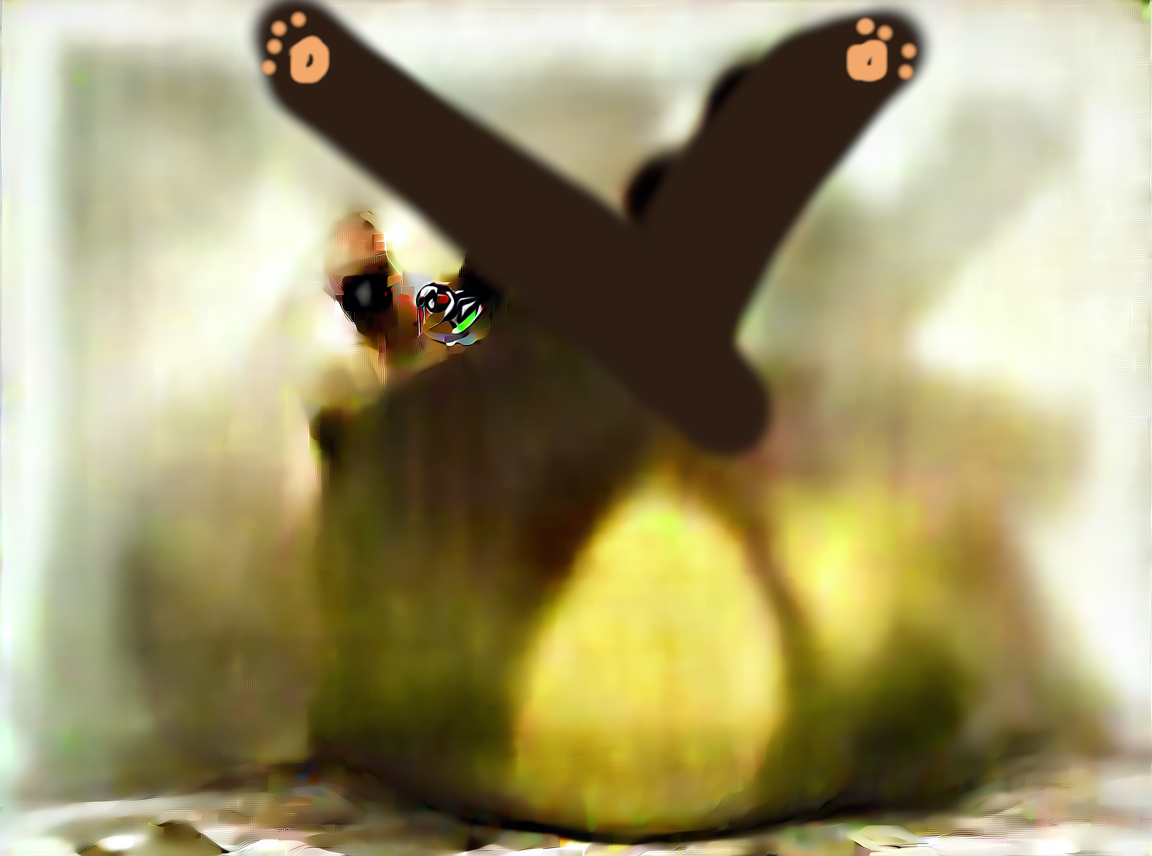
An alternative way to look at it is as an even lazier sketch option. You generate half the blob, then drag and nudge the rest of it into place like molding clay, then finish solving it with i2i.
| Prenoise(above prompt for 3 steps) | Sketch(just the legs) | 0.65 denoise I2I |
|---|---|---|
 |
 |
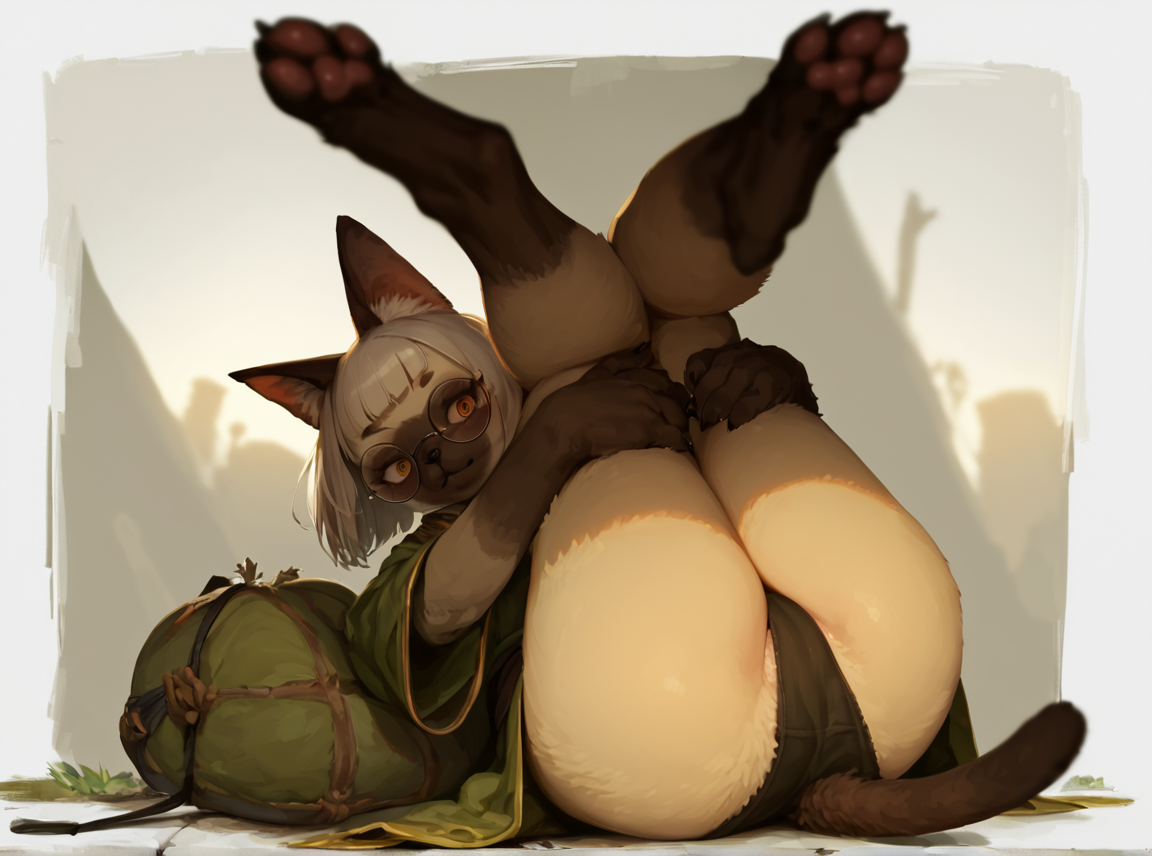 |
This is a (hugging legs, legs up), prompt. Hugging legs isn't well tagged, legs up somewhat is. By doing my sketch this way I give the AI basically no choice but to cross the legs. Of course without the sketch it will still turn into something similar, usually having the legs on top of each other, but this lets me ensure this position. Feel free to tinker with the sketch as much as you like. In all honesty this is a very simple pose of course, but it can get very consistent even on complex positions.
In the above example the yellow tint is preserved very strongly. If you recall the earlier blurb about "solving" images, it has to do with that. If I wanted to get rid of the yellow hues that got carried over from the prenoise I would either colorize the prenoise, or gamble with a higher denoise i2i. You can also just blob over the major regions of the character, maybe on a lower opacity.
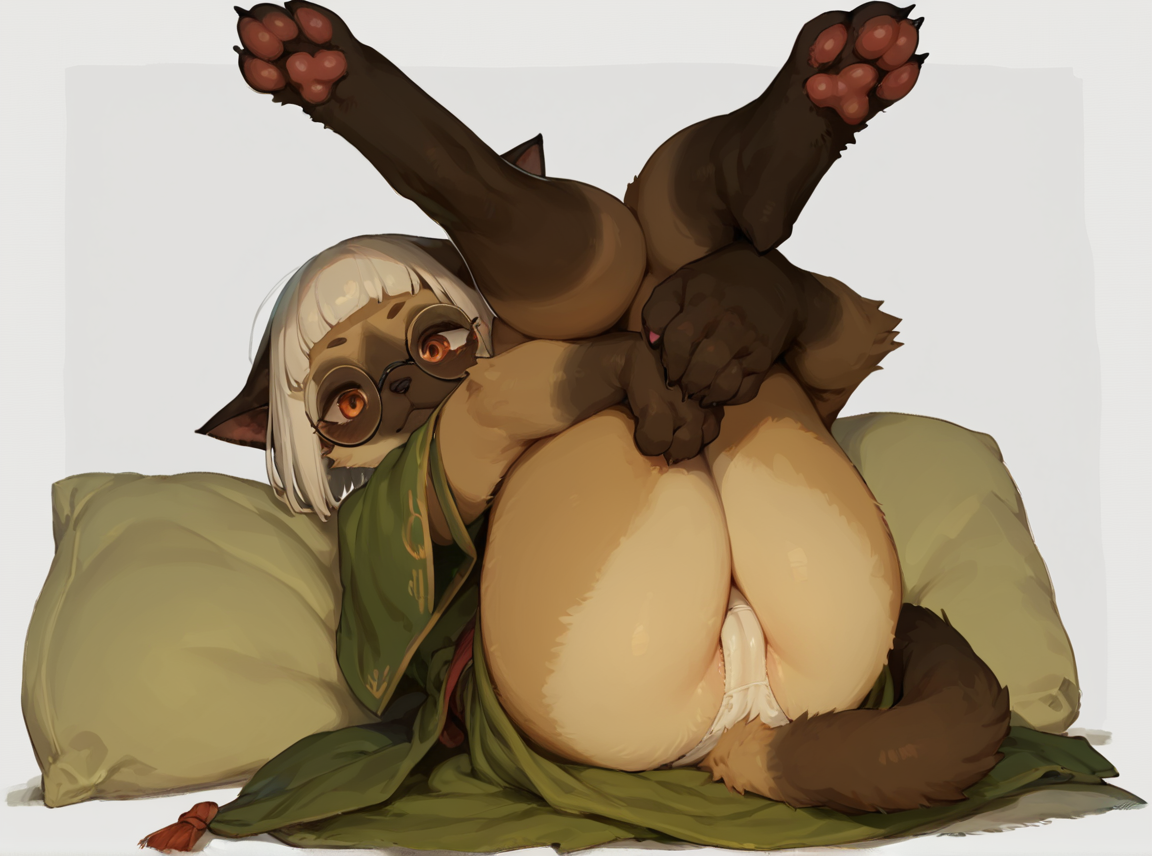
| 0.75 denoise on the sketch above | 0.8 |
|---|---|
 |
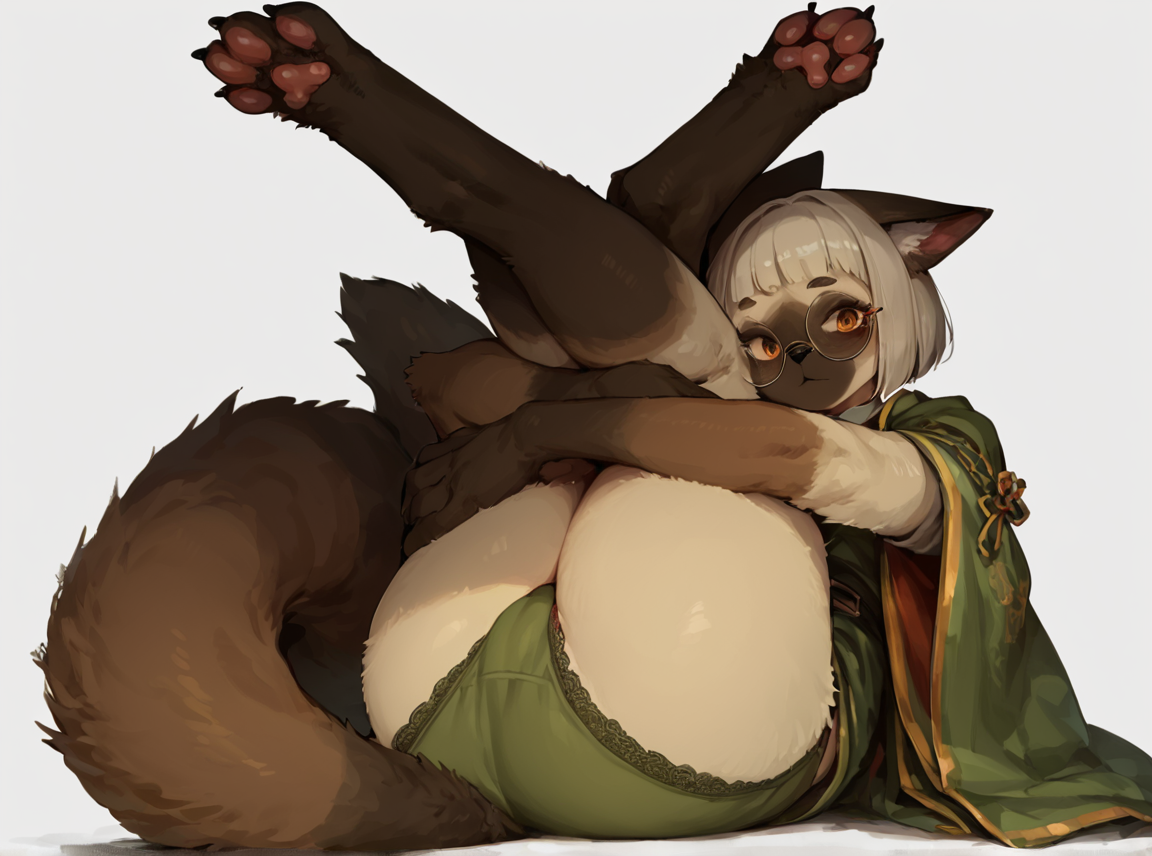 |
Higher denoises run the risk of ignoring more of the sketch, but let the style match what you would get raw. You can iterate on a sketch over and over at 0.55 denoise, but the main takeaway is that you need at least one sufficiently high denoise pass in the 0.7 range for the image to form properly. Afterwards you can run 0.5-0.6 all you like.
Again, all of this can be good or bad, I think it offers interesting style choices if you don't just cook the image too hard. Even here on higher denoise the yellow tint is preserved somewhat, at the 0.8 denoise mark the sketch tends to be ignored pretty strongly. In this pic the guidance for the paws was fairly isolated so it still worked, but don't count on it. This is also the point where she will start having her face on the right side even if the sketch somewhat implies the left. The blessing of course is that you can influence colors and style pretty nicely.
Random Prenoise examples
Gacha
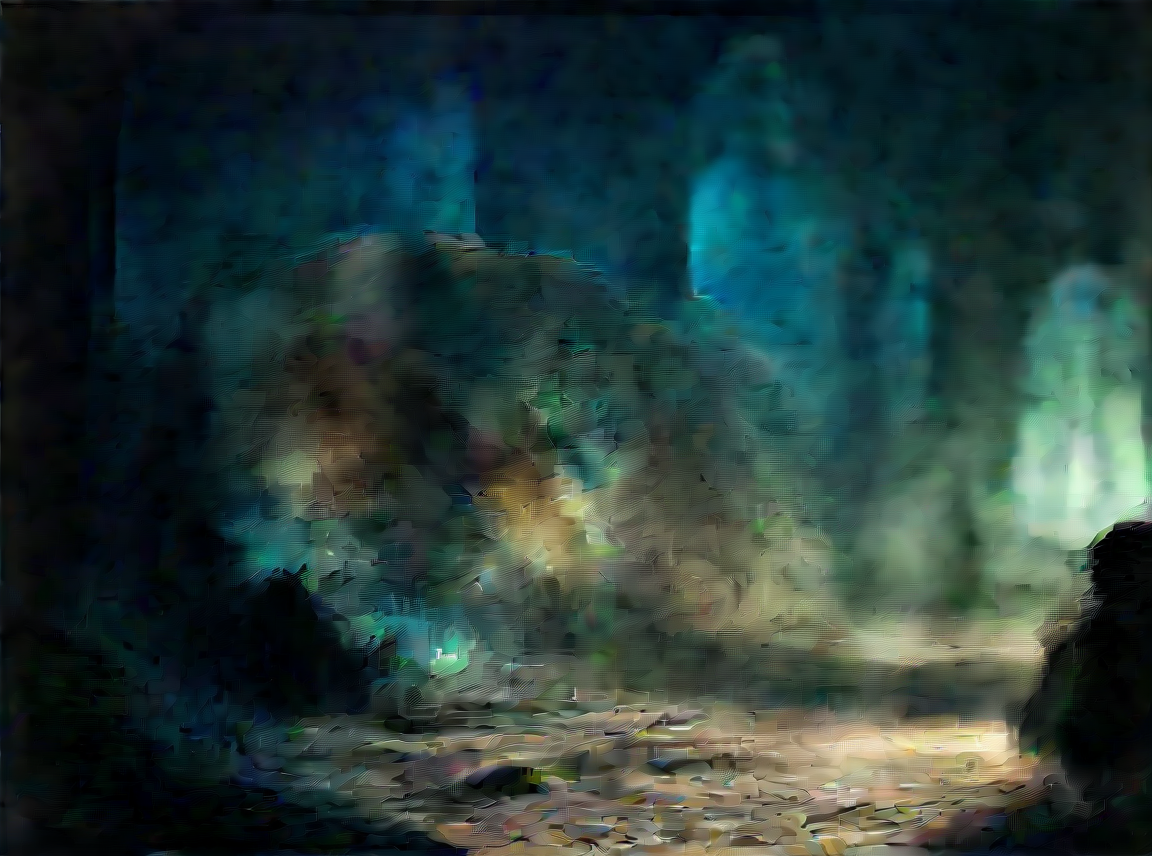
dungeon, black and blue theme, dark lighting, night,
| 3 steps | 30 steps |
|---|---|
 |
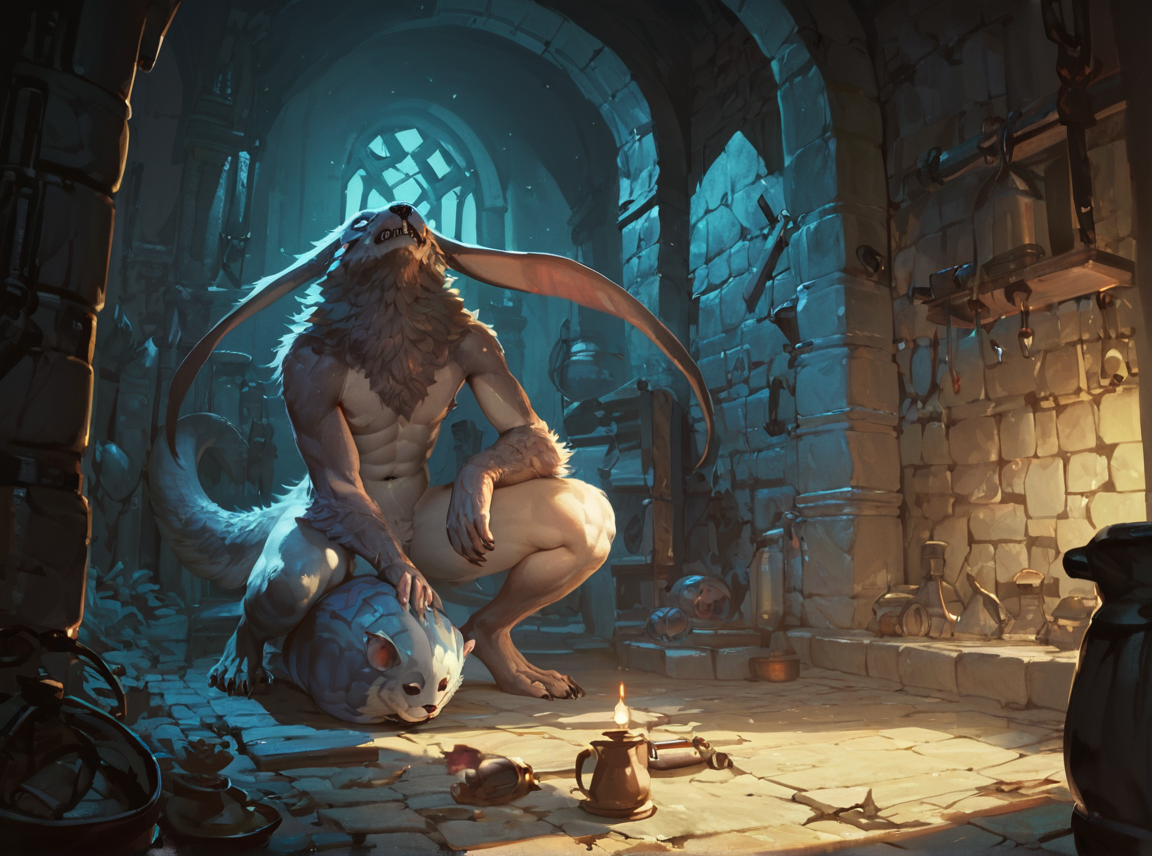 |
Gave a blue-ish cavern-ish noise. The full 30 steps for comparisons sake placed a bunch of squatters because of source_furry. When making prenoise bases I don't really care.
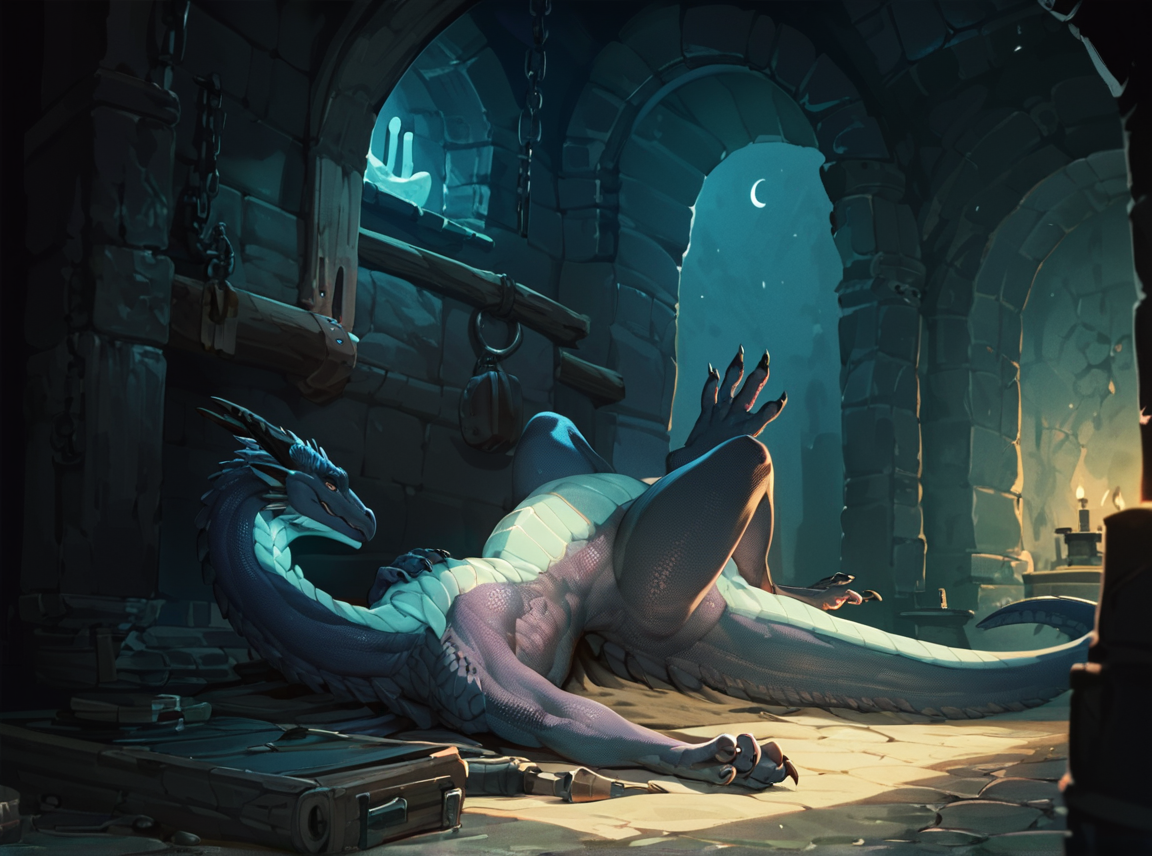
0.7 denoise on the 3 step pic
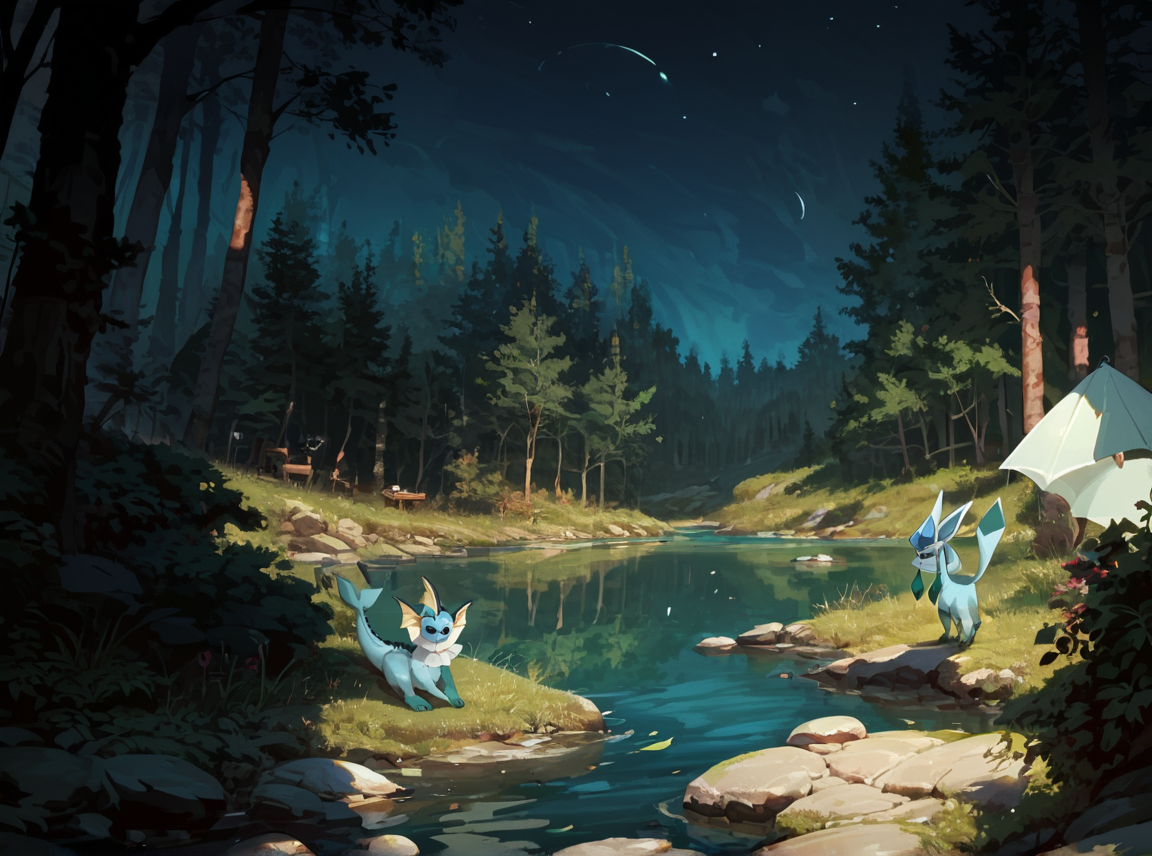
| (keep above) +female, feral, dragon, on back, | (remove above) + lake, night, forest, duo, glaceon, vaporeon, | (remove above) + horror, science fiction, monster, anthro, wolf, red eyes, moody, |
|---|---|---|
 |
 |
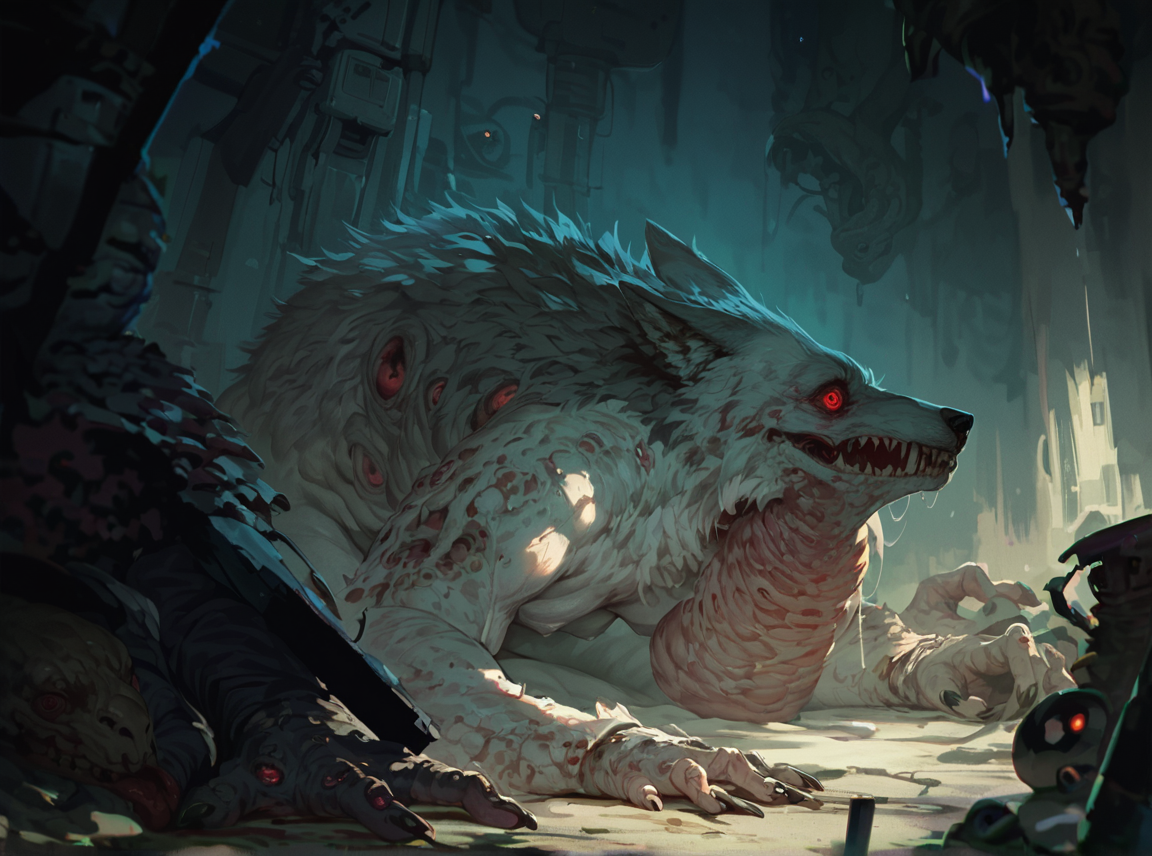 |
All of these probably need some iterations or further gambling, just chuck them back in and do 0.7-0.75 denoise or so. For the dragon I would probably blob the arms to be roughly wing shaped before chucking it back in at 0.7 denoise. Either way this consistently nets you night scenes which is neat on pony. May need to fiddle with global shadows/illumination in an image editor though, similar to the cave example from the blobbing section.
FAQ
Why not inpaint the entire background
I hate doing this because a lot of little details are dependant on the entire image. Illumination is a big one, if the background suddenly spawns a torch and there's a char not being masked, they won't get lit up by it. This gets fairly annoying when inpainting upscaled images especially, because you risk getting the background blurry if you mask too much of it.
Muh controlnets
Don't 'ate em, just don't like em y'know.
What about inpaint sketch?
Trash do not use. Deprecated and abandoned. It's literally just inpainting with the shitties paint brush imaginable, under the hood it's exactly 100% the same as the regular inpaint tab. Use an image editor.
Does this stuff work with regional prompting / forge couple?
Yes. You can designate areas just like you would usually. Do keep in mind that most regional prompting downsides still apply, and might get exacerbated by the fact that images may not 'solve' immediately, making things generally low quality at first.
If you are blobbing a scene with multiple characters I would recommend the dummy route, say you want a Lucario and a Renamon, you sketch 2 blue blobs, and simply generate 2 Lucarios at first. Then you take your image, and just blob over one of the Lucarios in yellow, then masked inpaint it at high denoise. That will give you both characters reasonably well without any regional prompting.
Regional prompting can prove somewhat useful during upscaling specifically I've noticed. There it isn't nearly as destructive. So you may want to try enabling it only for when you upscale to higher resolutions to not bleed the chars into each other.