Setting up JanitorAI Proxy with OpenRouter (Updated 12/7/2025)
This guide will walk you through setting up JanitorAI to use OpenRouter as a proxy.
Part 1: Obtaining your OpenRouter API Key
- Sign In/Up to OpenRouter:
- Go to OpenRouter.ai.
- Click on the "Sign in" button in the top right corner.

- If you don't have an account, click "Sign up" at the bottom of the sign-in modal.

- Enter your email and create a password, then agree to the terms and click "Continue".

- Navigate to API Keys:

- Once logged in, click on your profile icon (head silhouette) in the top right corner to open the dropdown menu.
- Select "Keys" from the menu.
- Create a New API Key:
- On the API Keys page, click the "Create API Key" button.

- A "Create a Key" pop-up will appear. You can optionally name your key (e.g., "JanitorAI") and set a credit limit.
- Click "Create".

- Crucially, copy your new API key immediately! This is the only time it will be shown. Click the copy icon next to the key.

- Store this key in a safe place.
- On the API Keys page, click the "Create API Key" button.
Part 2: Configuring JanitorAI Proxy Settings

- Open API Settings in JanitorAI:
- In JanitorAI, go to the chat interface and click on the "Using xxx" button (usually found in the top right corner).
- This will open the "API Settings" modal.
- Select Proxy Mode:
- Within the "API Settings" modal, click on the "Proxy" tab.
- Choose Custom Model and Enter Info:
- Under "Proxy API Settings", select "Custom".
- Model: Enter the specific model ID you wish to use from OpenRouter. For example:
deepseek/deepseek-chat-v3-0324:free(as shown in the image). You can find available models on the OpenRouter website. - Other API/proxy URL: Enter the OpenRouter API endpoint:
https://openrouter.ai/api/v1/chat/completions
- Paste Your OpenRouter API Key:
- In the "API Key" field, paste the OpenRouter API key you copied previously.
- Click the "Save Settings" button to apply your changes.

You have now successfully set up JanitorAI to use OpenRouter as a proxy! (Remember to refresh the page)
Limitations and Workarounds
Limitation: Free OpenRouter accounts typically have a limit of 50 messages/requests per day.
Workarounds:
- Load Credits: Add $10 USD to your OpenRouter account. This will significantly increase the message limit to 1000 requests per day. Even when using free models, your credits will not be consumed, and you'll gain the ability to use other paid models if desired.
- Multiple Accounts: Create multiple OpenRouter accounts. You can then switch between the API keys from these different accounts within JanitorAI to effectively increase your daily message quota.
Written by: Zinioooo
Important Notice Regarding Chutes AI
Please be aware that recent policy changes by Chutes AI now require users to deposit $5 to access their models, even the previously free ones. This change is new and subject to potential reversal, but as of this time, using Chutes AI is no longer a free option. The section below is kept for archival purposes.
JanitorAI Proxy Setup Guide (Chutes.ai)
This guide will walk you through setting up a proxy for JanitorAI using Chutes.ai.
Step 1: Create Your Chutes Account
First, you'll need to sign up for an account on Chutes.ai.
- Go to: https://chutes.ai/auth/start
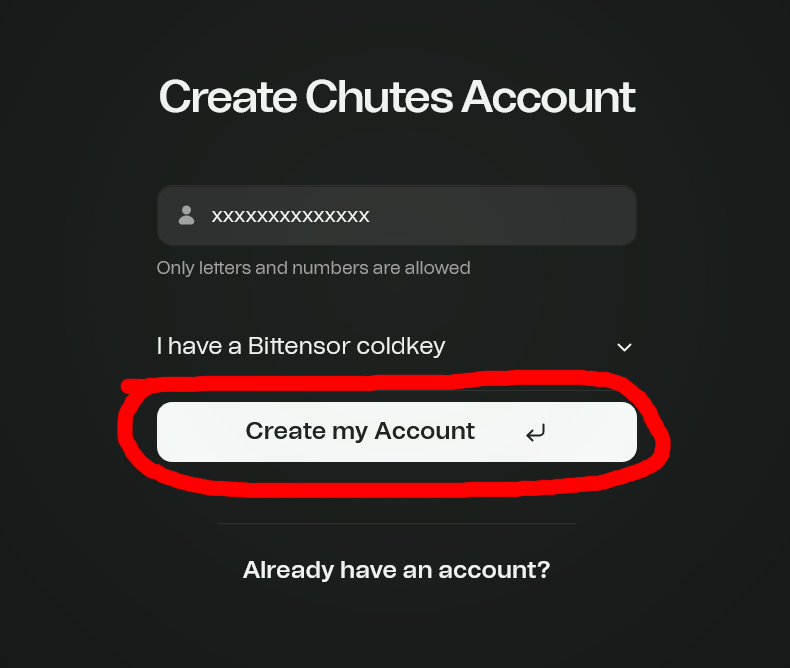
- Enter your desired username. The system only allows letters and numbers.
- Click on the "Create my Account" button.
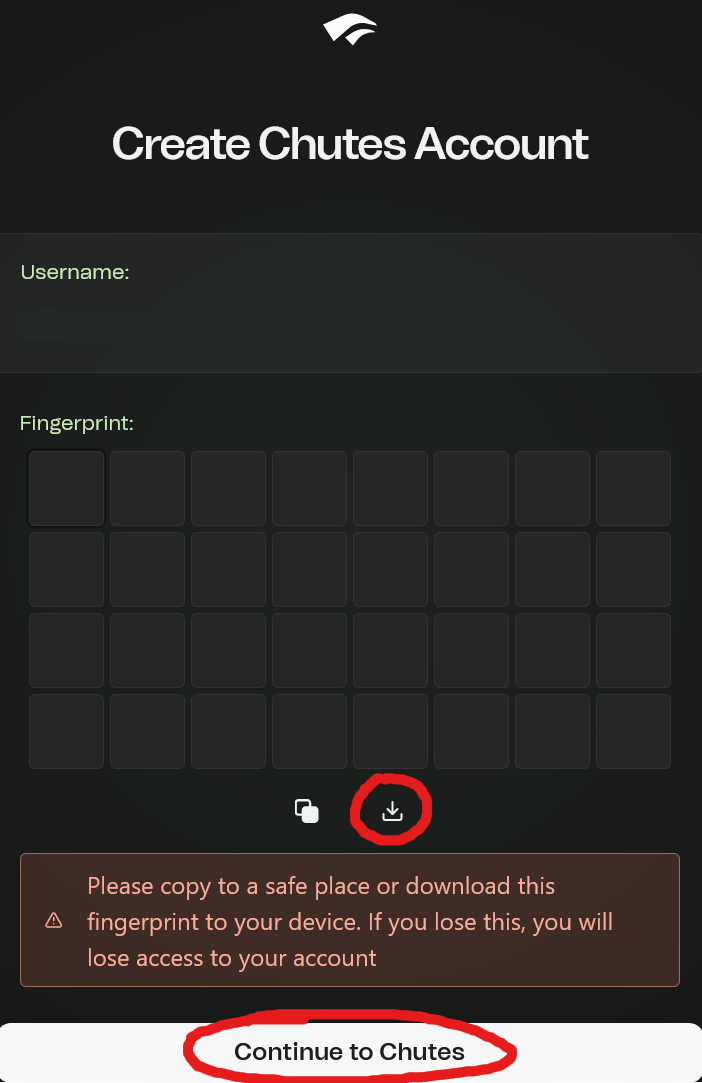
- Click on the "Download Icon" to save your fingerprint (Basically your account password) so that you can login in the future
- Click on the "Continue to Chutes" button.
Step 2: Access the API Platform
After creating your account, you'll need to access the API platform to generate an API key.
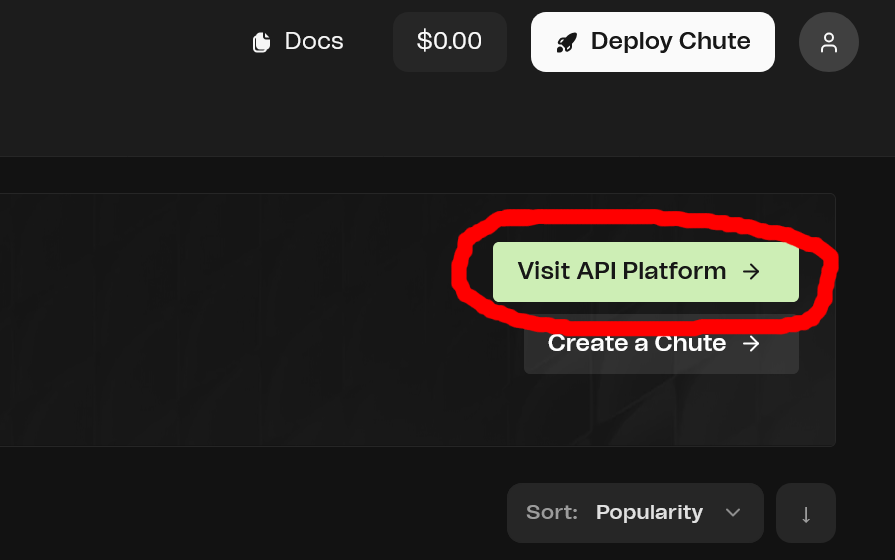
- Once logged in, locate and click the "Visit API Platform" button.
Step 3: Create an API Key
Within the API Platform, you will generate your unique API key.
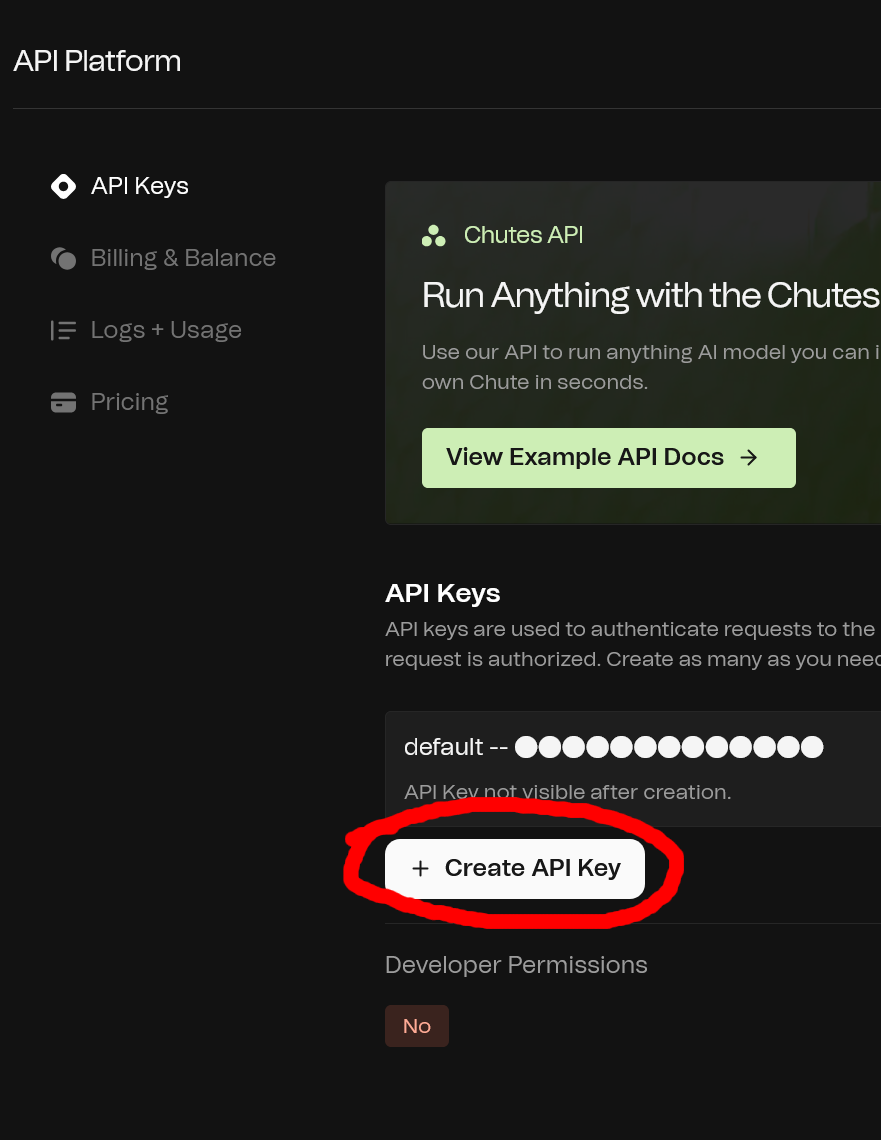
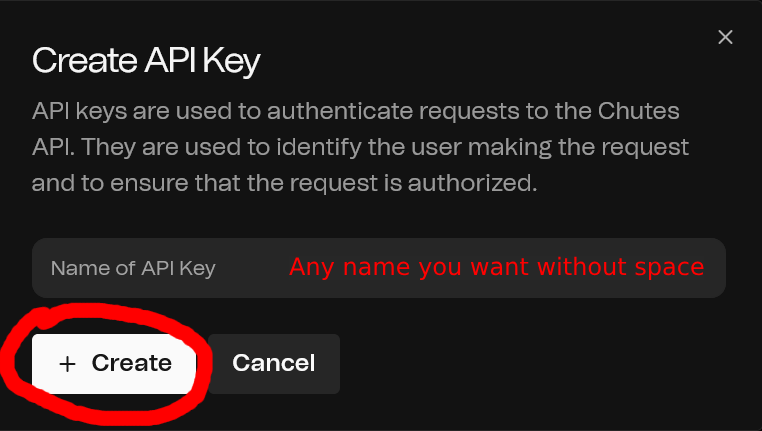
- Click on the "+ Create API Key" button.
- In the modal that appears, enter a name for your API key (choose any name without spaces).
- Click the "+ Create" button.
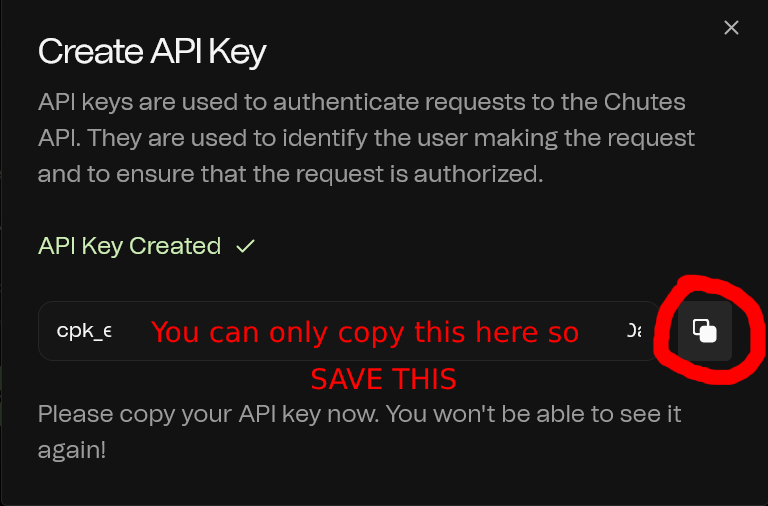
- IMPORTANT: Your API key will be displayed. You can only copy it once. Make sure to copy it immediately and save it to a secure location. You will not be able to see it again.
Step 4: Configure Proxy Settings in JanitorAI
Now, let's configure JanitorAI to use your new Chutes.ai proxy.
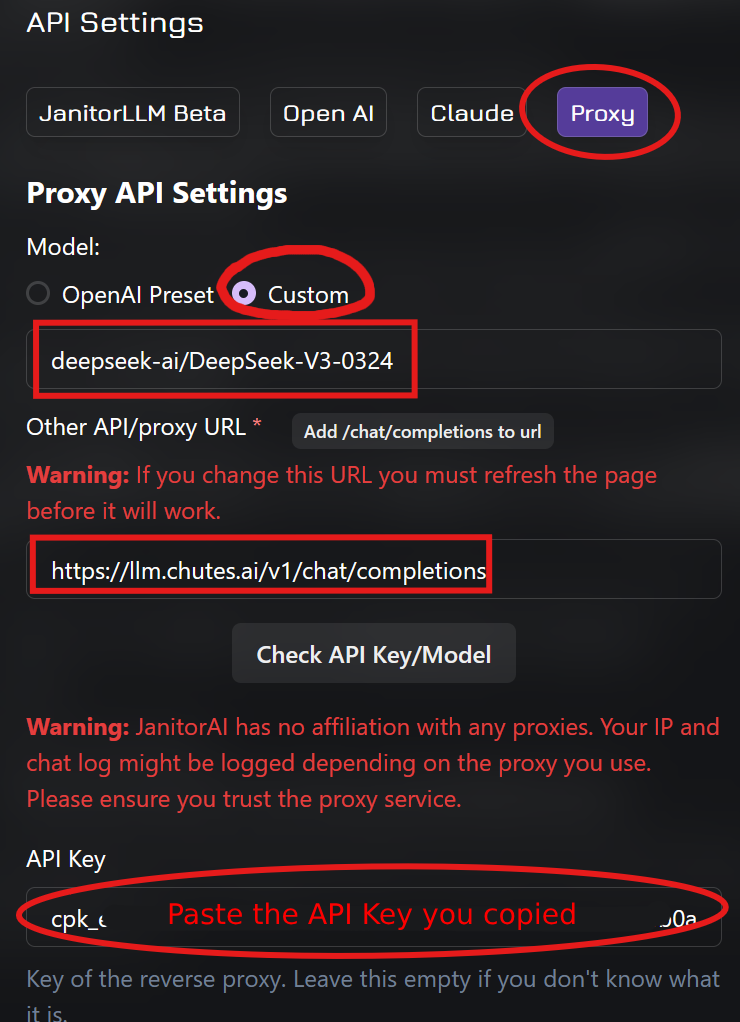
- In JanitorAI, go to the chat interface and click on the "Using xxx" button (usually found in the top right corner).

- In the "Proxy API Settings" section:
- Select "Custom" for the model.
- In the "Model" field, enter:
deepseek-ai/DeepSeek-V3-0324 - In the "Other API/proxy URL" field, enter:
https://llm.chutes.ai/v1/chat/completions - In the "API Key" field, paste the API key you copied from Chutes.ai earlier.
Step 5: Save Your Settings
The final step is to save the configured proxy settings in JanitorAI.
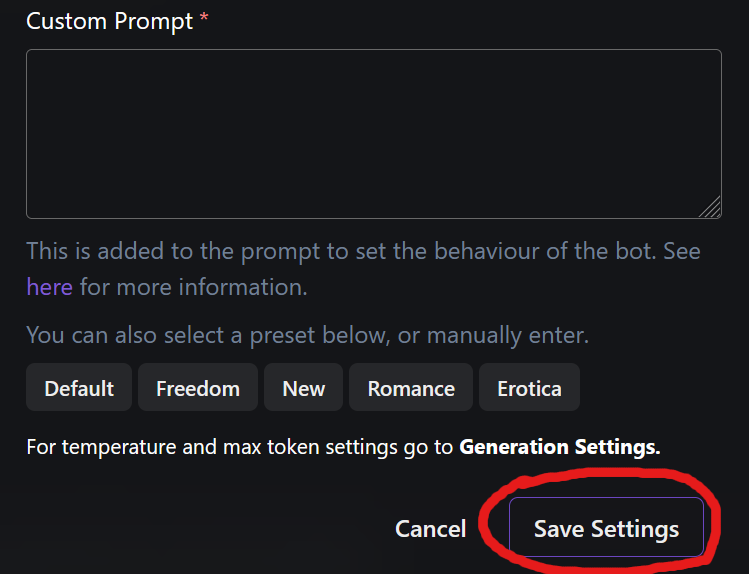
- After entering all the proxy details, scroll down on the settings page.
- Click the "Save Settings" button to apply your changes.
You have now successfully set up a proxy on JanitorAI using Chutes.ai! (Remember to refresh the page)
Written by: Zinioooo