How to Use ntscQT+
Illustrated, step-by-step guide. Written by RGM This page is here since
Prerequirements
- FFMPEG
-
- For Windows, recommended using scoop and install using
scoop install ffmpeg-shared.
- For Windows, recommended using scoop and install using
- ntscQT (Follow the script installing instructions
1. Resizing Video to Adequate
First, you need to resize your video. The most adequate resolution for ntscQT+ is 760x486 (following decodes from the ld-decode project).
For achieving that, you'll need to check if
- Your video is 59.94fps or is interlaced at 29.97fps
So, let's go to FFMPEG to use this command (IMPORTANT).
Before you use this command, let's adjust to the video's properties.
- About your input and output
-
- Change
"originalvid.mkv"to your input video file
- Change
-
- Change
"inputprepared.mkv"to your prepared output video file
- Change
- About
'(fps=59.94 or bwdif)', replace it based on this logic: -
- If your video hasn't 59.94fps, use
fps=59.94
- If your video hasn't 59.94fps, use
-
- If your video is interlaced, use
bwdif
- If your video is interlaced, use
-
- If your video has 59.94fps and isn't interlaced, remove this.
- About borders:
scale=iw-14:ih:flags=spline,pad=iw+14:ih:6:0 -
- Replace
14onscaleandpadwith the number you want to reduce to reduce/increase the border size
- Replace
-
- Replace
6onpadto move the picture to reduce/increase the border size
- Replace
Ok, so now it's prepared to be used.
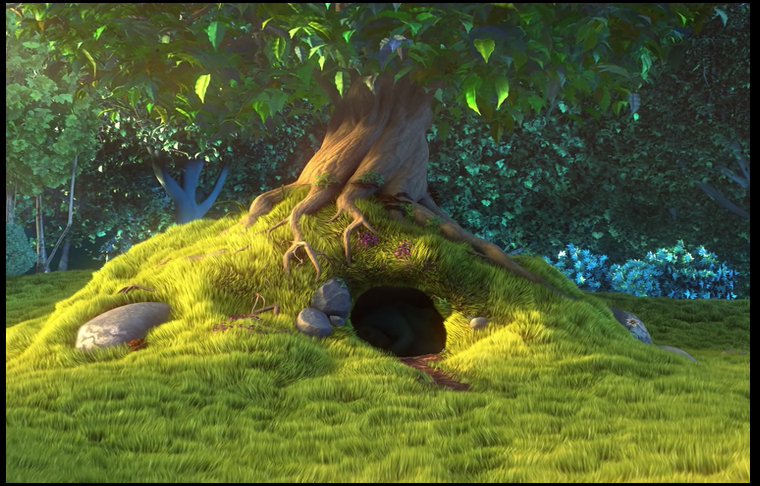
2. Oh yeah, let's go!
Now, open ntscQT+ (ex.: if you followed the instructions from the GitHub README, use python ntscQT.py).
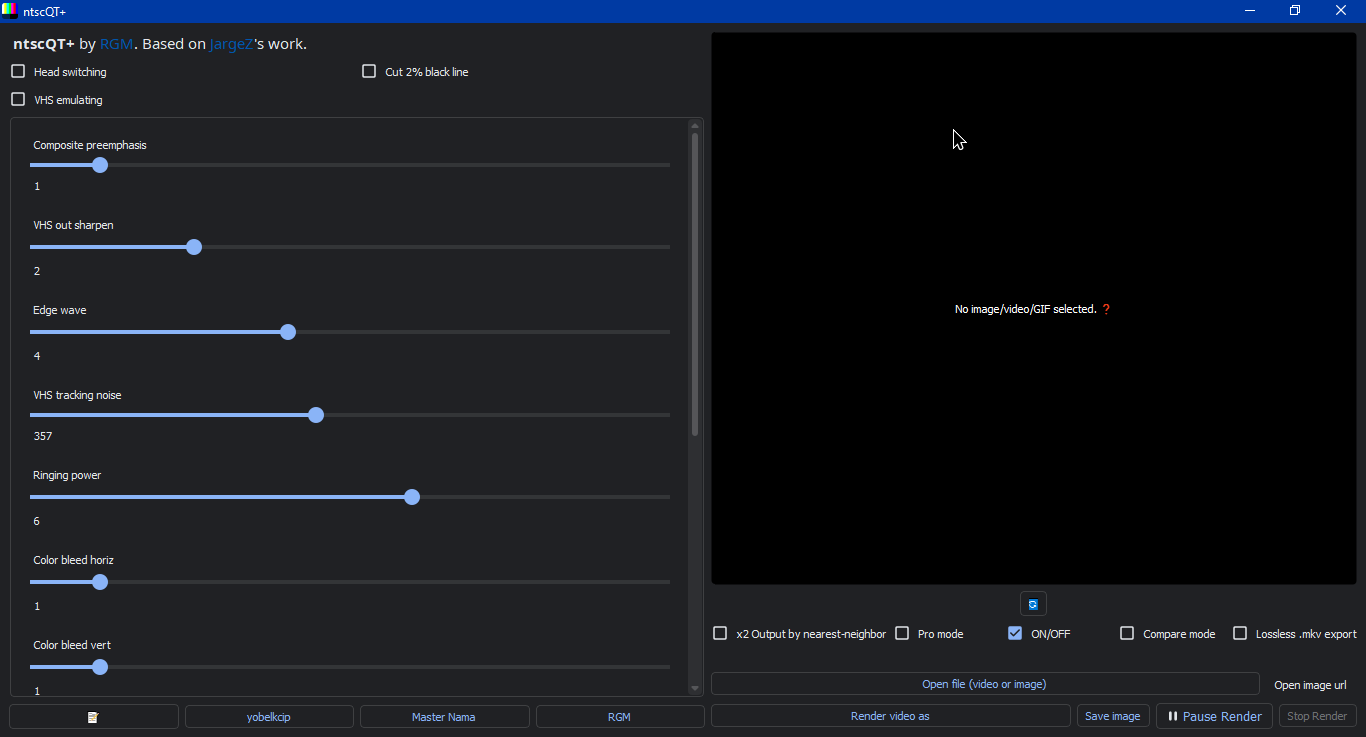
Now, let's see the layout!
In the left, we have the settings to change your filter.
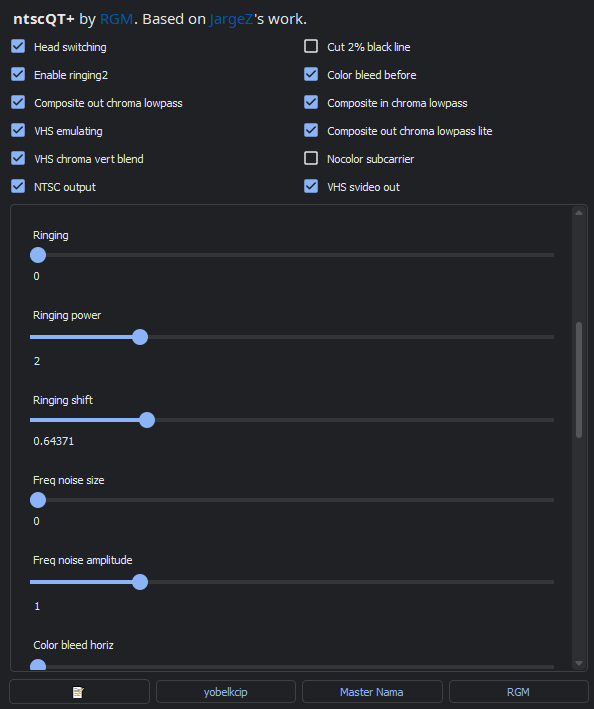
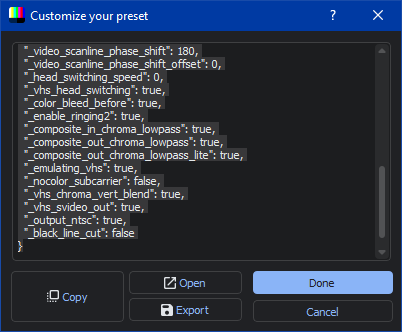
If you can click the notepad icon button at the bottom left, you can open and export your own settings in JSON.
On the main window, in the bottom right, we have the render settings.

- Render height - Change the output's video height
- Seed - just change to be random
- x2 Output by nearest-neighbour - Export the video at 2x (with nearest-neighbour)
- Pro mode - Activate/deactivate the pro mode of the settings, with more options.
- ON/OFF - Activate/deactivate the filter
- Compare mode - Activate/deactivate compare mode, for comparison with the original video
- Lossless .mkv export - Export the video as a lossless FFV1 Matroska video file
- Open file (video or image) - Open your input file
- Open image URL - Open an image from the Internet (via URL)
- Render video as - Render your output video
- Save image - Save an image shot of your output
- Pause Render - Pause your rendering
- Stop Render - Stop your rendering
So, click Open file (video or image) and open your input prepared file.
You can configure the filter in the way you want.
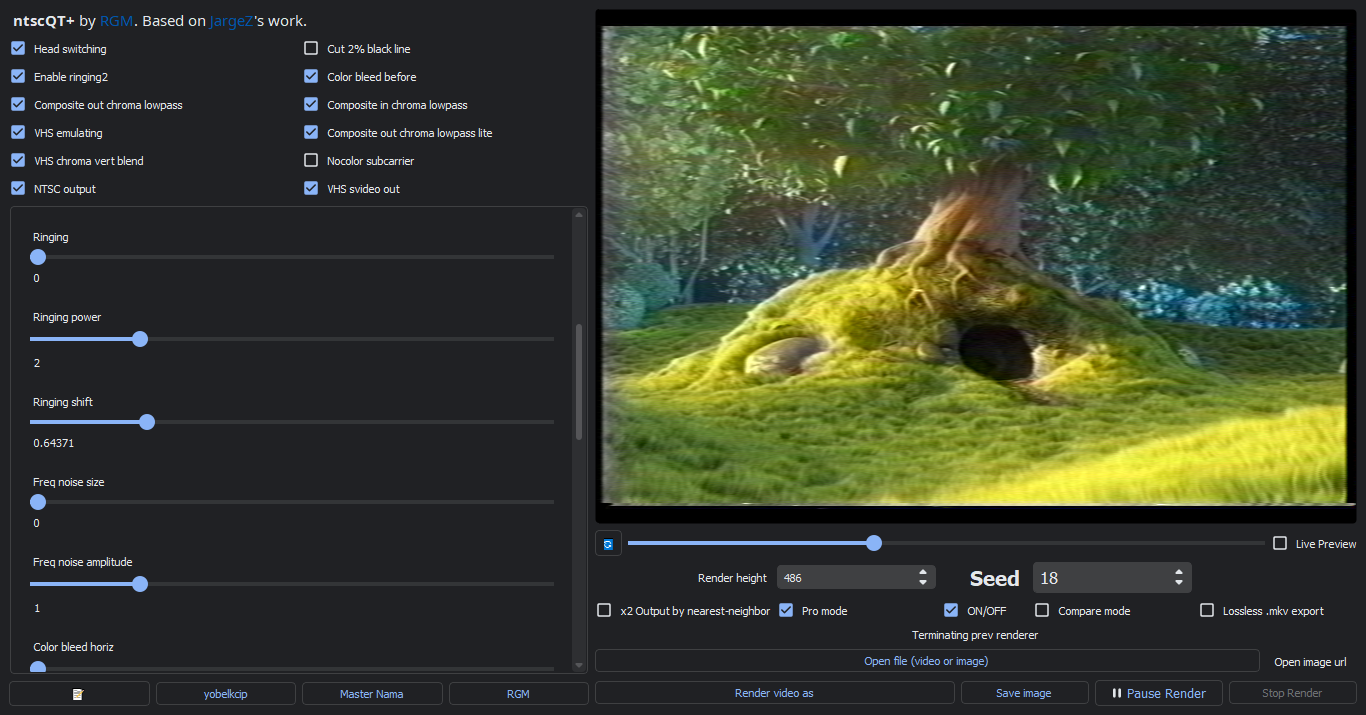
If you're finished, press Render video as (video) or Save image (image) and choose your output path to start rendering.
After render is finished, you can close the app.
If you are using the image mode, you can stop here and close.
If you are using video though, you can continue with the next step.
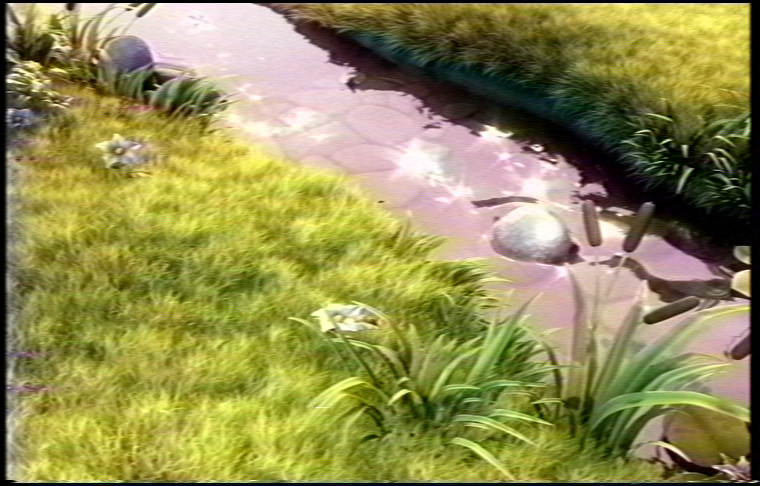
3. Now let's share with the web, but first...
Before you share with the web, you will adapt your output video to finish the process.
Open your terminal and call FFMPEG again with this command:
(changing "ntscqtoutput.mkv" with your ntscQT+ output video file, and "finished.mkv/.mp4" to your output finished file, with the indicated extension)
x264 (interlaced) and FLAC - MKV
x264 (progressive) and FLAC - MKV
This last was made for YouTube uploading:
x264 (resized to 1080p for YouTube) and AAC - MP4
EXTRA:
- You can add
-i "audio.flac" -map 0:v -map 1:abefore-vfto add external audio (changing"audio.flac"with your audio file).
Done! With your finished file, you can share with the next.
Conclusion
Now, you know about how you use properly ntscQT+!
To finish this, here is some things:
- If you found an error, report to us at our GitHub's issue tracker.
- If you want to have your finished work at our showcase, contact RGM at Twitter or Mastodon.
- We have our source code at GitHub, where you can help with the project. The source code is here.
So yeah, thanks a lot for reading.


Big Buck Bunny is licensed under Creative Commons Attribution 3.0 by the Blender Institute.