Bellarose's Basic Obsidian How-To
This page is text-heavy, and long! Please view it on a large screen or using desktop mode. I am not responsible for how terrible it may look on mobile!
Hi! I'm Bella. After the closure of popular apps for systems, many users have migrated to other services, including Obsidian. Lots of these users, though, find the software a little imposing and don't know how to make use of the features and plugins of the more general-purpose service. This guide is for you!
With that in mind, this page mostly covers basics and so is suitable for anyone but much of it will be specifically focused at those using it as an alternative logging service to SP (or similar), so if this isn't you, sections of it may be largely unhelpful. It is not intended to be a universal guide! ♡
This page is long! If you're looking for specific information, use one of these links to read it more easily:
⤷ If you've never used Obsidian before: Help! I don't know anything!
⤷ If you'd like to change the appearance of your vault: Ok, now I'm tired of this default theme.
⤷ If you'd like to add some Community Plugins to your vault:

Getting Started
The beginning is always the best place to start! ♡ When you're first using Obsidian, if you don't intend to pay for the service, you should install it on what your primary logging platform is going to be (as in, I only use Obsidian on my phone, but others might prefer their computers.) It is a completely free-to-use and install service, but syncing between devices is a paid feature, so you will want to avoid getting set up on a device you don't intend to continue with if this doesn't appeal to you.
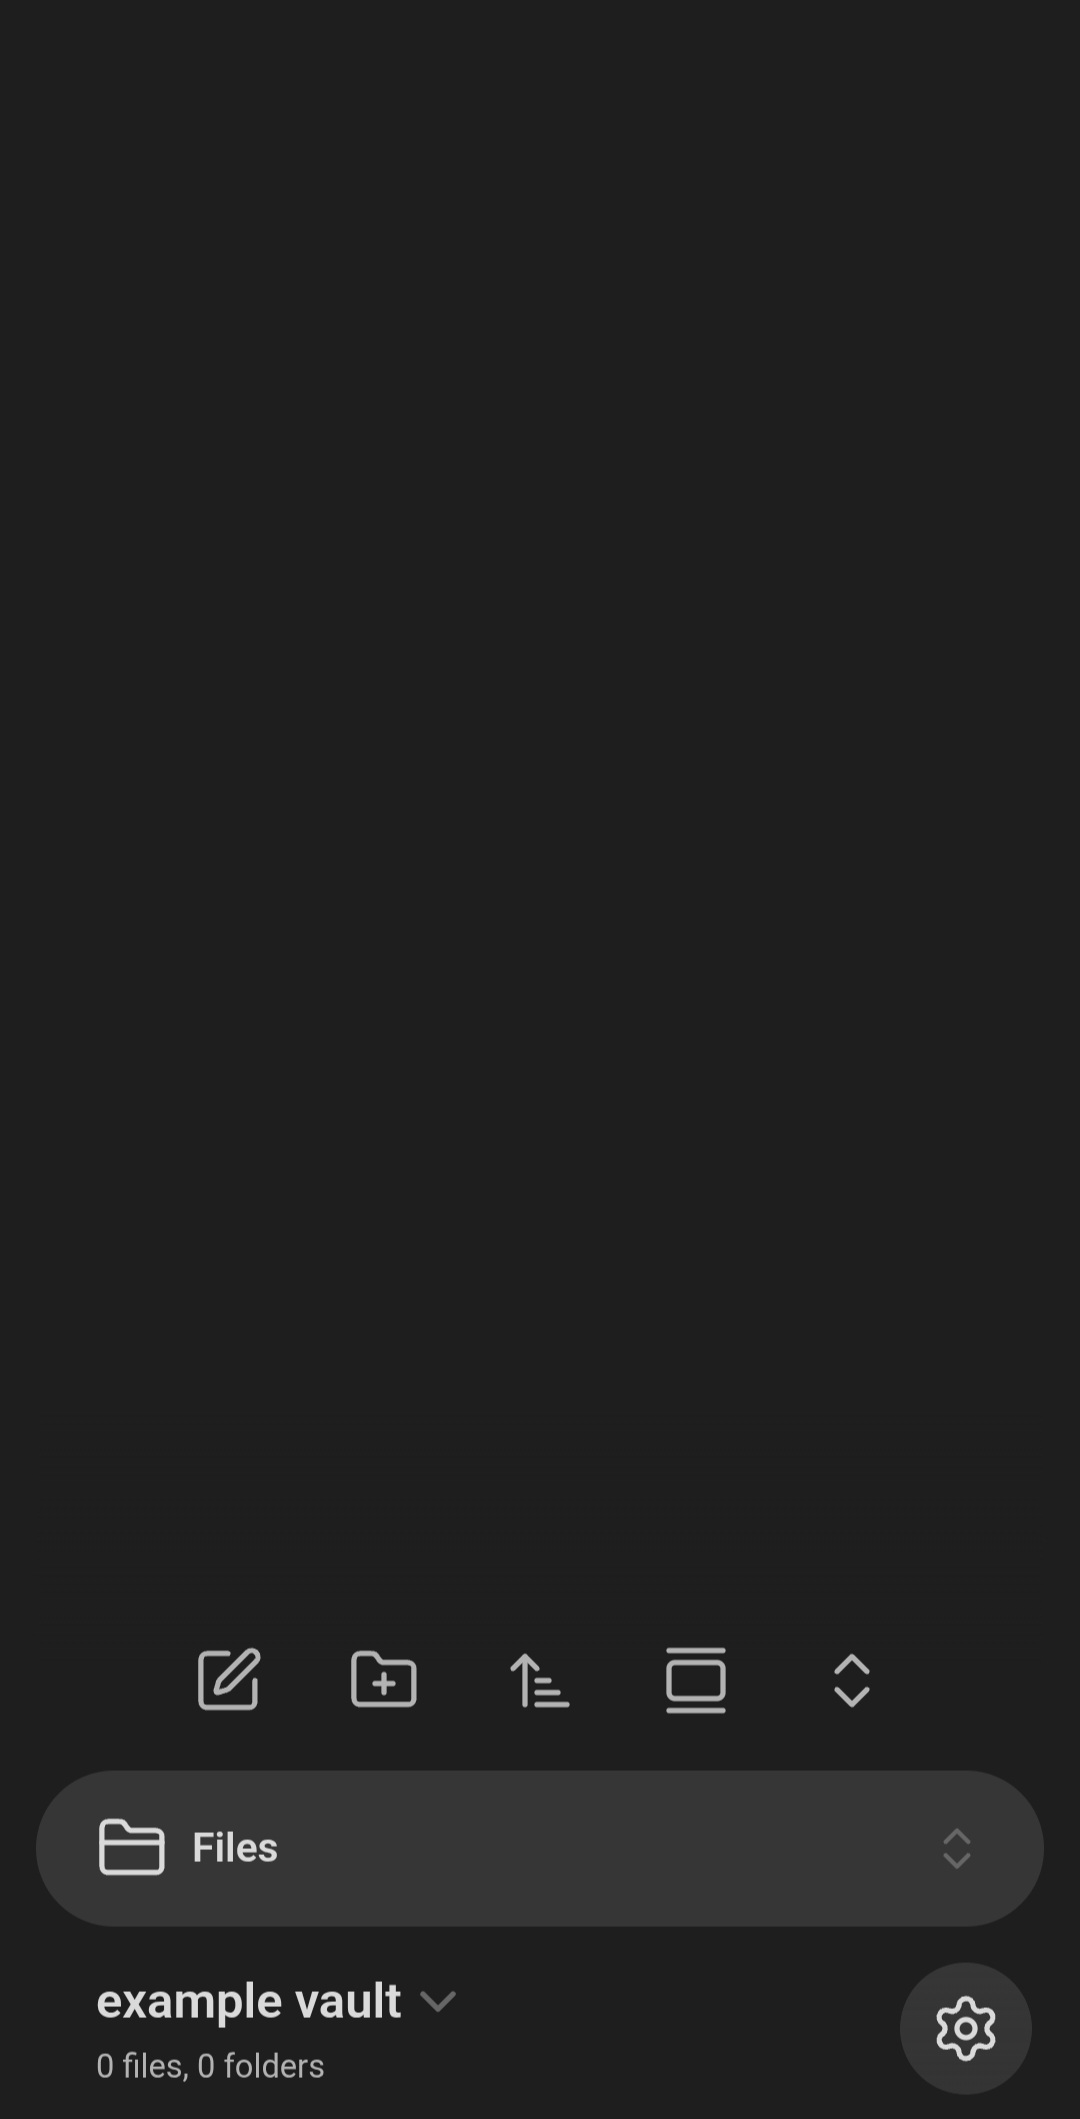 This is similar to what you'll see upon opening the app and making a new "vault". A vault is basically a profile or notebook, and you can have multiple.
The icons you can see in the bottom of the sidebar basically cover most of the really basic features of Obsidian.
- Press the icon which looks like a pencil writing in a square to make a new note, which is effectively one individual page.
- Press the icon which looks like a folder with a plus sign to make a new folder. These can store multiple notes. Folders can be nested within other folders, too.
- The other icons relate to views and sorting of notes in the sidebar. Try them out for yourself!
For the purposes of this guide, we're going to get started by making a new folder. Create one for yourself and name it whatever you want.
Now, create a new page using the button at the bottom, and try moving it into the folder you made by dragging and dropping it in. You can also make a new page inside a folder by long-pressing on the folder's name, and selecting New Note.
Make sure your new note is selected and close the sidebar of your app. You should now be in your new, empty note.
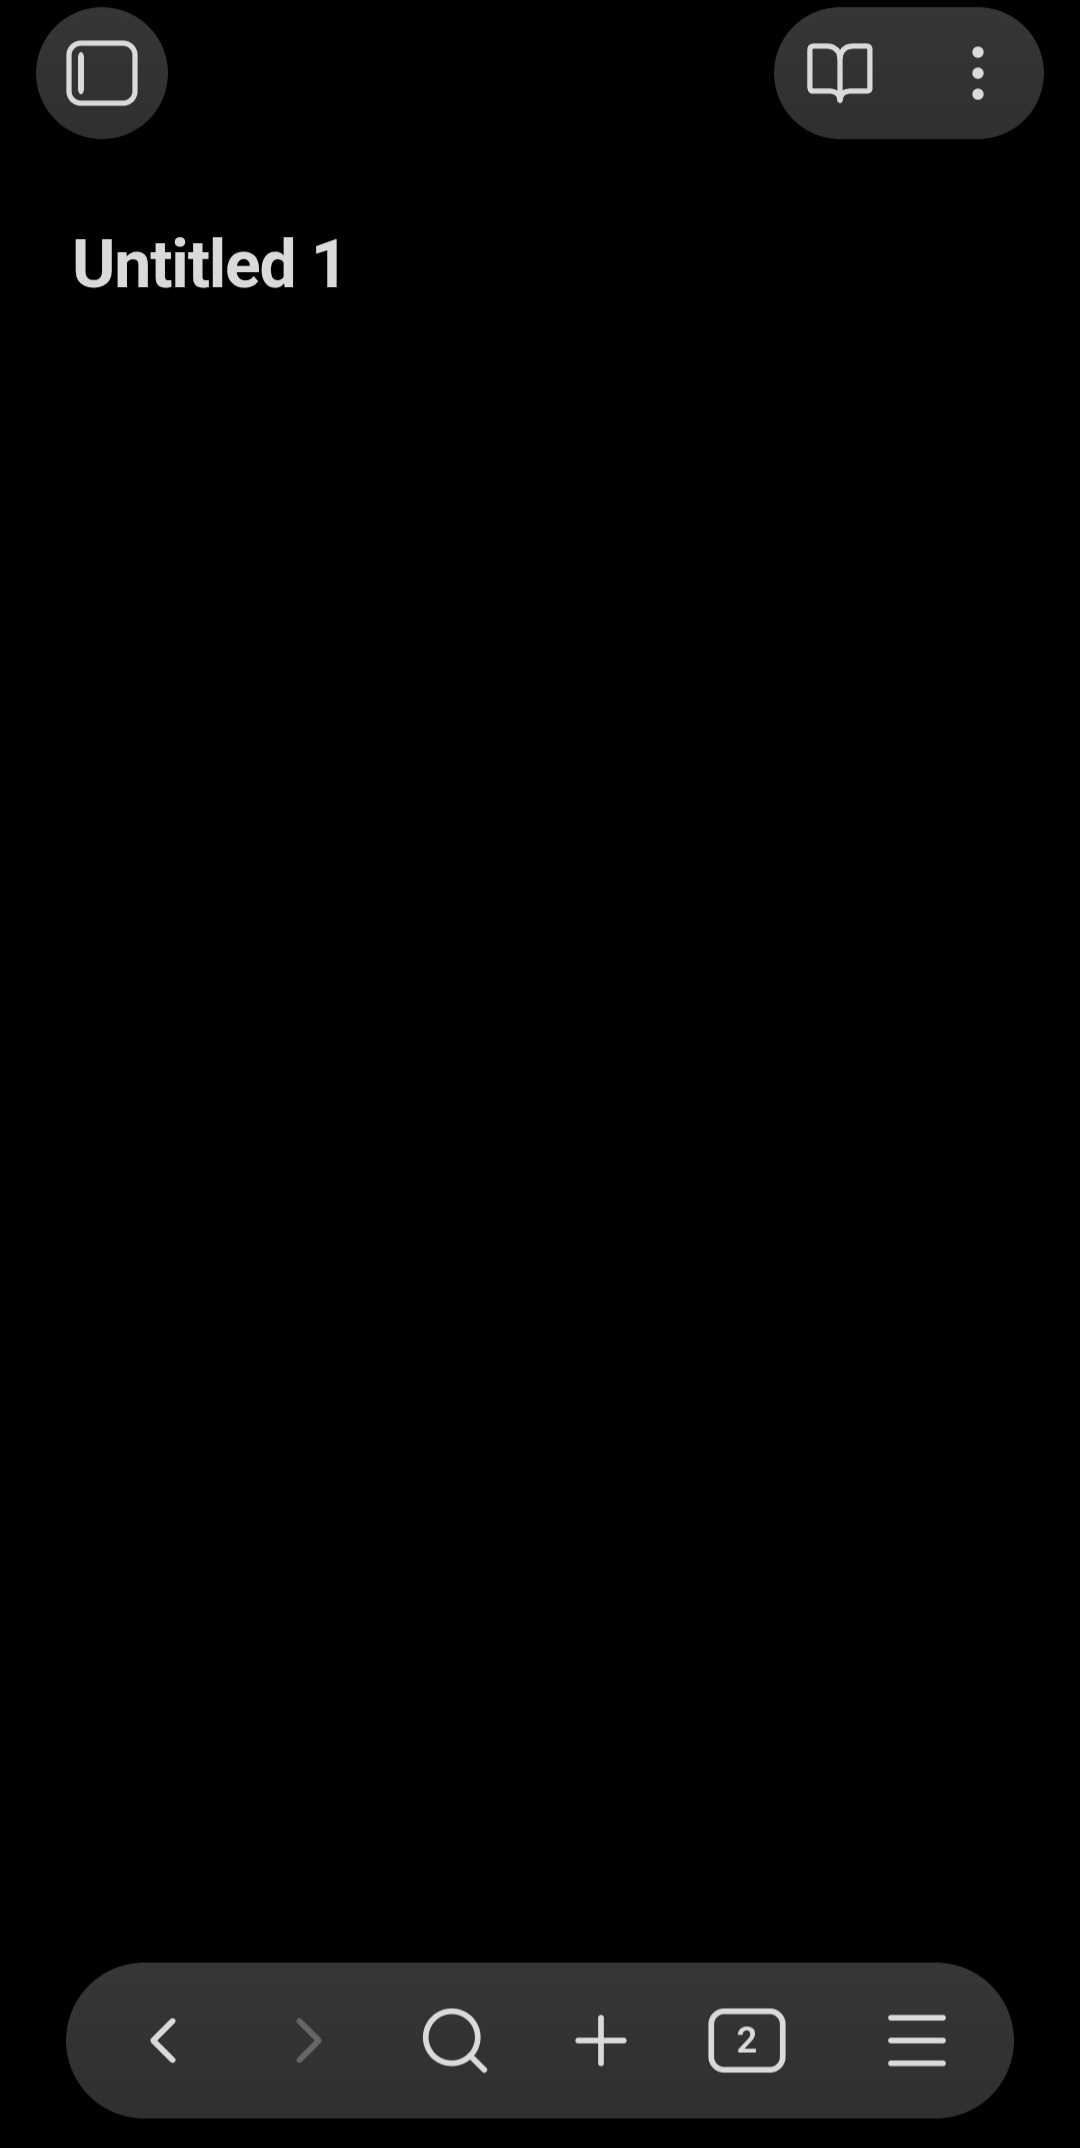
Here's what my new note looks like! Yours may be in a different theme depending on your device's appearance settings, but this guide will cover themes later. For now, you effectively have a blank slate. Here are some things you might like to try:
- Obsidian has a rich default markdown package even without including any plugins or CSS. This page of docs covers the basic formatting, this page covers more advanced options, and this one covers specific markdown. This guide won't cover all this individually, as great documentation already exists on these Obsidian pages. I will, though, go over specific stuff you might like to use later!
- Obsidian has a community forum, which you can find here. Looking through the forum is a great first point of call if you're trying to figure something out, as it's really likely somebody's already done it! ♡
It's at this point that I will encourage you to spend a little while exploring. The next sections of this guide will cover themes and community plugins. It's a good idea to familiarise yourself with the basics of the editor first! Have fun!
Themes
Using themes is a great way to customise the look of your vault without needing much work, as there are hundreds of great pre-made themes available to you from right within the app.
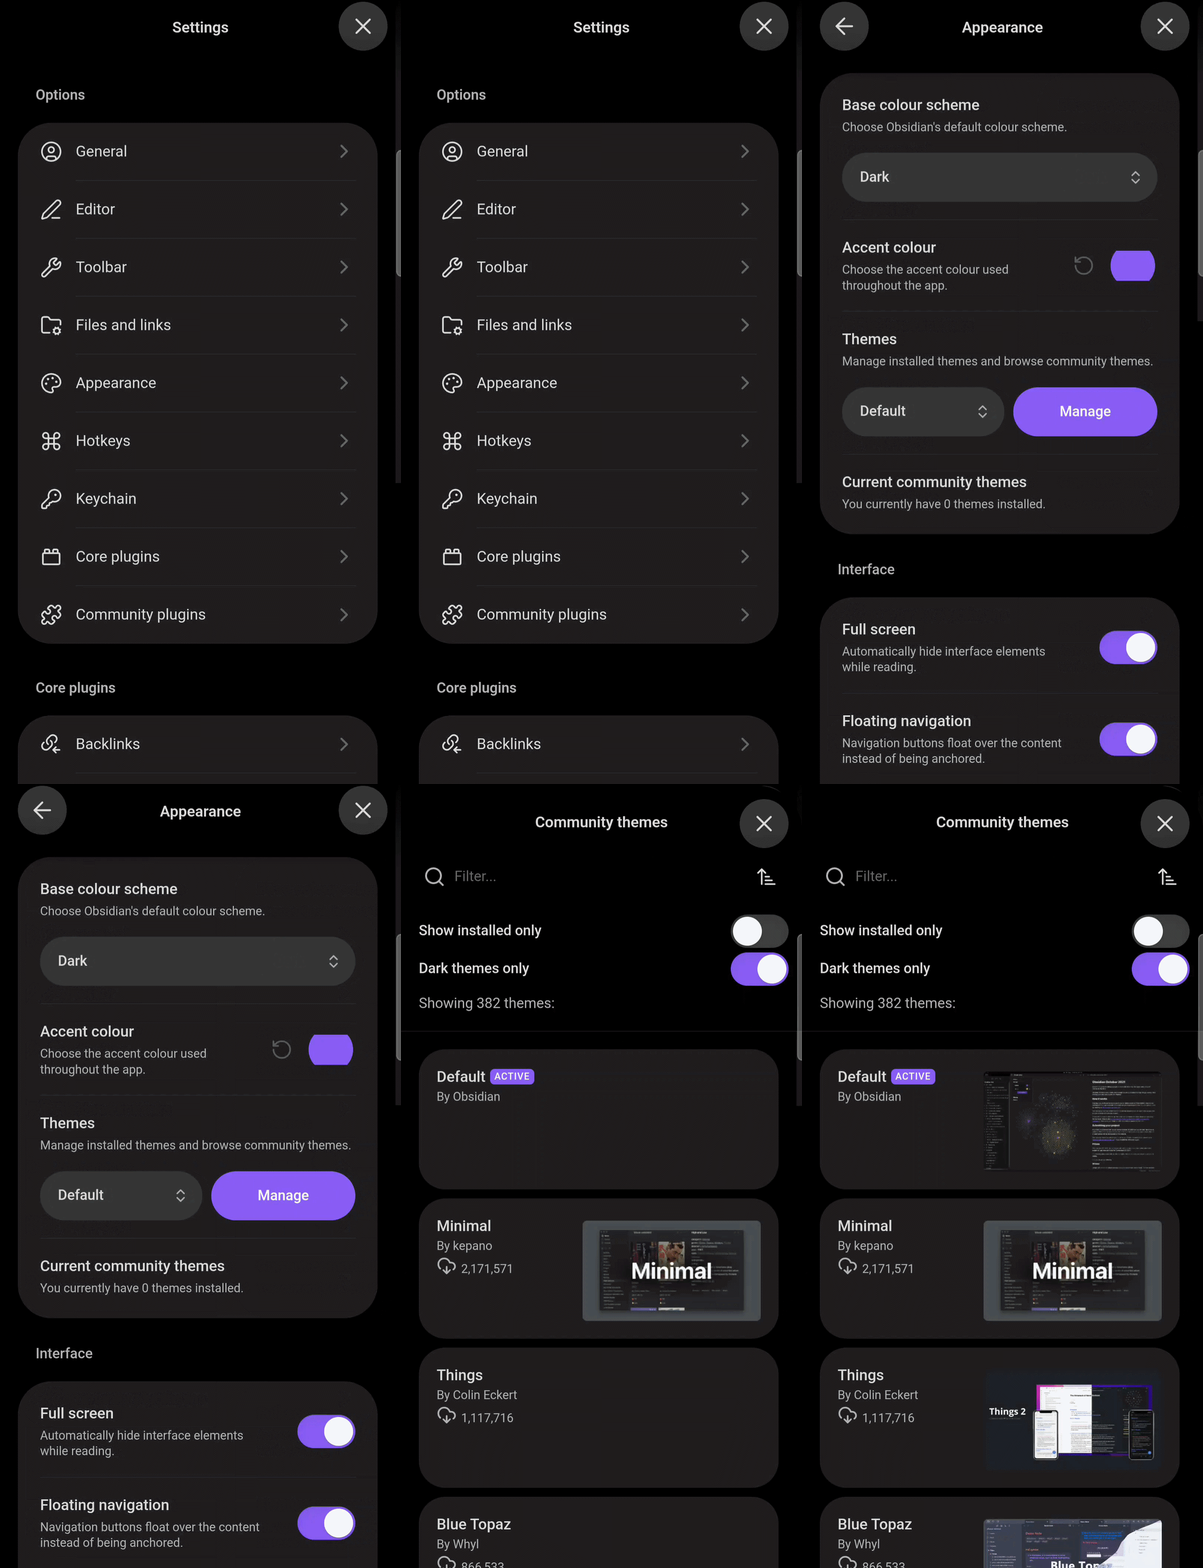
In order to open the Community Themes tab, which is what we want, as it enables more than just use of the default dark or light mode, you'll want to go into Settings ➜ Appearance ➜ Press "Manage" under Themes. You can see where the buttons are in the Gif by this text.
From here, basically just choose whatever looks promising to you. You'll notice some themes may appear differently in their thumbnail screenshots than they do once first installed. I'll go over this, and changing your font, in a moment.
Be aware that some themes will change more than others! Some impact mostly only the colours in your app, and others will change the appearance of other things entirely. This may mean some themes are incompatible with some plugins, or some plugins are incompatible with each other, as they may both rely on confllicting CSS. This is unlikely to be a serious issue, but may be useful to bear in mind!
My favourite theme, and the one I use for my main vault, is called AnuPpuccin. That's what will be featured in the screenshots in this guide from now on.
---
To edit individual toggles for themes on mobile, we're going to need to install a Community Plugin called Style Settings.
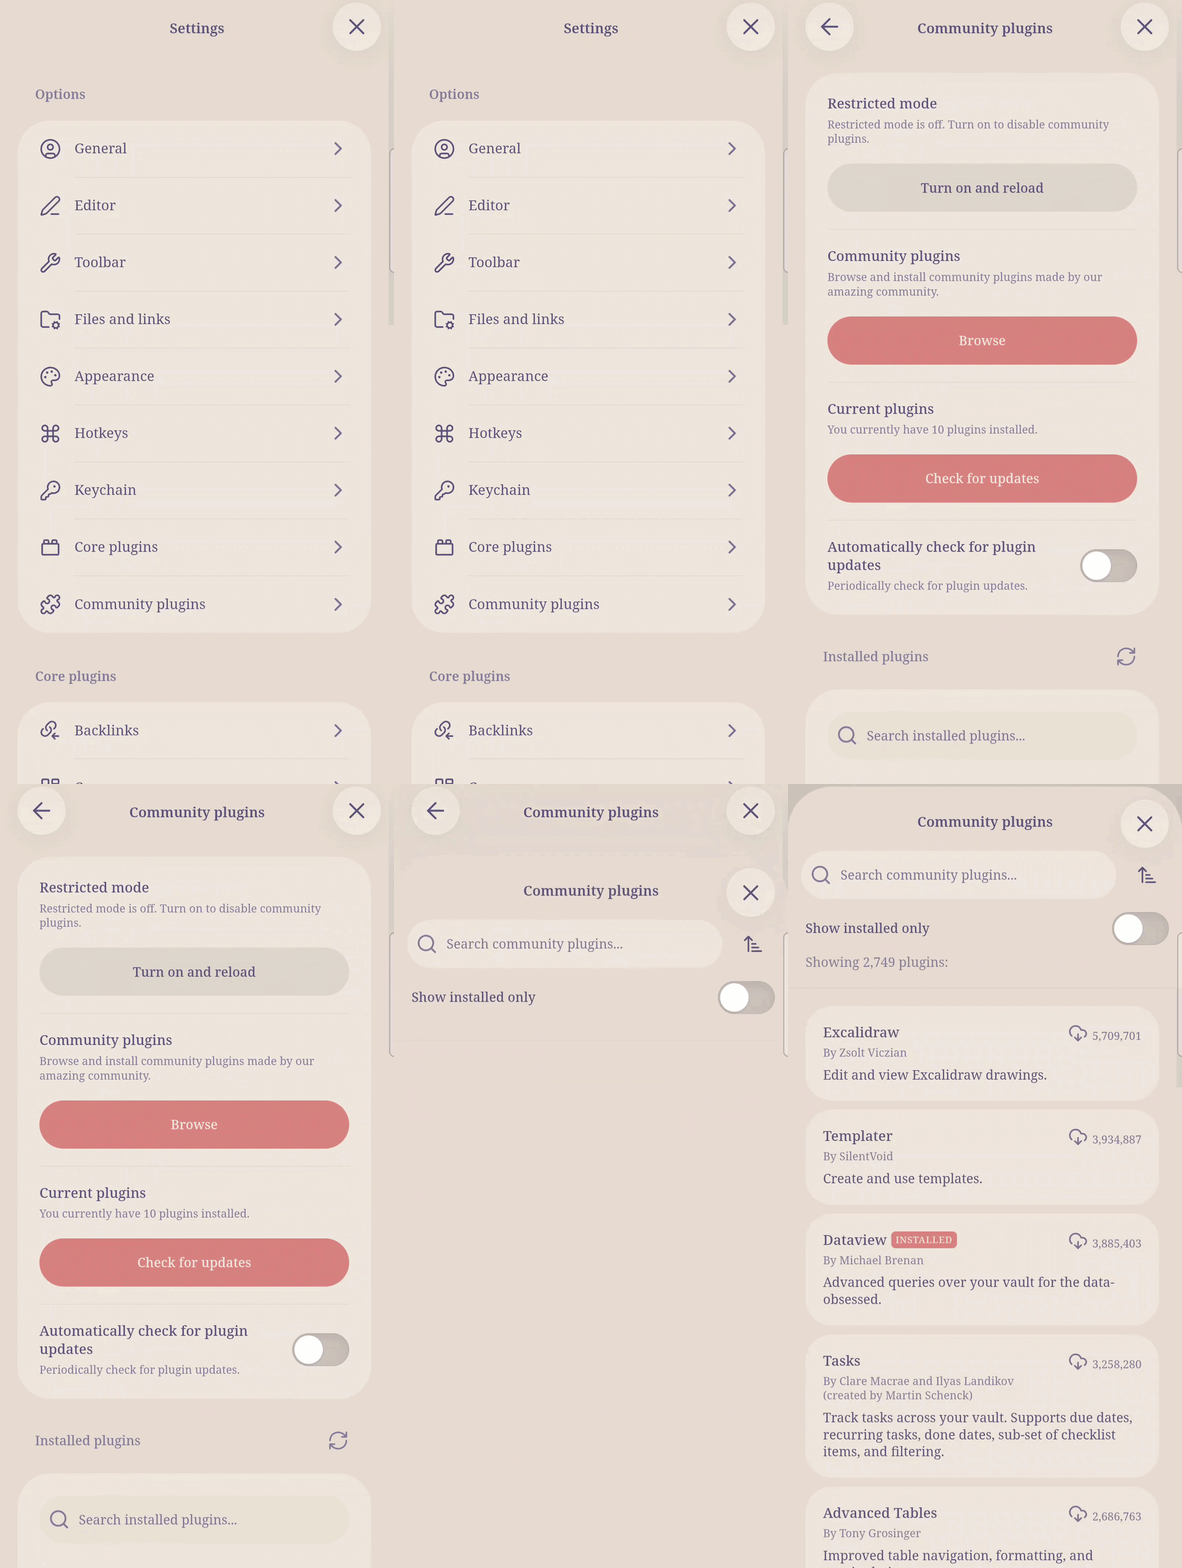
In order to access the Community Plugins menu, you'll need to go back to Settings, where you found appearance, select Community Plugins, and make sure Restricted Mode is turned off (this is safe, don't worry). You can see the locations of these buttons in the Gif to the right of this text.
Once you've done this, hit browse, and search for Style Settings. Install it to your vault. This will enable you to make adjustments to your theme, if any are available (there usually are!)
Hit the close button on the browse menu once Style Settings has installed, and you'll be back on the Community Plugins menu. Scroll down to where you can see Style Settings' name under the Installed Plugins list, and press the small ⚙️ icon below its name.
This should take you to a list of your installed themes.
---
Editing theme settings from here is simple. Click on the name of whatever theme you're using to view the individual options available to you.
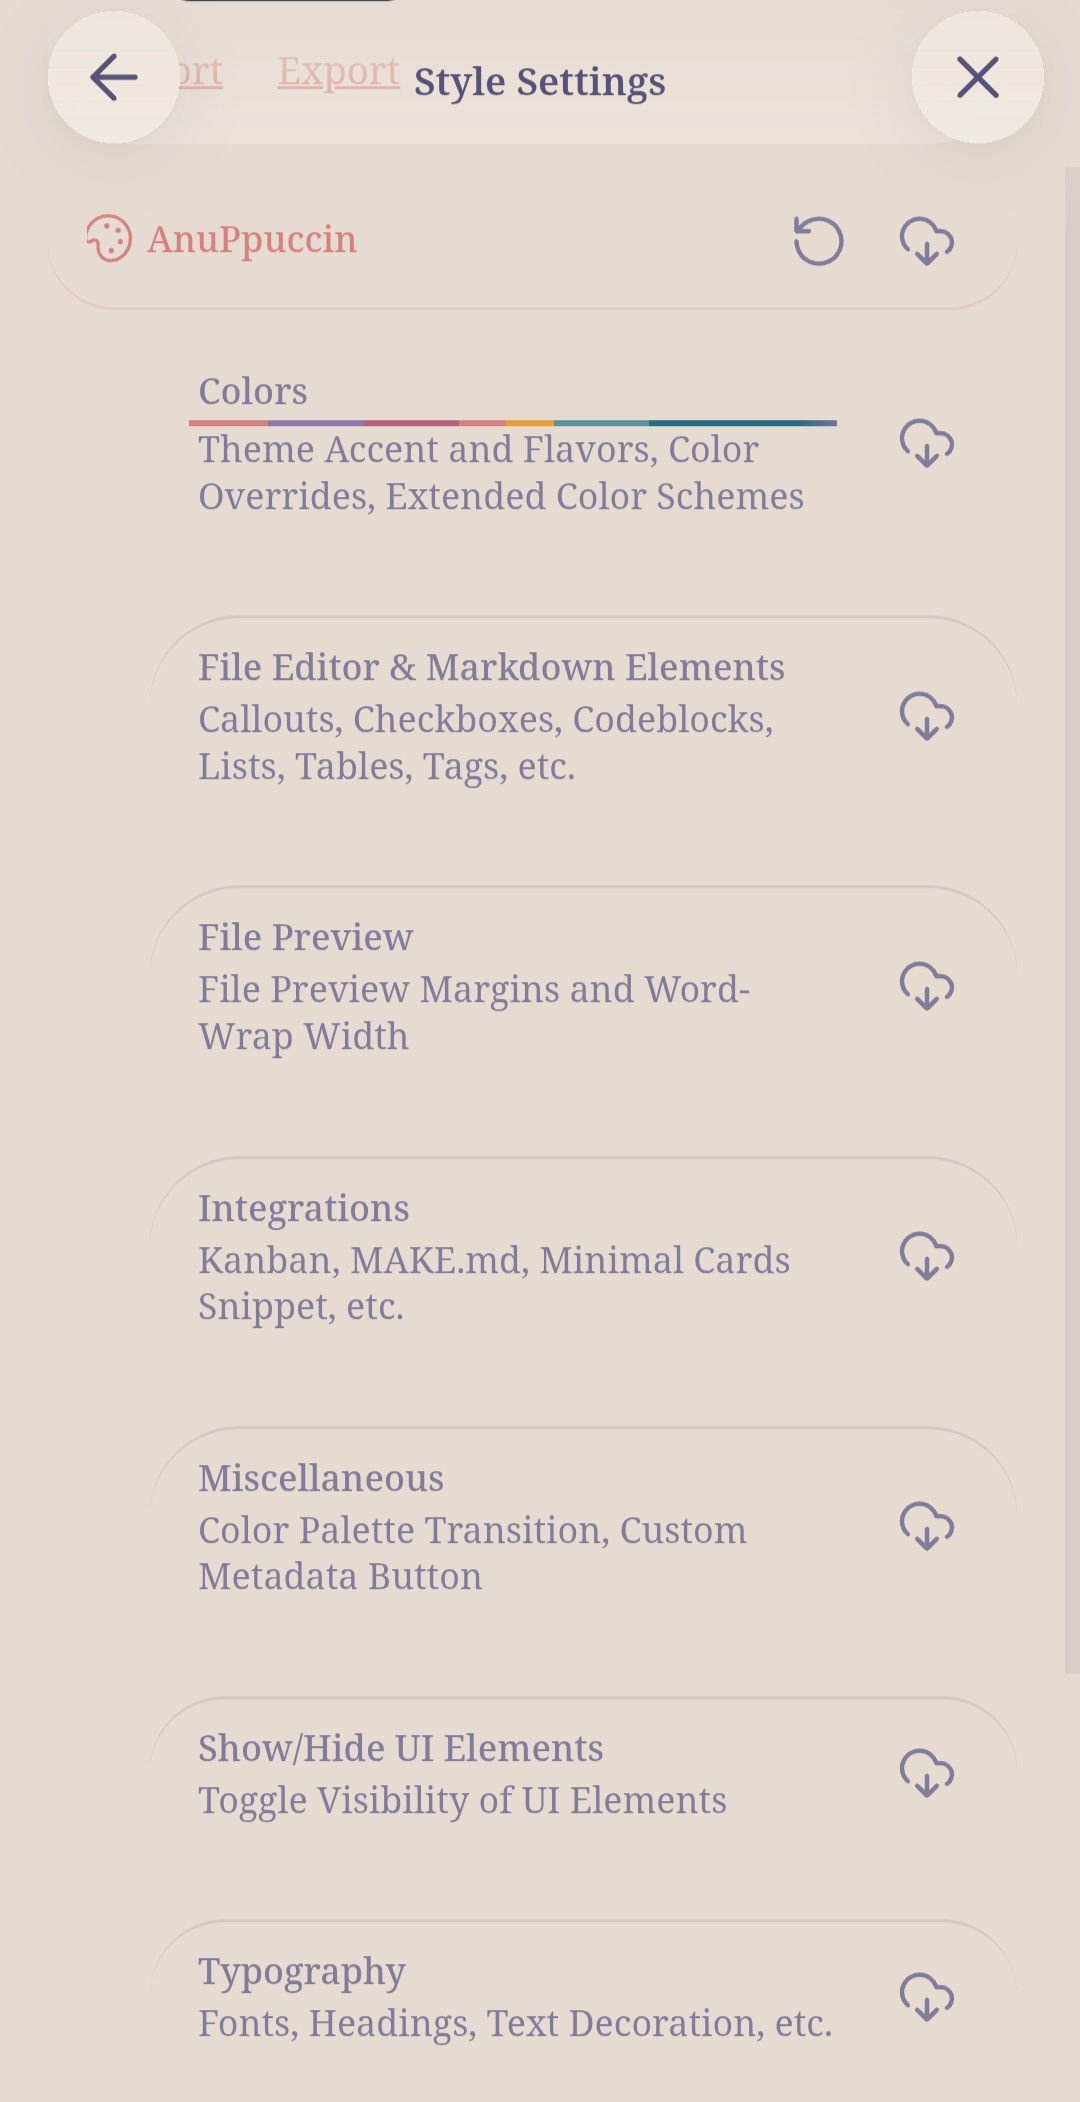
Here's what my menu looks like for the AnuPpuccin theme. I can adjust the base theme colour pallette, as well as accent colours, and similar.
This is another one of those times where I'm going to encourage you to spend a while exploring. Using just Community Themes and the Style Settings plugin you can make your app look different in all sorts of ways.
If this is going to be your primary logging platform, you're going to have to be looking at it for a while, so find something which is useful and comfortable for you.
---
I'm going to go over two more plugins that I used to change the background of my notes to an image, and the font in my app in a moment, but be aware again that some themes will already change things like this. The other plugins you can use will most likely override this.
---
This guide is a work-in-progress. This is currently the end of the page . . . Sorry! Rest assured it's actively being updated. I take requests for content inclusions or similar from an atabook here. If you're a template or resource creator who'd like me to add a link to your content in the templates section of this rentry, please also submit a link to them on atabook! I would love to both see and make this resource more helpful.