Orchid Pot: Choosing the Perfect Home for Your Precious Blooms
:max_bytes(150000):strip_icc()/choose-orchid-growing-media-1315968-hero-6a939d391802462d930109a91f12c435.jpg)
Orchids are renowned for their striking beauty and delicate nature. To help them thrive, it's essential to provide the right growing conditions, and one crucial aspect of this is selecting the right orchid pot. Choosing an appropriate pot can significantly impact an orchid's health and overall growth. In this article, we'll delve into the world of orchid pots, exploring the various types available, how to pot an orchid correctly, and essential care tips to ensure your orchids flourish in their new homes.
What is an Orchid Pot?
An orchid pot is a container designed specifically for growing orchids. Unlike traditional plant pots, orchid pots have unique features tailored to the specific needs of these beautiful flowers. Orchid pots often have slatted or perforated sides, which allow for better air circulation around the orchid's roots. This enhanced airflow helps prevent root rot, a common issue faced by orchids in conventional pots.
The Importance of Choosing the Right Pot
Selecting the right orchid pot is vital for the well-being of your orchid. Several factors come into play when deciding on the perfect pot:
Size Matters
The size of the pot matters more than you might think. Orchids prefer snug pots that allow their roots to be slightly crowded. A pot that is too large can lead to overwatering, while a pot that is too small may restrict root growth and overall development.
Material and Drainage
Orchid pots are typically available in various materials, including clay, plastic, wood, ceramic, and even glass. Each material has its pros and cons. Proper drainage is crucial, as orchids dislike sitting in standing water, which can lead to root rot.
Aesthetics and Design
Beyond functionality, the appearance of the pot also matters. Orchid pots come in various designs and colors, allowing you to find one that complements your home decor while showcasing the beauty of the orchids.
Types of Orchid Pots
When it comes to orchid pots, there are several options to choose from. Each type of pot has its characteristics and benefits. Let's explore the most common types:
Clay Pots
Clay pots are a popular choice among orchid enthusiasts. They are porous and allow for excellent drainage, preventing water from accumulating around the roots. Additionally, the porosity of clay pots helps regulate the moisture level within the potting mix.
:max_bytes(150000):strip_icc()/repot-orchid-with-air-roots-5221973-hero-f41eab81f5464fe2b03634fd1feb9e04.jpg )
Plastic Pots
Plastic pots are lightweight and affordable. They retain moisture well and are easy to clean. However, proper drainage is crucial, as plastic pots can retain too much water, leading to root issues.

Wooden Pots
Wooden pots provide a natural and rustic look. They are breathable and offer good drainage. However, they may deteriorate over time, so regular inspection and maintenance are necessary.
/how-to-repot-orchids-1902834-07-478cb7410fef4b3cac08a24a7b3b3cca.jpg)
Ceramic Pots
Ceramic pots are known for their aesthetic appeal. They come in various colors and designs, making them a favorite among decorators. However, they can be heavy and may not provide the best ventilation.

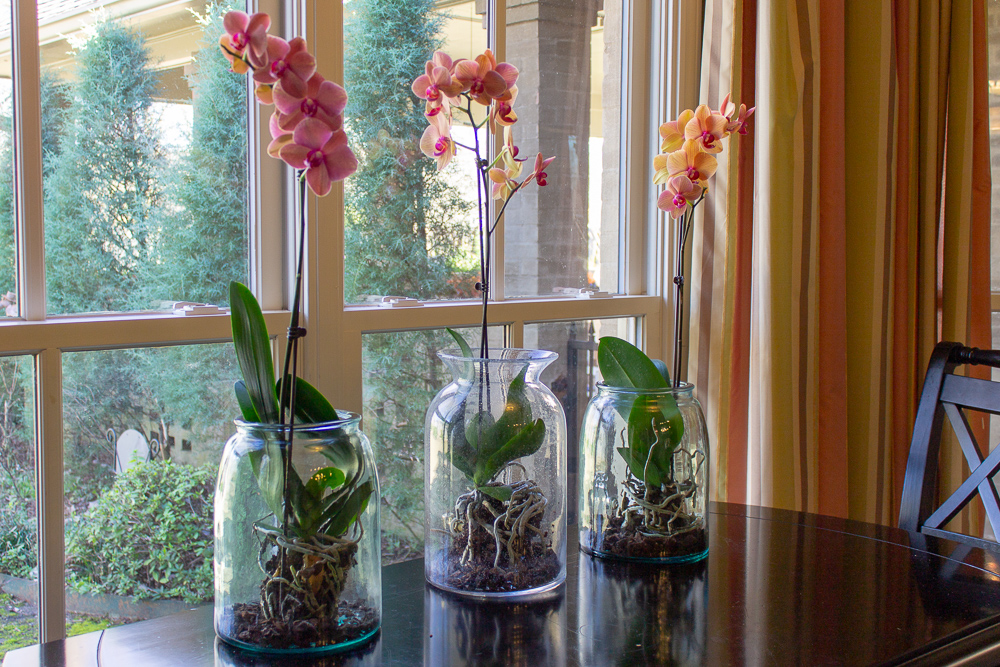
Glass Pots
Glass pots are a unique choice that allows you to observe the orchid's roots and growth. However, they are not suitable for all orchids, as they may expose the roots to too much light, potentially damaging them.

How to Pot an Orchid
Potting an orchid is a delicate process that requires care and attention. Follow these steps to ensure a successful potting experience:
Step 1: Choose the Right Pot
Consider the type of orchid you have and select a pot that suits its specific needs. Remember, a slightly crowded pot is better than one that is too spacious.
Step 2: Prepare the Potting Mix
Create a suitable potting mix for your orchid, ensuring it provides the right balance of moisture retention and drainage.
Step 3: Remove the Orchid from the Current Pot
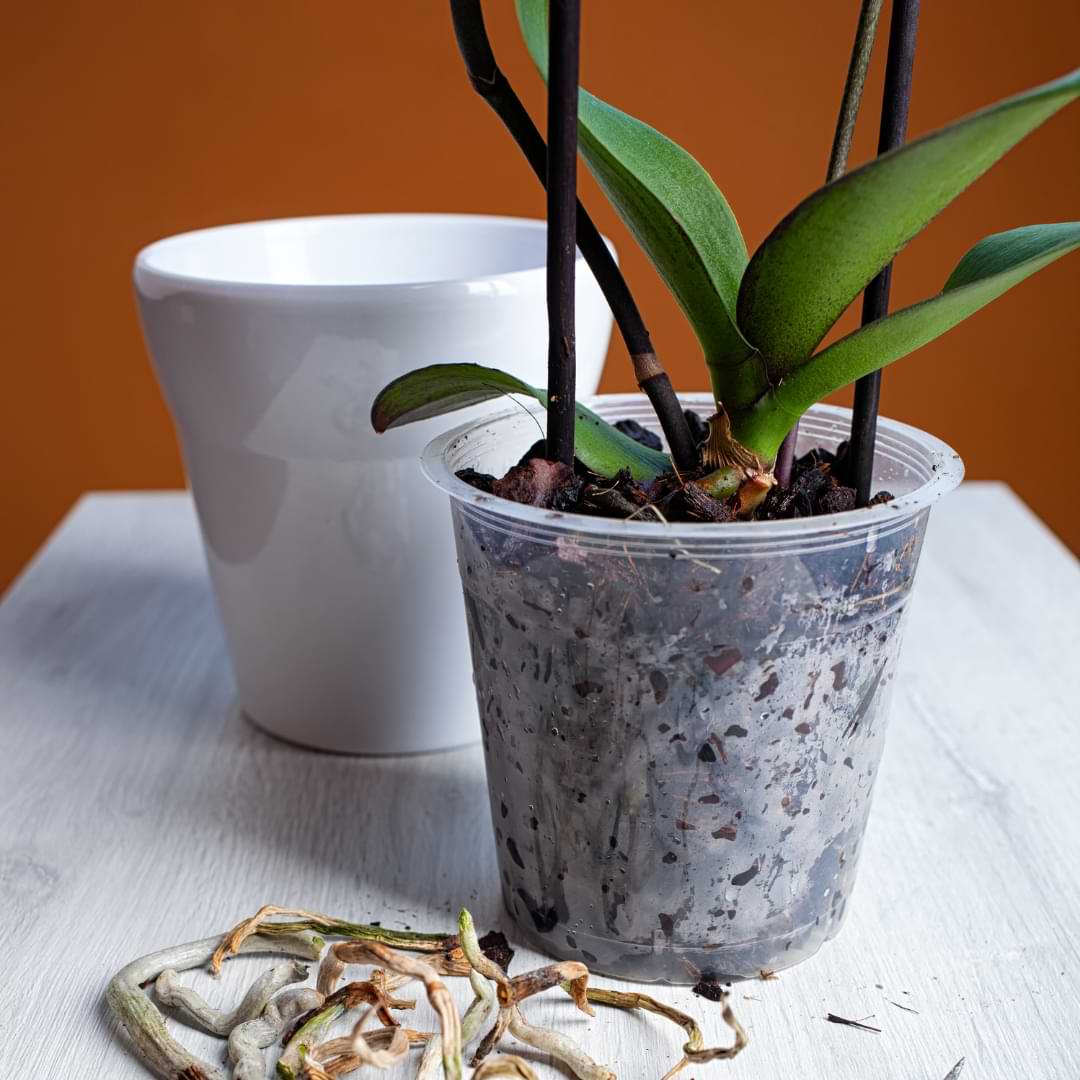
Gently remove the orchid from its current pot, taking care not to damage the roots.
Step 4: Trim the Roots and Inspect the Plant
Trim any damaged or rotten roots and inspect the overall health of the orchid.
Step 5: Place the Orchid in the New Pot
Position the orchid in the new pot, ensuring the base of the plant is at the right height.
Step 6: Fill the Pot with Potting Mix
Carefully fill the pot with the prepared potting mix, making sure the roots are adequately covered.
Step 7: Water the Orchid
Thoroughly water the orchid after potting, allowing the water to drain freely from the pot.

Orchid Pot Care Tips
To keep your orchids thriving, follow these essential care tips:
Proper Watering
Orchids prefer a moist but not soggy environment. Water them only when the potting mix starts to dry out.
Light and Temperature
Orchids thrive in bright, indirect light and prefer temperatures between 60°F to 80°F.
Repotting
Repot your orchids every one to two years or when the potting mix starts to break down.
Cleaning and Maintenance
Keep your orchid pot clean and free from debris, and regularly inspect the roots for any issues.
Conclusion
Selecting the right orchid pot is vital for the health and well-being of your precious flowers. Consider the size, material, and drainage capabilities of the pot. Remember to pot your orchid carefully and provide the right care, including proper watering, lighting, and maintenance. By doing so, you'll create an ideal environment for your orchids to flourish and bloom beautifully.