Photopea/shop editing tutorials Hello. I like to edit sometimes, so I made this rentry on how I like to edit. I'm making this to help other editors! :D If you have any questions, please bring them over to yourmommyy69 on discord. (I know this username is stupid.) In these tutorials, there will be: How to edit gifs/stimboards (+ where to find stims), how to make dni banners, how to make regular icons, how to make shaped icons, how to border your images, how to add shadows to your images, and how to make psds.
Image descriptions/captions coming soon. Please be patient!
How to edit animated Gifs
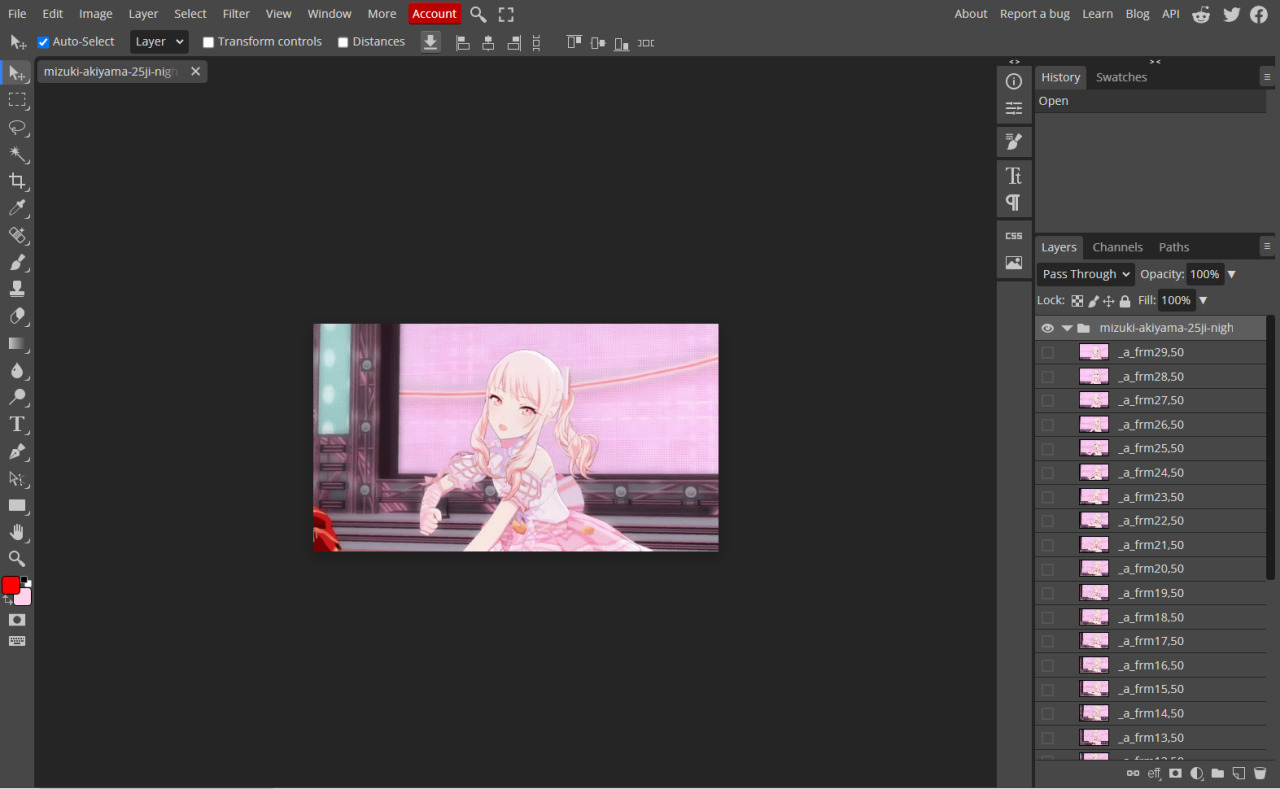
Drag and drop your gif onto photopea. Go to the top left corner and click "file" then "export as" then "gif" then "save"
what it looks like:
what it should look like when exported:
notice the folder? thats the gif. when you drag and drop a gif into photopea, you can only see one frame. thats just the frame that you are choosing to look at. you dont need to turn on every single frame. its just the one that you are choosing to look at
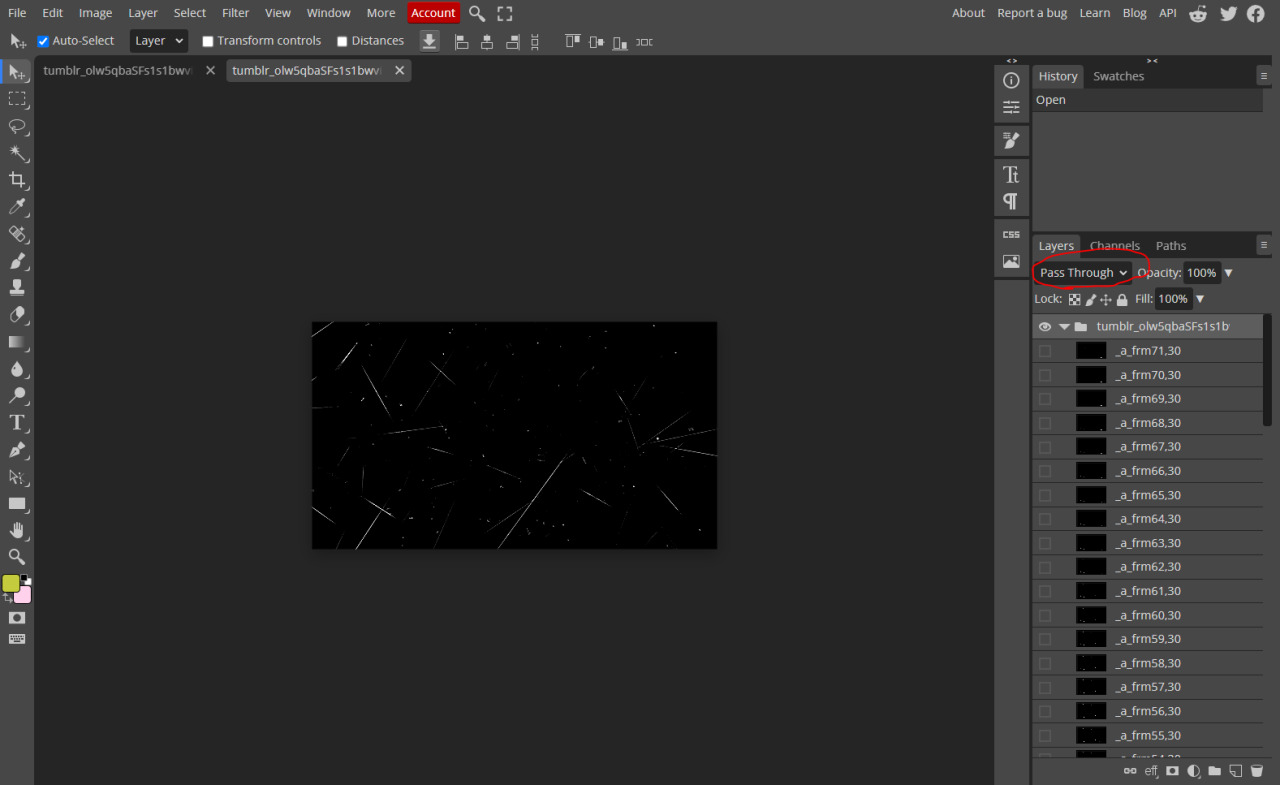
How I make these is I find a gif overlay, change the blending mode to "screen", then drag the card under the gif. If that sounds confusing to you, don't worry. Because I am going to explain even further.
You are going to want to hit the button circled in red, then click "screen". Then drag the card under it.
this is one of those edits i made. notice how you can see the gif overlay and the card?
if its still black, make sure you changed the blending mode to screen. if you can only see the card, make sure its under the overlay gif.
I find gif overlays from here.
How to add PSD files to gifs
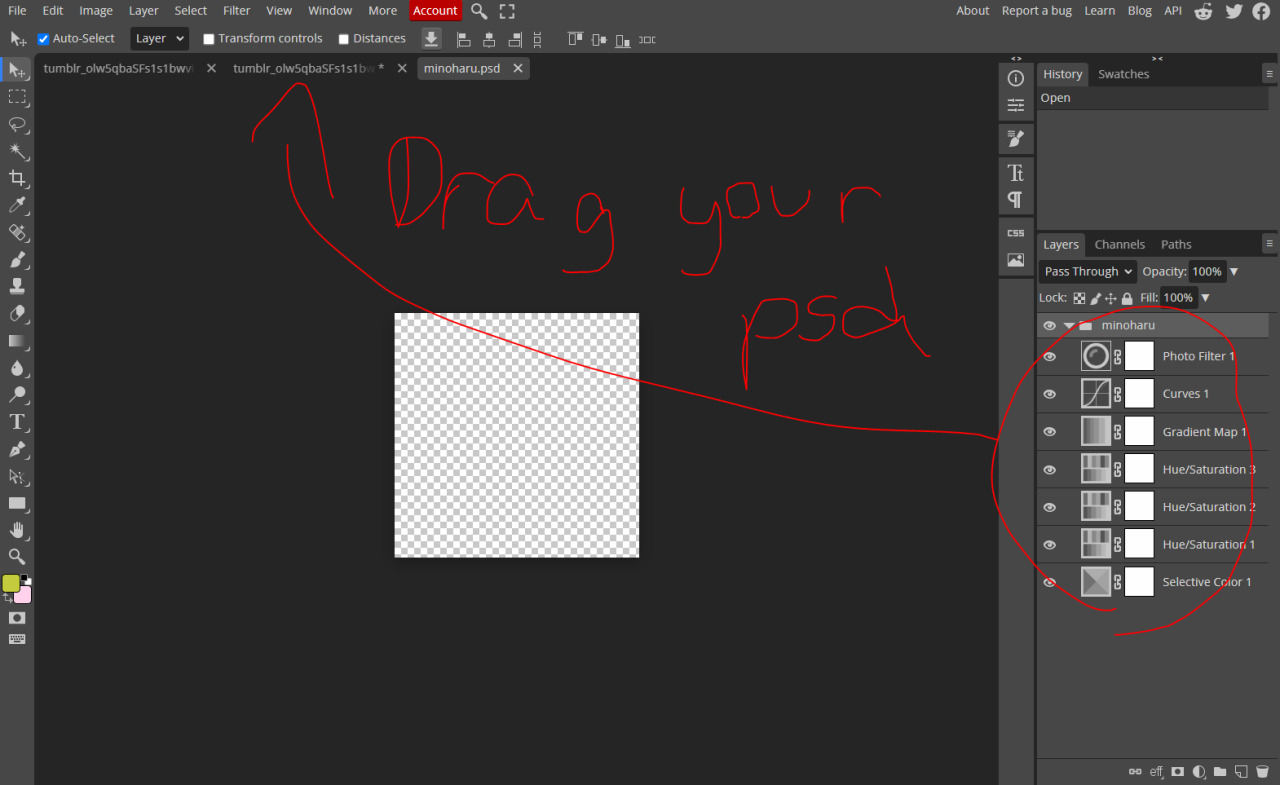
When I export my PSDS, I like to save them to my google drive. This is so I can open them then drag them to the image. If you don't know how this works, I will explain briefly.
Click "File" then click "open more", then click "storage" then click "google drive" Then gif photopea access to your google drive. Then click on the psd you want then drag & drop it.
hopefully that made sense to you!
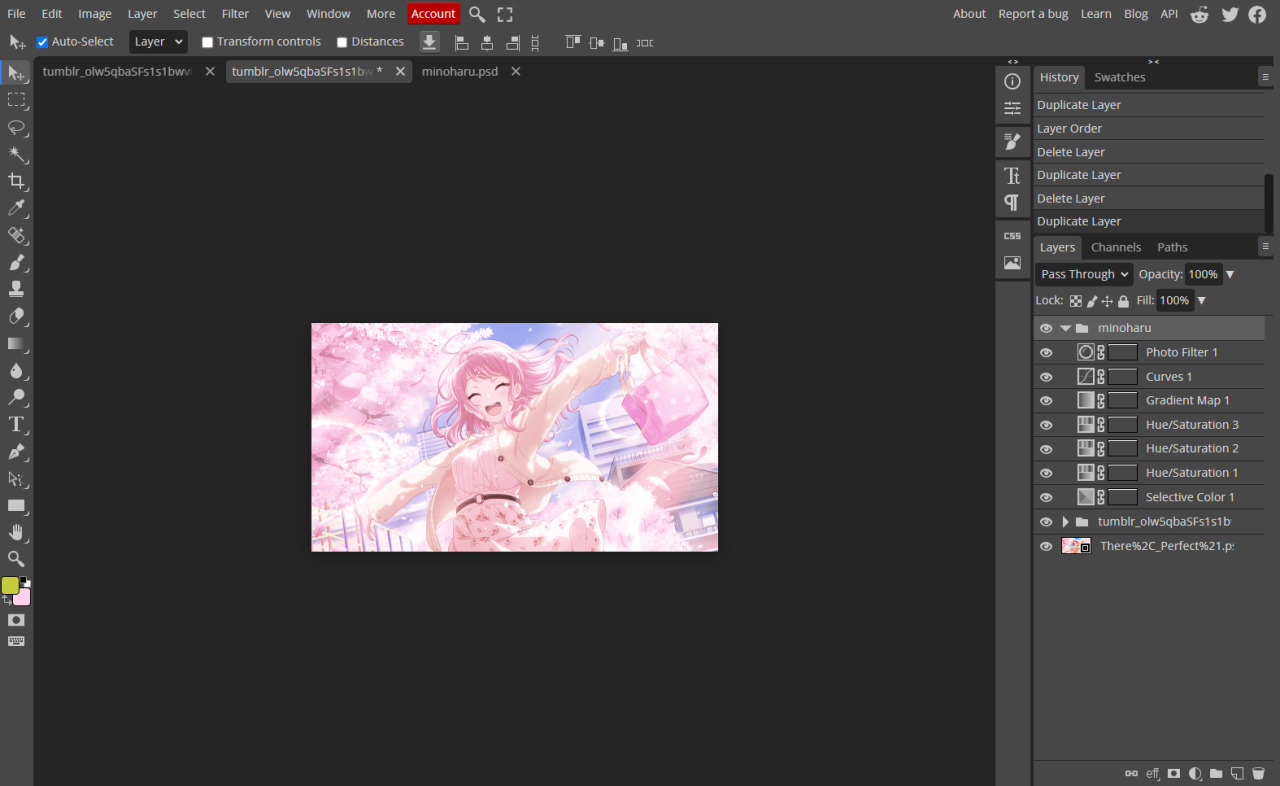
this is what it should look like when you export it:
