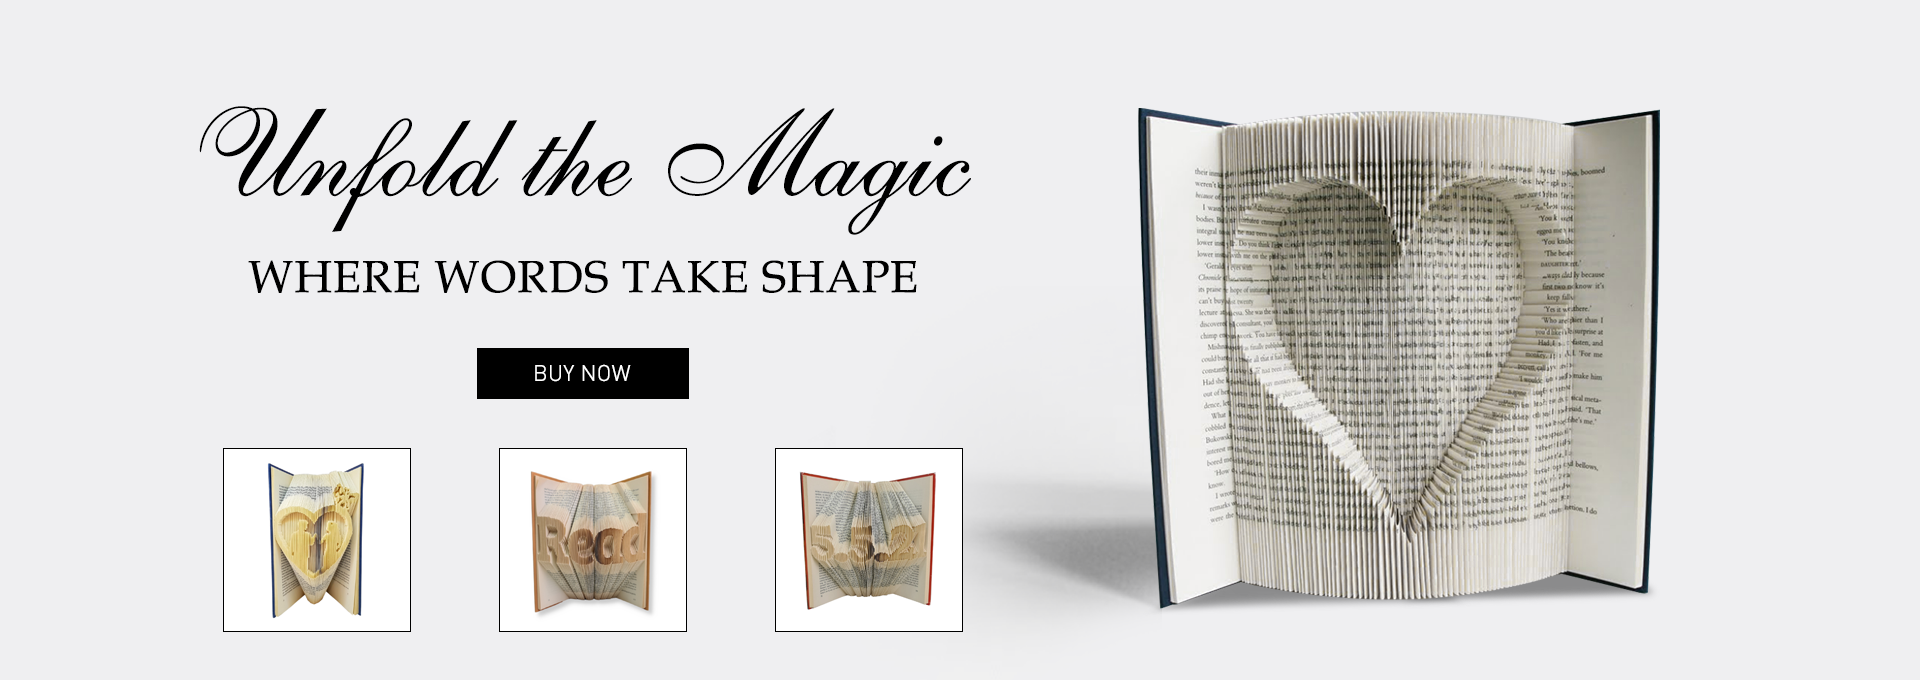
Unfolding the Art of Book Folding: A Creative Guide
Welcome to the world of Book Folding, where the pages of a simple book transform into a work of art through a combination of precision, creativity, and patience. Whether you're a seasoned craft enthusiast or just beginning to dip your toes into the creative waters, book folding offers a unique and captivating way to repurpose old books into stunning decorative pieces. The art of book folding blends the realms of literature and design, allowing for endless possibilities in creating personalized and thoughtful gifts or adding a touch of elegance to your home decor.
As you delve into the creative realm of book folding, you'll discover the meditative and rewarding nature of this craft. With just a few tools, a dash of inspiration, and a sprinkle of imagination, you can embark on a journey of transforming the humble pages of a book into intricate designs that captivate the eye and inspire the mind. Whether you're drawn to geometric patterns, whimsical shapes, or intricate portraits rendered in folded pages, the art of book folding invites you to unleash your creativity and explore the vast potential that lies within the pages of a book.
Materials Needed
For book folding, you will require a few essential materials to get started. Firstly, you will need a hardcover book with a minimum of 200 pages, preferably an old book with yellowed pages for a vintage look. Secondly, a ruler or a bone folder is necessary to create precise and crisp folds in the book pages. Lastly, you will need a pencil or pen to mark the measurements and patterns on the book pages before folding.
In addition to these basic materials, having a clear adhesive such as glue or tape will be handy to secure the folded pages in place. A pair of sharp scissors is also useful for trimming any excess paper if needed during the folding process. For those interested in adding a pop of color or decoration to their folded book art, colored markers or paint can be used to customize the design further.
Lastly, to protect the finished book folding masterpiece and give it a polished look, having a clear sealant spray or book varnish is recommended. This will help preserve the intricate folds and design of the book while adding a professional touch to the overall presentation.
Step-by-Step Guide
In the first step of book folding, select a book with a minimum of 300 pages for best results. You can choose a hardcover or softcover book depending on your preference. Make sure Free Book Folding are clean and free from tears or markings.

Next, mark the pages using a ruler and pencil to create the design template. You can find various templates online or create your own custom design. Begin by marking the measurements for each fold according to the template you have chosen.
Once all pages are marked, start folding the pages carefully along the marked lines. Take your time with each fold to ensure precision and neatness. Continue folding until the entire design is complete, and voila, you have your own unique piece of book art!
Tips and Tricks

When starting a book folding project, ensure that you use a book with a minimum of 300 pages, as this provides a good surface area to create intricate designs. Additionally, selecting a book with a softcover can make folding easier and more manageable.
To achieve clean and precise folds, it's important to use a bone folder or ruler to crease the pages firmly. This helps in creating sharp lines and crisp edges, enhancing the overall look of the design.
Experiment with different folding patterns and designs to add variety and creativity to your book folding projects. Whether you're trying geometric shapes or intricate patterns, don't be afraid to explore and push the boundaries of traditional book folding techniques.